Imagine having a thriving ecosystem right in your garden that works tirelessly to improve soil quality, boost plant growth, and contribute to a more sustainable environment. Welcome to the world of worm farming! In this blog post, we’ll delve into the incredible advantages of setting up a worm farm and how these wriggly wonders can become your garden’s best allies.
1. Nature’s Nutrient Cyclers:
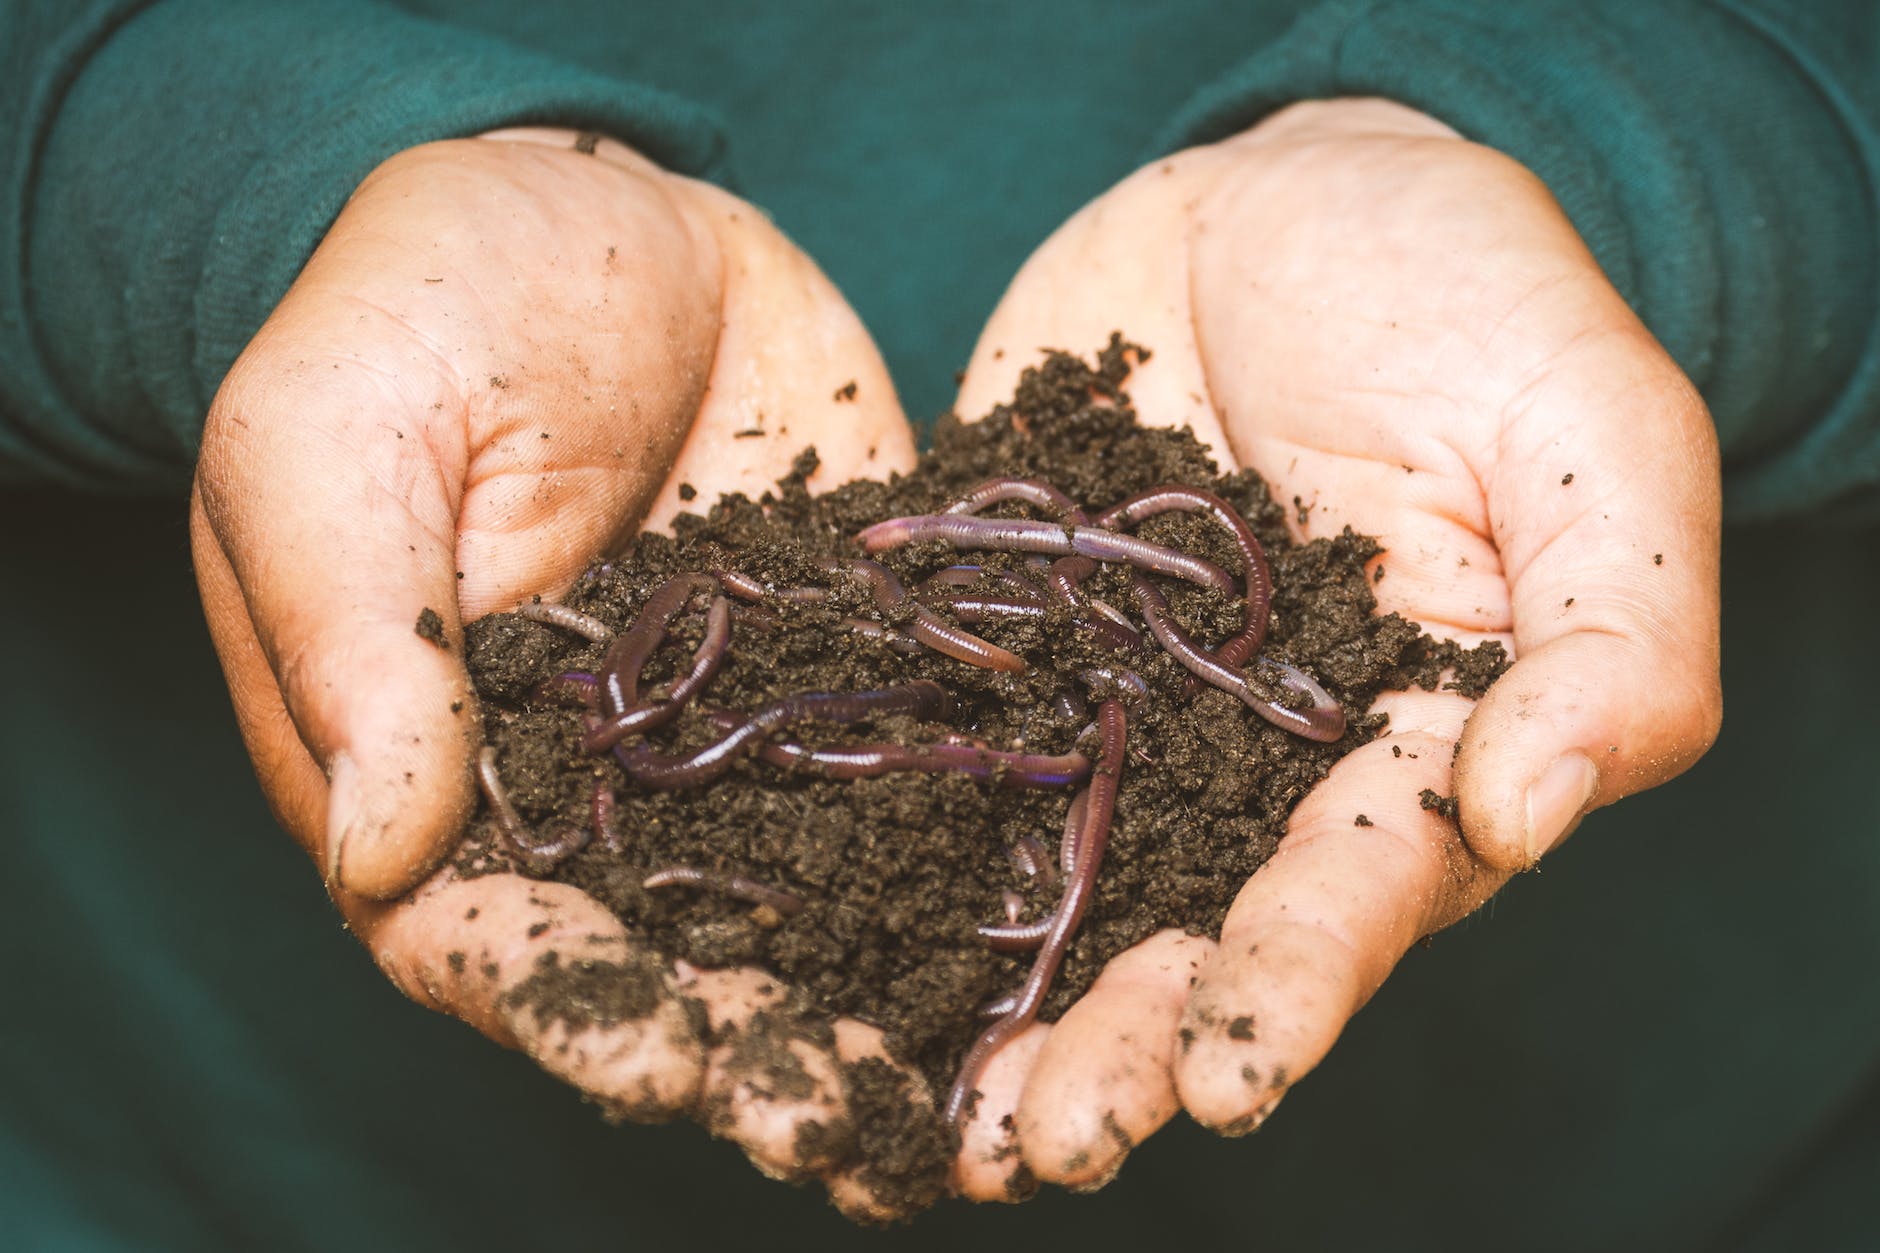
Worms, particularly red wigglers and Eisenia fetida, are experts at breaking down organic matter:
- Vermicompost: The castings produced by worms, also known as vermicompost, are a nutrient-rich soil amendment that enhances plant health and growth.
- Microbial Activity: As worms consume organic matter, their digestive process enriches the soil with beneficial microorganisms that promote nutrient availability.
2. Improved Soil Structure:
The activity of worms works wonders beneath the surface:
- Aeration: Worm tunnels create natural air passages in the soil, enhancing oxygen circulation for healthier root systems.
- Water Retention: Well-structured soil with worm channels retains water more effectively, reducing the risk of drought stress.
3. Enhanced Nutrient Availability:
Worm castings are a treasure trove of essential nutrients:
- Slow Release: Nutrients in vermicompost are released slowly over time, providing a consistent supply to plants.
- Mineral Enrichment: Worms break down minerals in organic matter, making them more accessible to plants.
4. Reduced Environmental Impact:
Worm farming contributes to sustainable gardening practices:
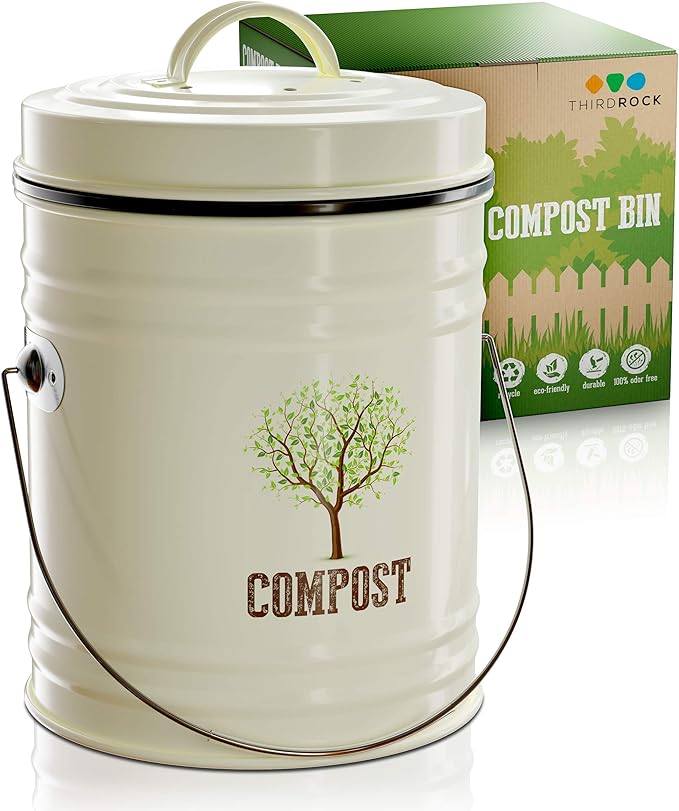
- Waste Reduction: Worms consume kitchen scraps, reducing the amount of organic waste sent to landfills.
- Less Synthetic Fertilizers: Vermicompost reduces the need for synthetic fertilizers, minimizing their environmental impact.
5. Enhanced Plant Growth and Yield:
Plants thrive in nutrient-rich soil:
- Stronger Roots: The improved soil structure and nutrient availability lead to robust root systems.
- Bountiful Harvests: Plants grown in worm-enriched soil often yield larger, healthier produce.
6. Easy and Low-Maintenance:
Worm farming is user-friendly:
- Compact: A worm farm requires minimal space and can even be set up indoors.
- Low Odor: When managed properly, worm farms produce little to no offensive odor.
- Minimal Effort: Regular feeding and occasional maintenance are all that’s needed to keep the worms happy and productive.
7. Educational Value:
Worm farming offers valuable learning opportunities:
- Nature’s Cycles: Witnessing the process of organic matter breakdown and nutrient cycling fosters a deeper understanding of nature’s systems.
- Educational Tool: Worm farming is a fantastic educational tool for children, teaching them about sustainability and the interconnectedness of ecosystems.
8. Versatility of Worm Castings:
Vermicompost has multiple applications:
- Potting Mix: Incorporate worm castings into potting soil for healthier container plants.
- Compost Tea: Brew vermicompost tea as a natural, nutrient-rich liquid fertilizer.
A worm farm is a small but powerful addition to your gardening toolkit. As nature’s soil scientists, worms tirelessly work to enrich your soil, enhance plant growth, and contribute to a greener planet. By embracing worm farming, you’re not only reaping the benefits of healthier gardens but also participating in a sustainable and eco-friendly practice that supports a thriving garden ecosystem. So, let your garden flourish with the assistance of these humble heroes – the worms!
Setting up a worm farm
Setting up a worm farm is a rewarding and environmentally friendly way to recycle kitchen scraps and create nutrient-rich vermicompost for your garden. Here’s a step-by-step guide to help you get started:
Step 1: Choose the Right Worms
The best worms for vermicomposting are red wigglers (Eisenia fetida) or red worms. These worms are voracious eaters and thrive in the conditions of a worm farm. Here is a great place to get composting worms.
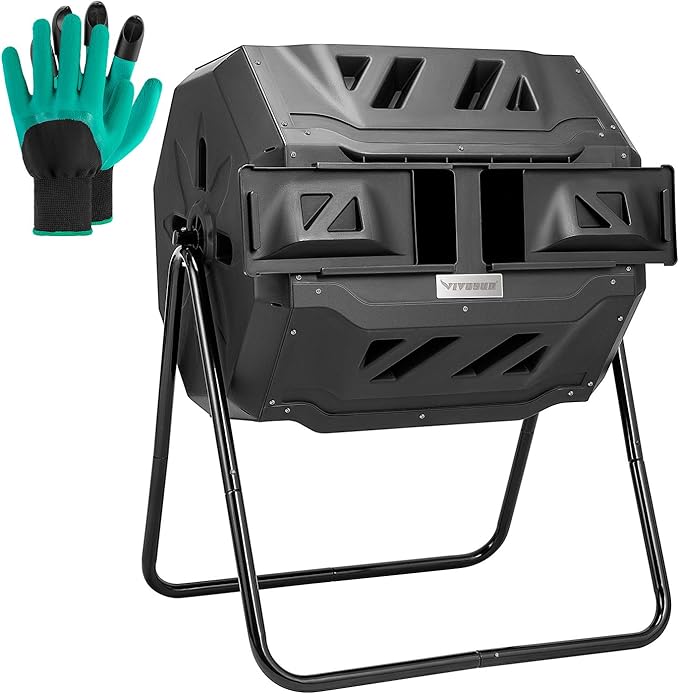
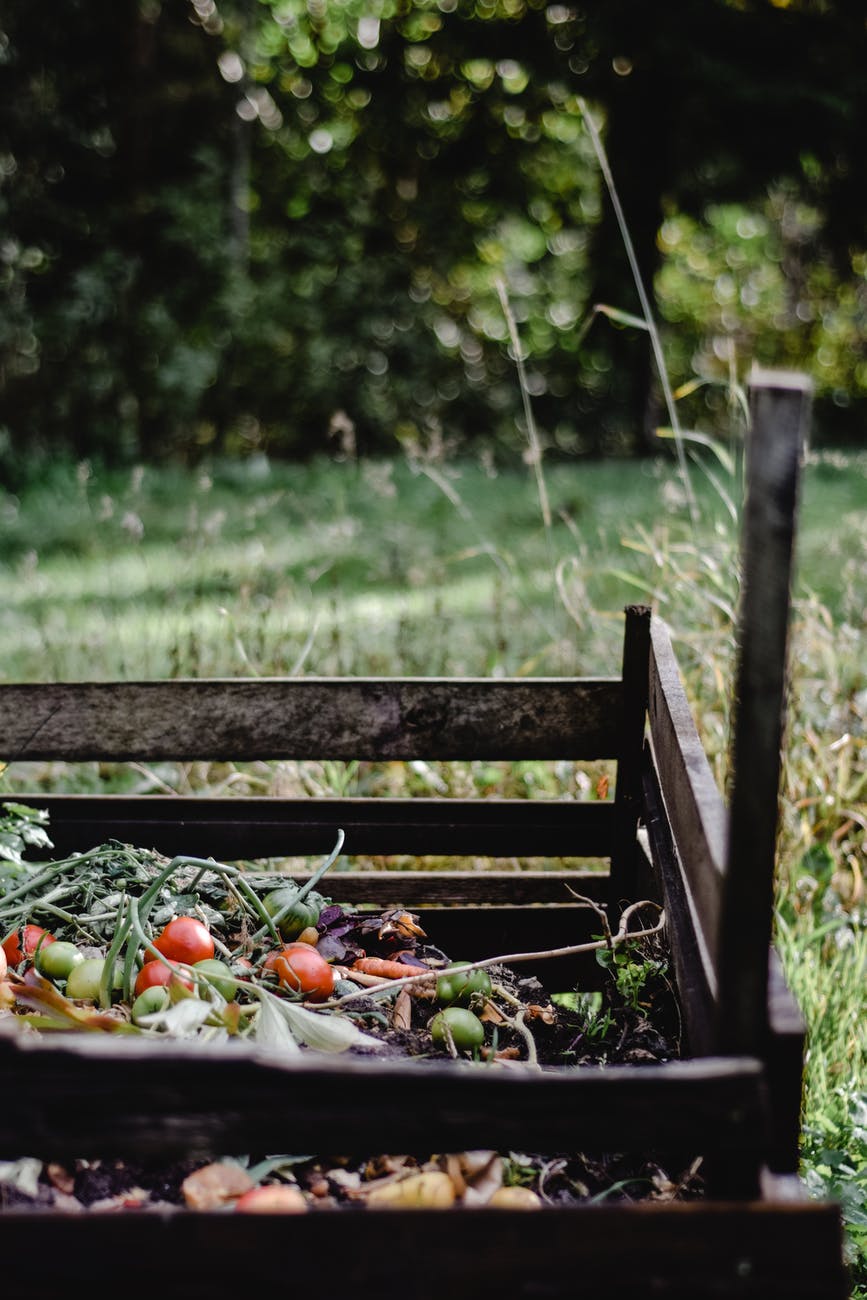
Step 2: Select a Container
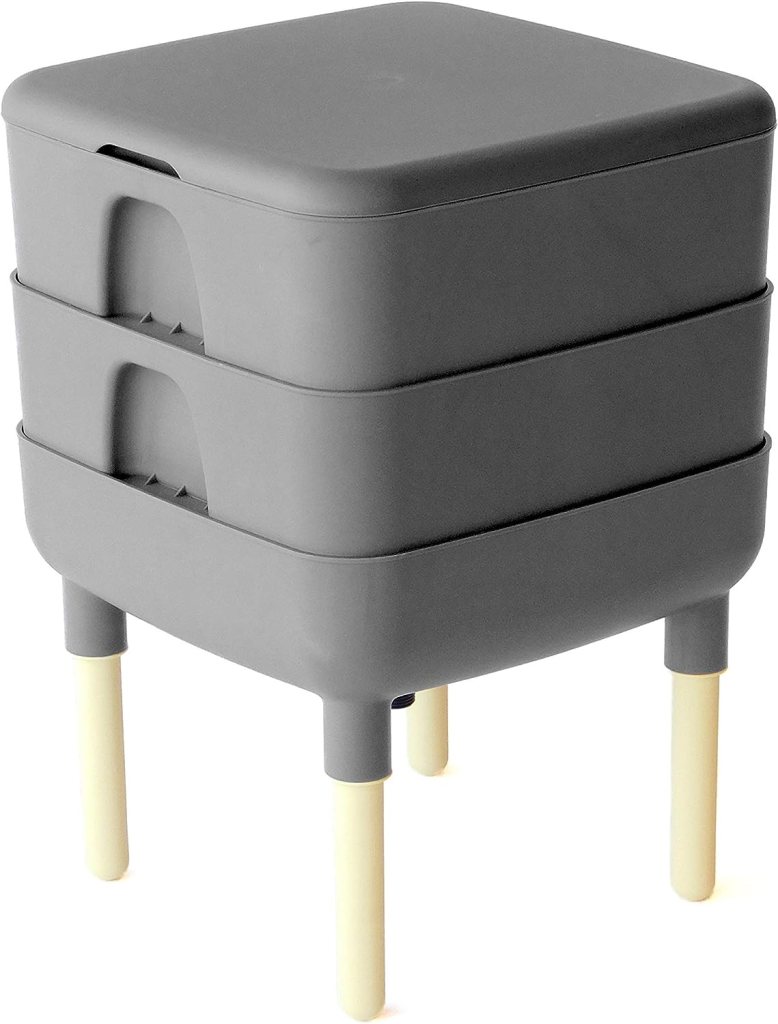
You can use various containers for your worm farm, such as plastic bins, wooden crates, or specialized worm bins available in gardening stores. Make sure the container has a tight-fitting lid to keep pests out. We use this one and it works great!
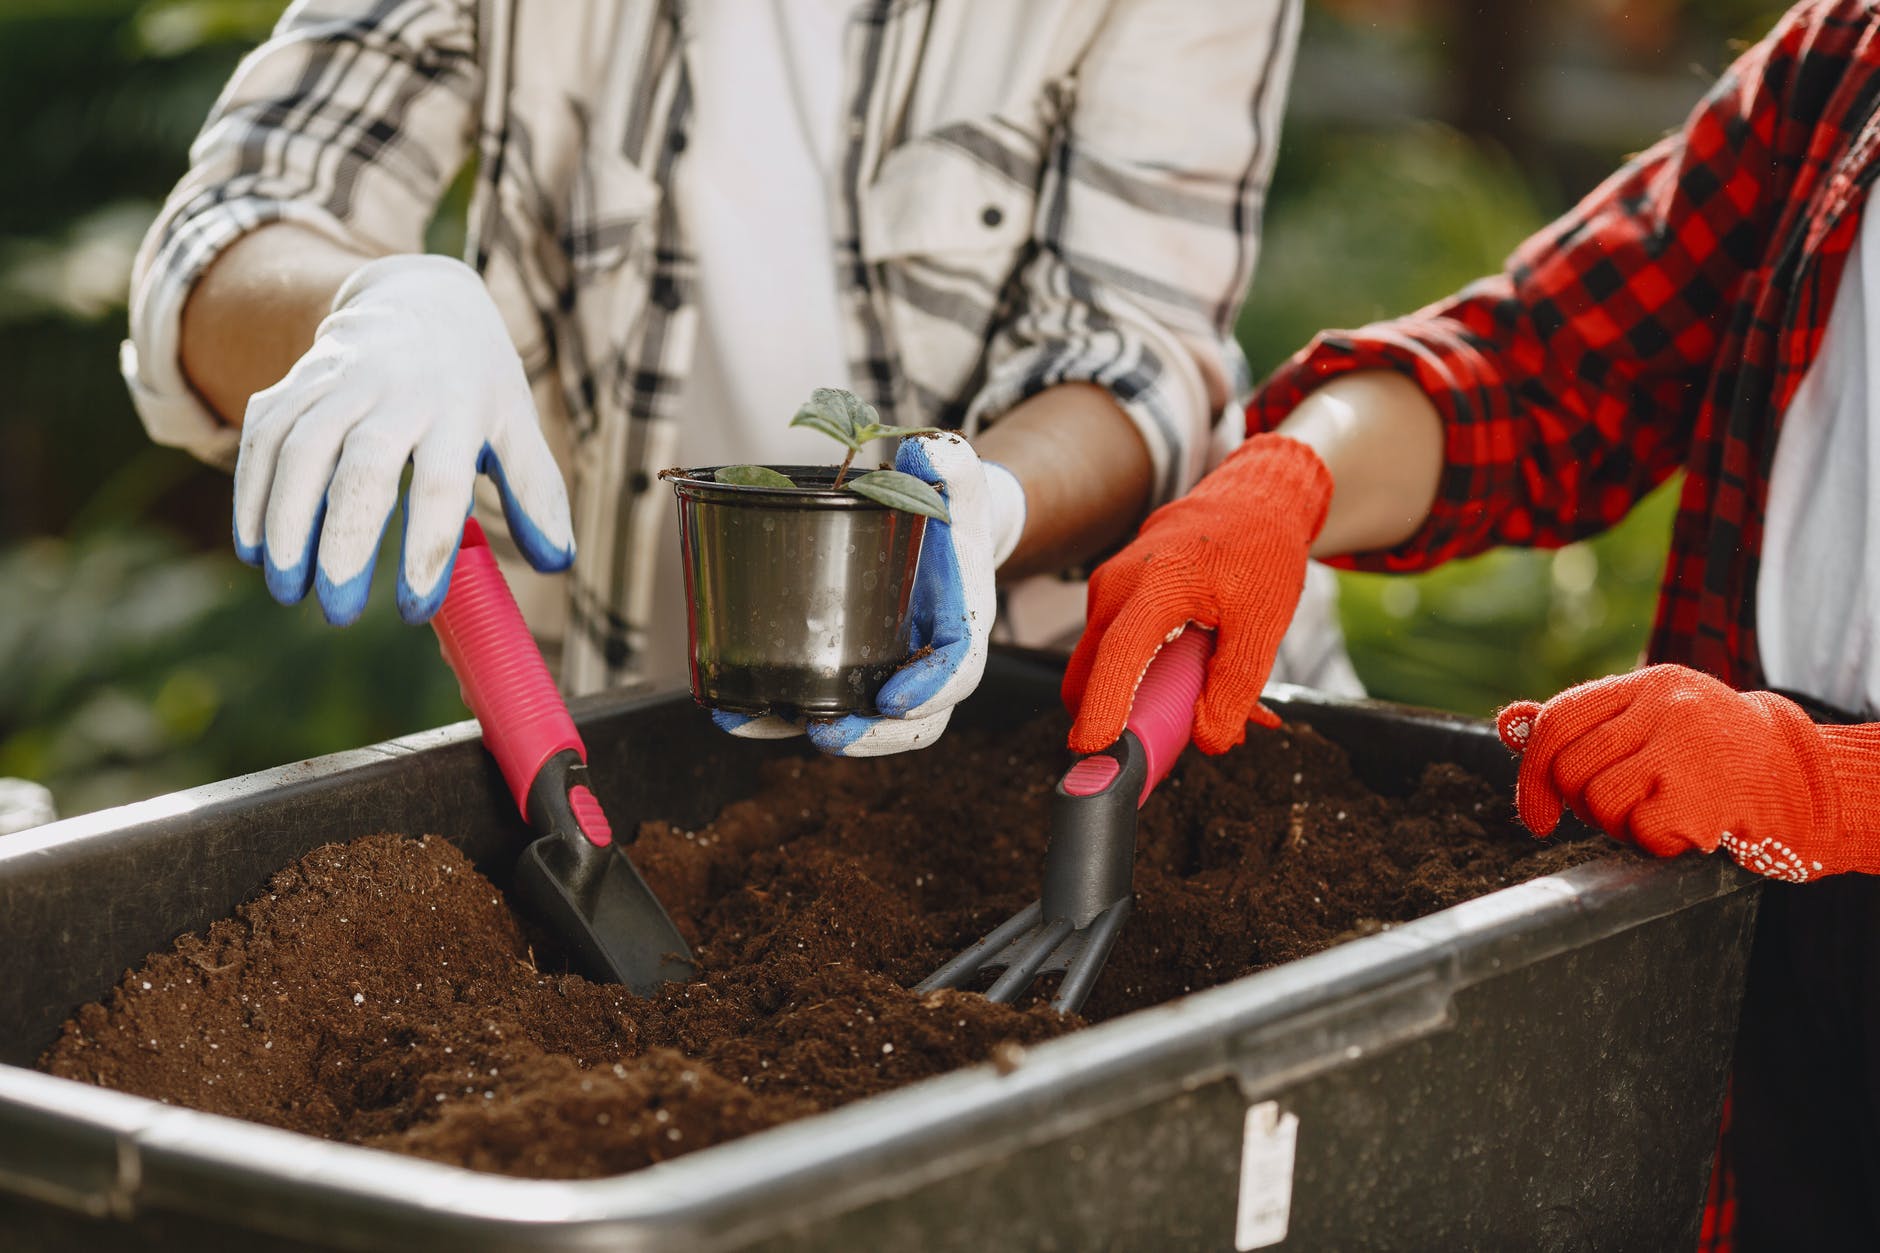
Step 3: Prepare Bedding
Create a comfortable bedding for the worms using shredded newspaper, cardboard, coconut coir, or a mix of these materials. Dampen the bedding until it feels like a damp sponge.
Step 4: Add Worms and Food
Place the worms on top of the bedding. Start by adding a small amount of kitchen scraps like fruit and vegetable peels, coffee grounds, and eggshells. Avoid adding dairy, meat, oily foods, and citrus.
Step 5: Maintain the Worm Farm
Here’s how to keep your worm farm healthy:
- Feeding: As the worms settle in, gradually increase the amount of food scraps. Bury the food under the bedding to prevent fruit flies and odors.
- Moisture: Keep the bedding moist, but not waterlogged. Sprinkle water when needed.
- Temperature: Worms thrive in temperatures between 55-77°F (13-25°C). Avoid extreme heat and cold.
- Ventilation: Drill small holes in the lid or sides of the container to ensure proper airflow.
- Harvesting: After a few months, the bedding will turn into nutrient-rich castings. To harvest, move the bedding to one side of the container and add fresh bedding and food to the other. The worms will migrate to the new bedding, allowing you to collect the vermicompost.
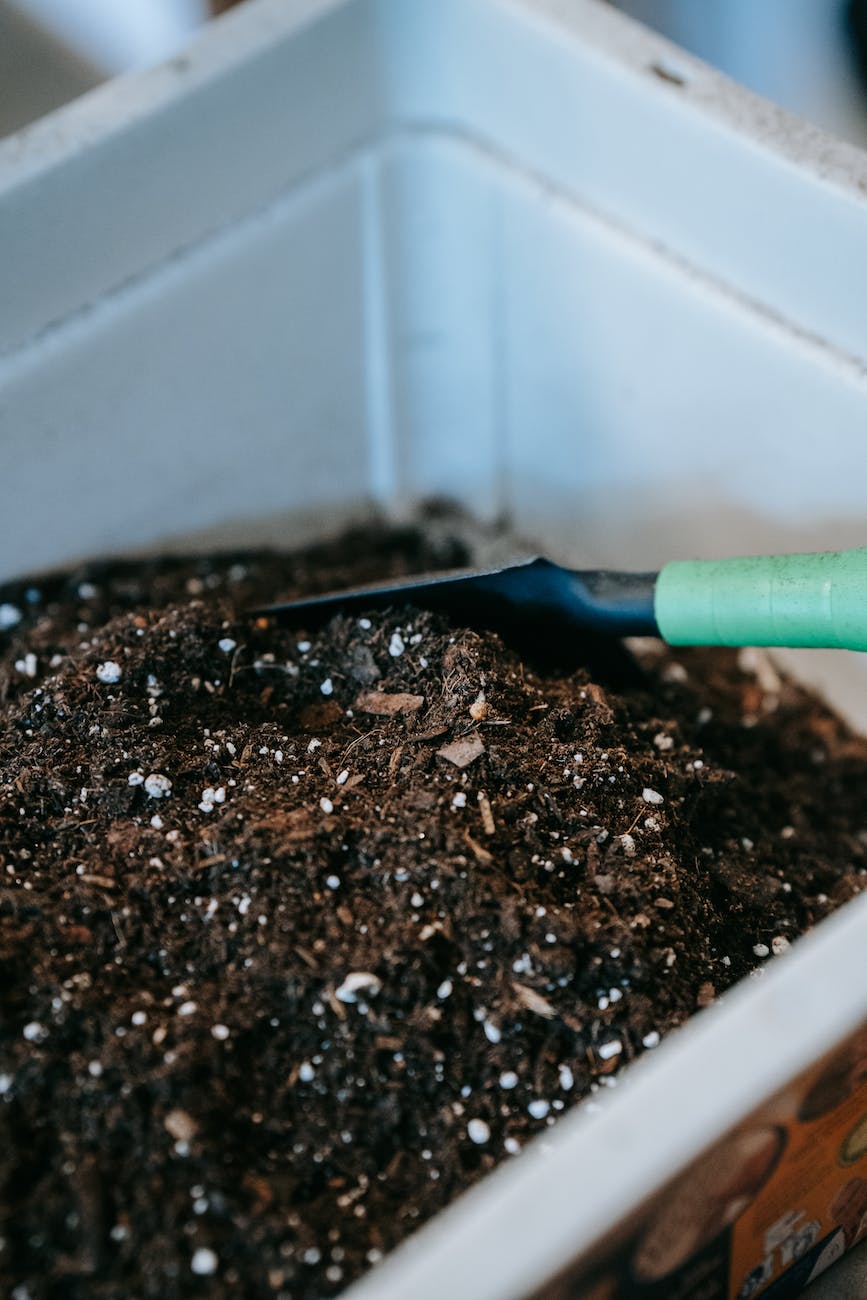
Step 6: Use the Vermicompost
Once you’ve harvested the vermicompost, you can use it to enrich your garden soil or potting mix. Mix it into the soil to improve its structure and provide essential nutrients to your plants.
Tips for Success:
- Start Small: Begin with a small worm farm and gradually expand as you become more familiar with the process.
- Balanced Diet: Provide a mix of green and brown materials (food scraps and bedding) for a balanced diet for the worms.
- Avoid Overfeeding: Don’t overfeed the worms; they will eat at their own pace.
- No Chemicals: Avoid using chemicals or pesticides in your worm farm, as they can harm the worms.
- Regular Check-ups: Check on your worms regularly to ensure they’re healthy and the conditions are optimal.
Creating a worm farm is a fun and educational way to reduce waste and improve your garden’s soil health. With a little care and attention, you’ll have a thriving ecosystem of worms working tirelessly to create nutrient-rich compost for your plants.