Gardening, Health, Herbs

Marvelous Mint: Exploring the Health and Culinary Benefits


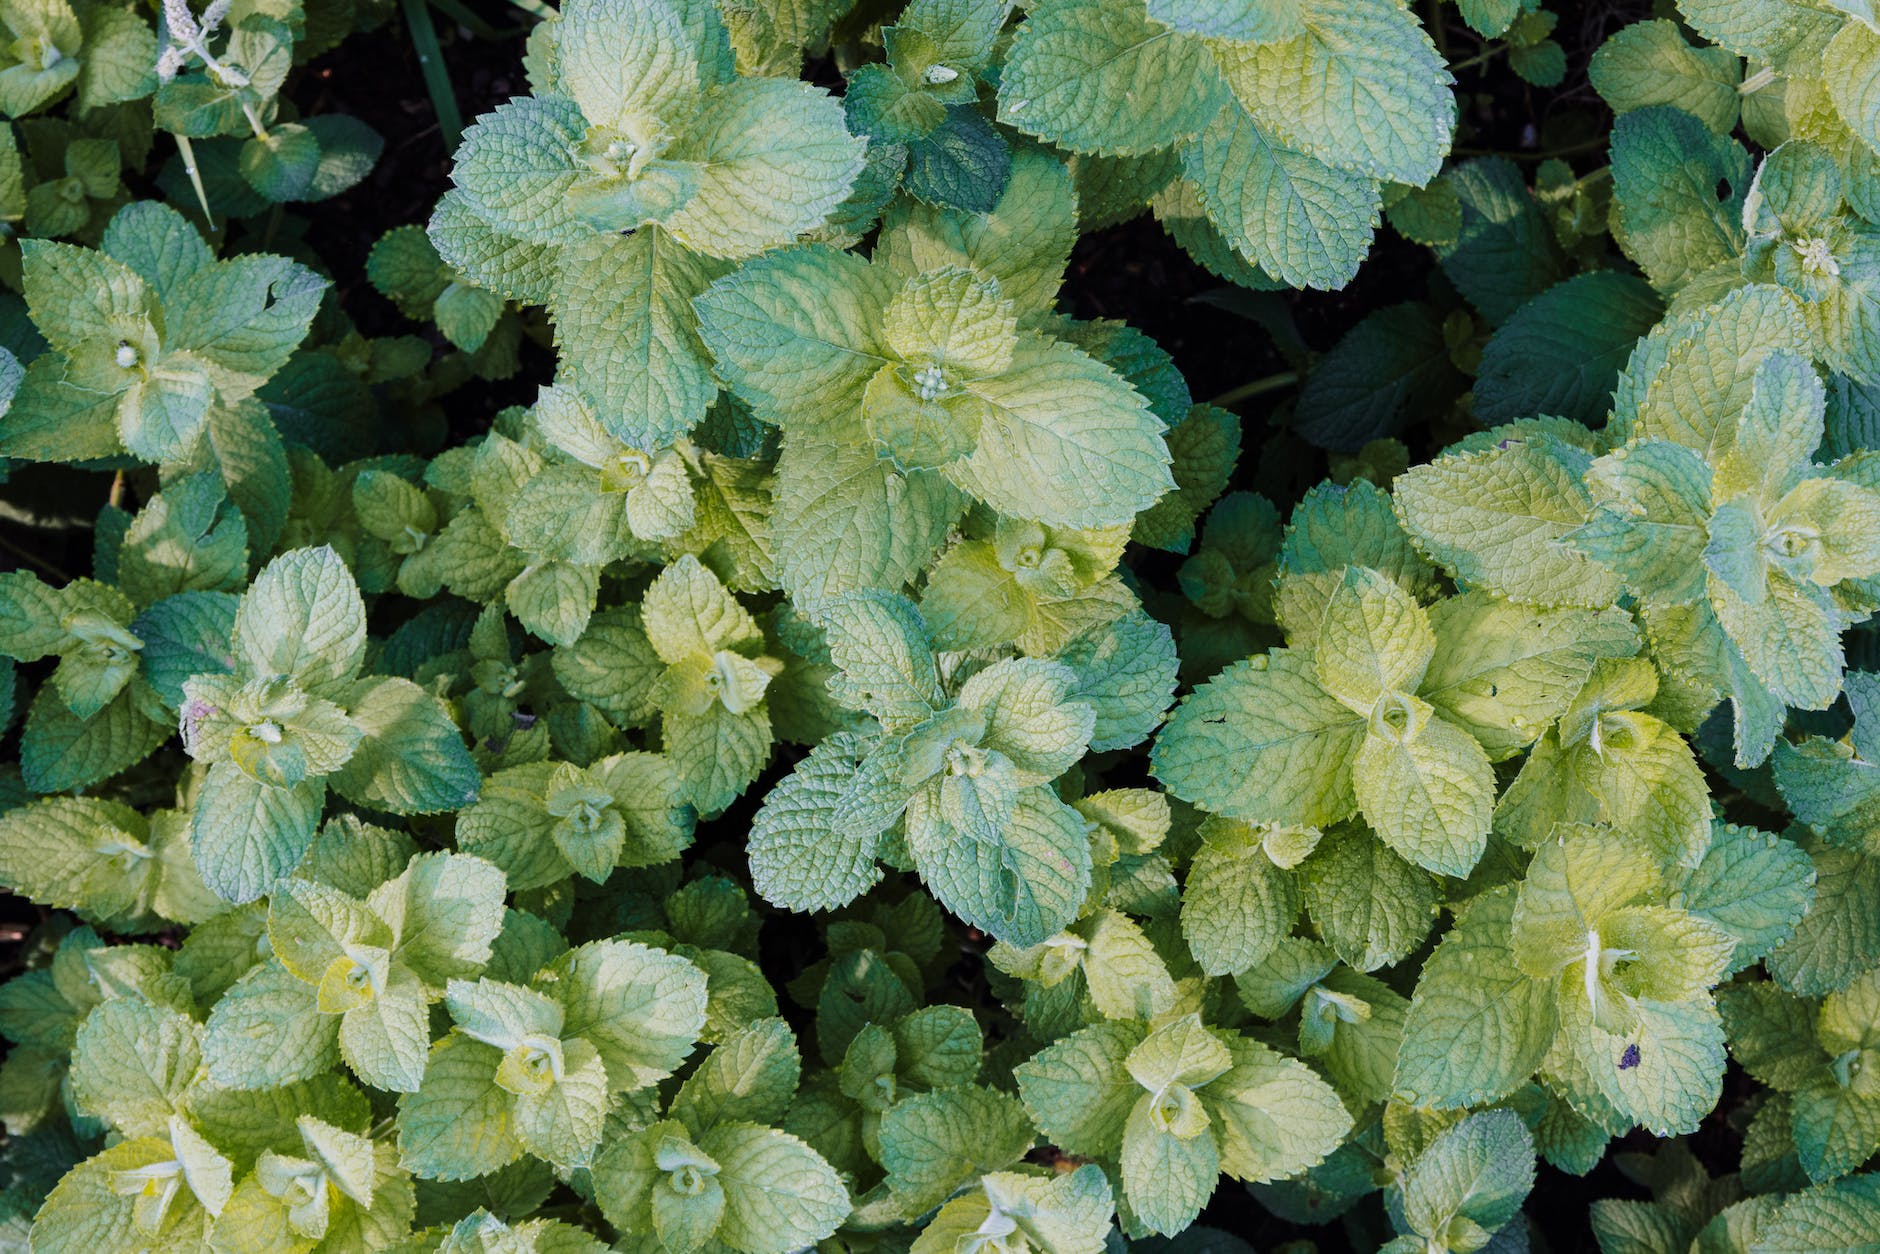
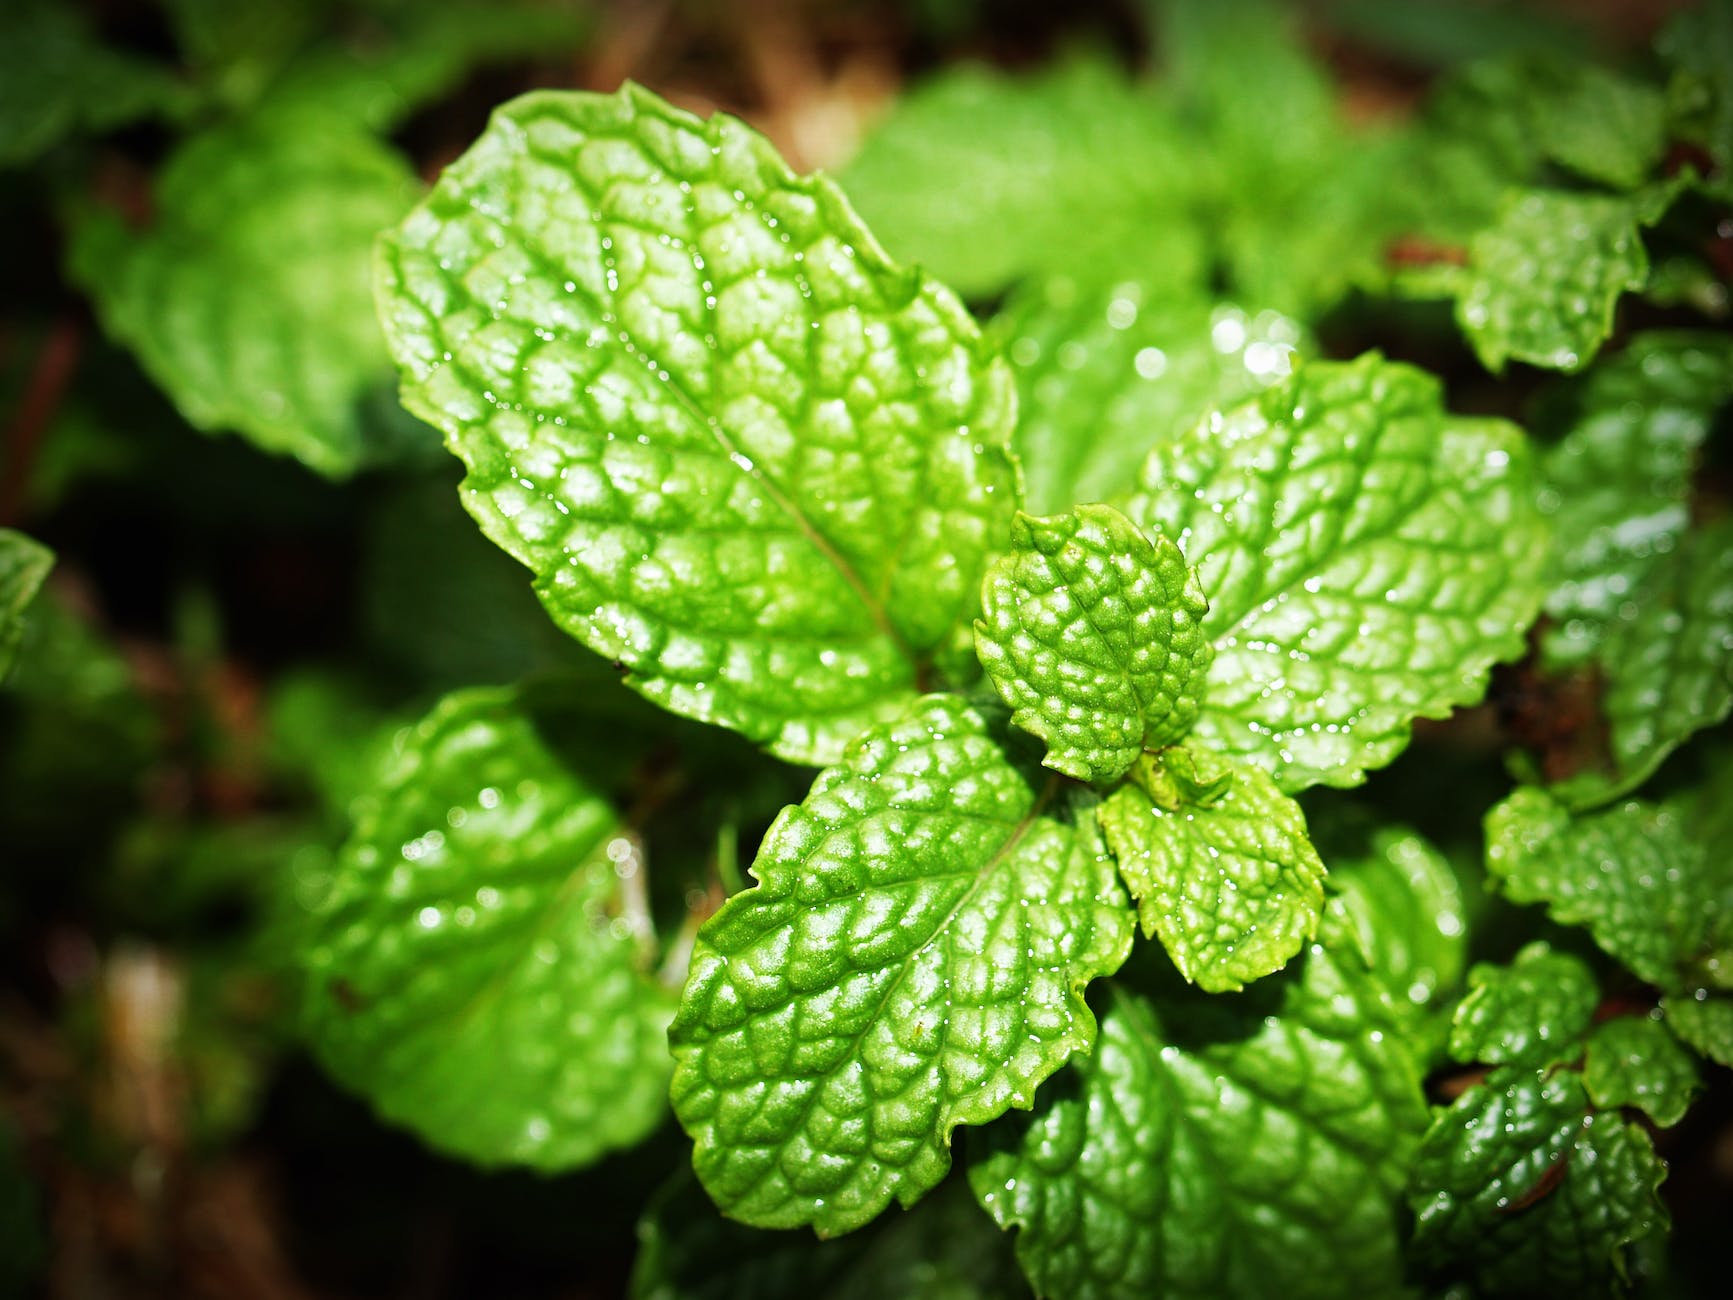
Mint, with its invigorating aroma and refreshing flavor, is a versatile herb that has been celebrated for its multitude of benefits for centuries. From soothing stomach troubles to spicing up culinary creations, mint’s role in promoting both health and taste is truly remarkable. In this blog post, we’ll delve into the enchanting world of mint and uncover the diverse benefits it brings to our lives.

1. Aids Digestion and Relieves Indigestion:

Mint has been traditionally used to alleviate digestive discomfort. Its natural compounds, including menthol, can relax muscles in the gastrointestinal tract, making it an excellent choice for soothing indigestion, bloating, and gas. Sipping on a cup of mint tea after a meal can provide much-needed relief.

2. Sensational Stress Relief:

Inhaling the soothing aroma of mint can have a calming effect on the mind and body. The scent of mint essential oil has been linked to reducing stress and anxiety, making it a popular choice for aromatherapy and relaxation rituals.

3. Respiratory Refreshment:

Mint’s menthol content can help open up airways and ease breathing. This is why mint is often found in cough drops, throat lozenges, and inhalers. Adding a few drops of mint oil to hot water for steam inhalation can provide quick relief from congestion.

4. Cooling and Refreshing:

Mint’s natural cooling properties make it a popular ingredient in summer beverages and dishes. Mint-infused water, lemonades, and iced teas can help beat the heat and refresh your senses.

5. Skin Soothing Superstar:

Mint’s anti-inflammatory and antimicrobial properties make it beneficial for skin health. It can help soothe skin irritations, reduce redness, and even provide relief from itching caused by insect bites.

6. Enhances Focus and Cognitive Function:

The invigorating scent of mint has been shown to stimulate cognitive function and improve focus. Diffusing mint oil or using mint-infused products in your workspace can boost alertness and mental clarity.

7. Oral Health Ally:

Mint’s antibacterial properties can help combat bacteria in the mouth, making it a natural breath freshener. Chewing on mint leaves or using mint-infused mouthwash can contribute to improved oral hygiene.

8. Nausea Relief:

Mint has a long history of use for alleviating nausea. Whether due to motion sickness, morning sickness during pregnancy, or other causes, the aroma of mint and its ability to calm the stomach can provide relief.

9. Culinary Magic:

Beyond its health benefits, mint’s culinary uses are endless. It adds a burst of flavor to both sweet and savory dishes. From salads and sauces to desserts and beverages, mint’s vibrant taste can elevate a wide range of recipes.

10. Antioxidant Power:

Mint is rich in antioxidants, including vitamin A and various phytonutrients. These antioxidants help combat oxidative stress and may contribute to overall well-being.

As we’ve explored, mint is much more than just a fragrant herb. Its array of benefits, from digestive support to mental clarity, make it a valuable addition to both our wellness routines and culinary endeavors. Whether you’re savoring a cup of mint tea, indulging in a mint-infused dessert, or using mint oil for relaxation, this versatile herb has something delightful and beneficial for everyone. So, go ahead and embrace the marvelous world of mint to enhance your health and your palate.

Growing Mint

Growing mint can be a rewarding and relatively easy endeavor. Mint is a hardy herb that thrives in various growing conditions, making it suitable for both garden beds and containers. Here’s a step-by-step guide on how to grow mint:

1. Choose a Growing Location: Mint prefers partial to full sunlight. It can tolerate some shade, but it will grow more vigorously with more sun. Select a location with well-draining soil to prevent waterlogging, as mint does not thrive in overly wet conditions.

2. Decide on Container vs. Garden Bed: Mint has a tendency to spread rapidly, so many gardeners prefer to grow it in containers to contain its growth. If planting in a garden bed, consider using barriers like plastic edging or planting mint in a container buried in the ground to prevent it from spreading too much.

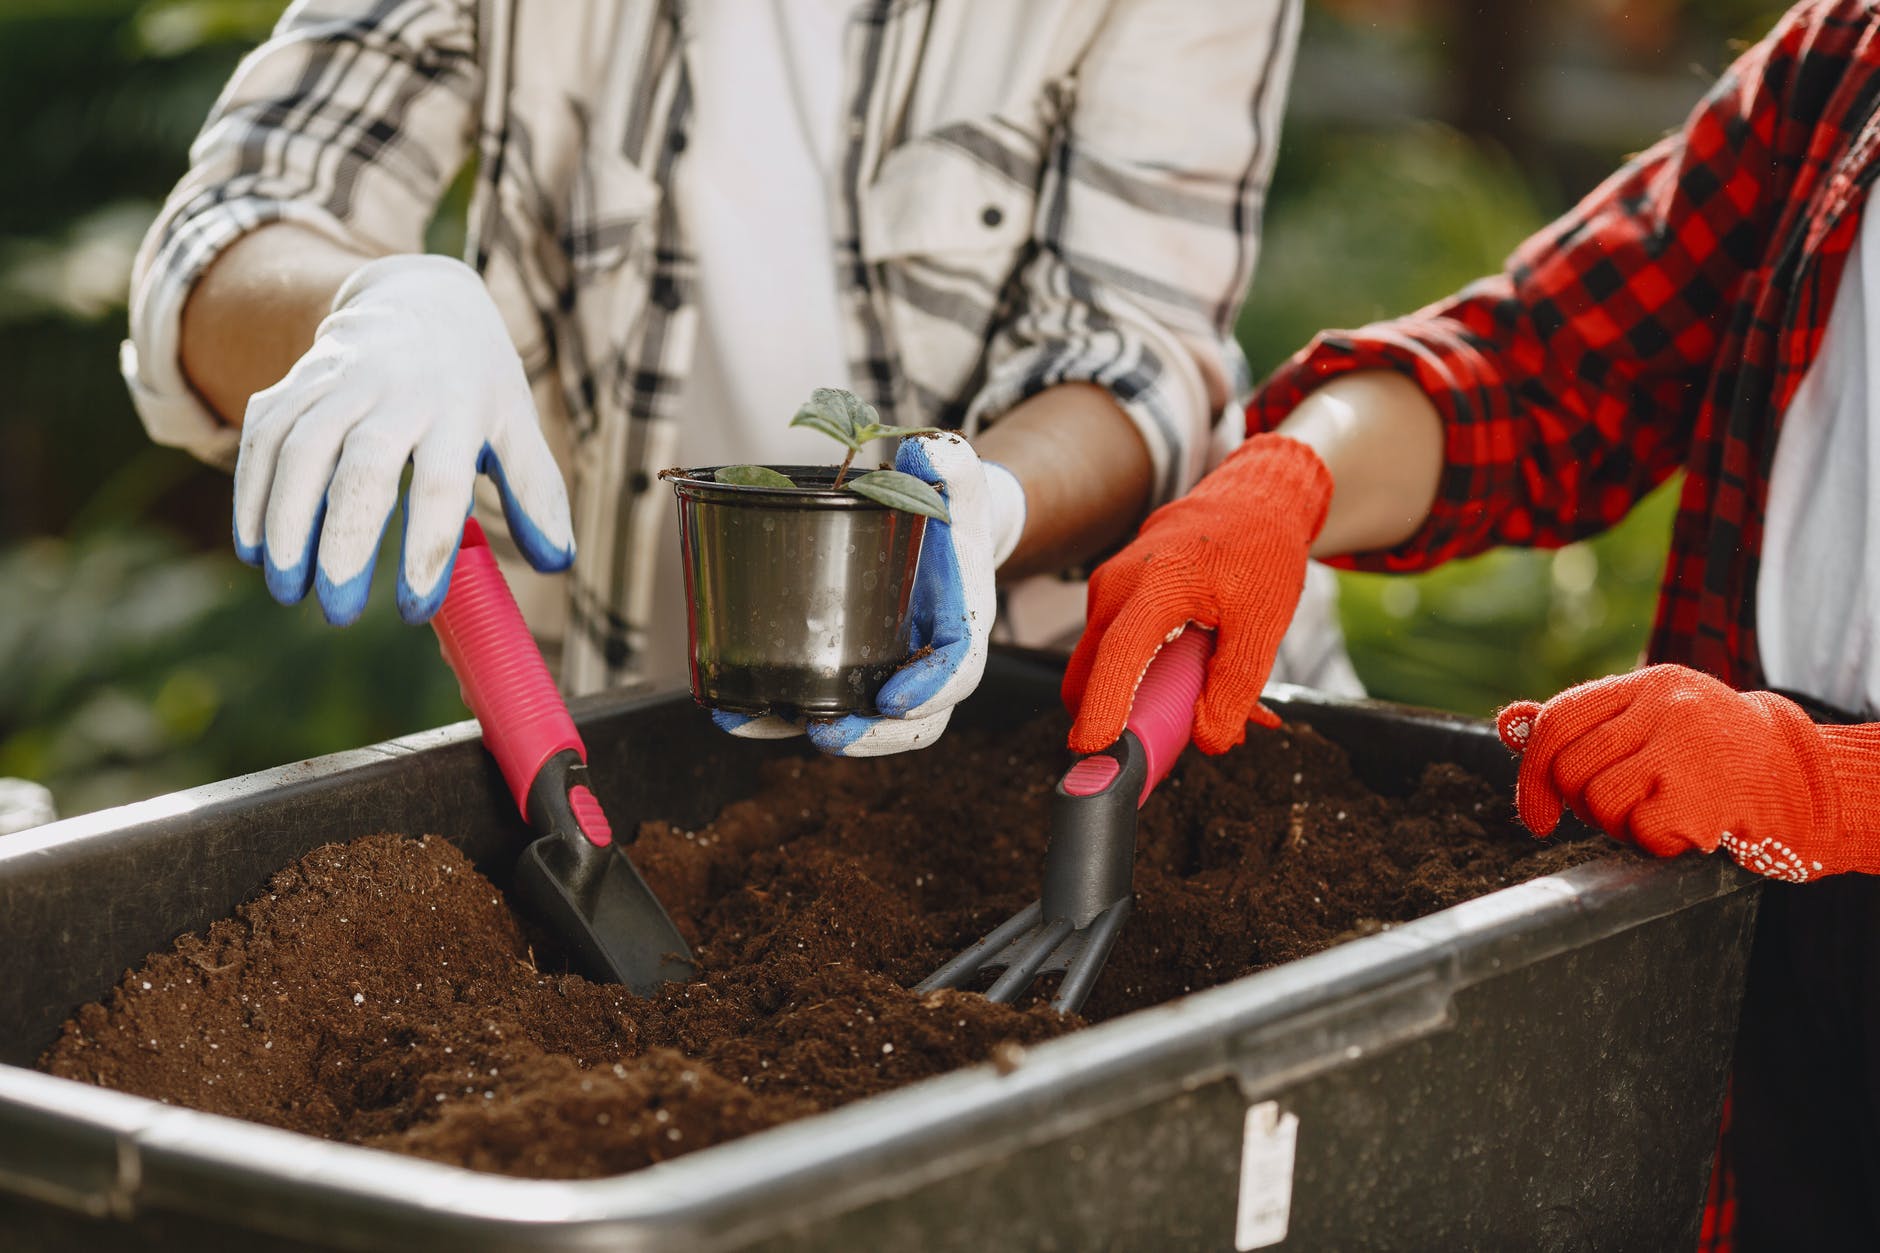
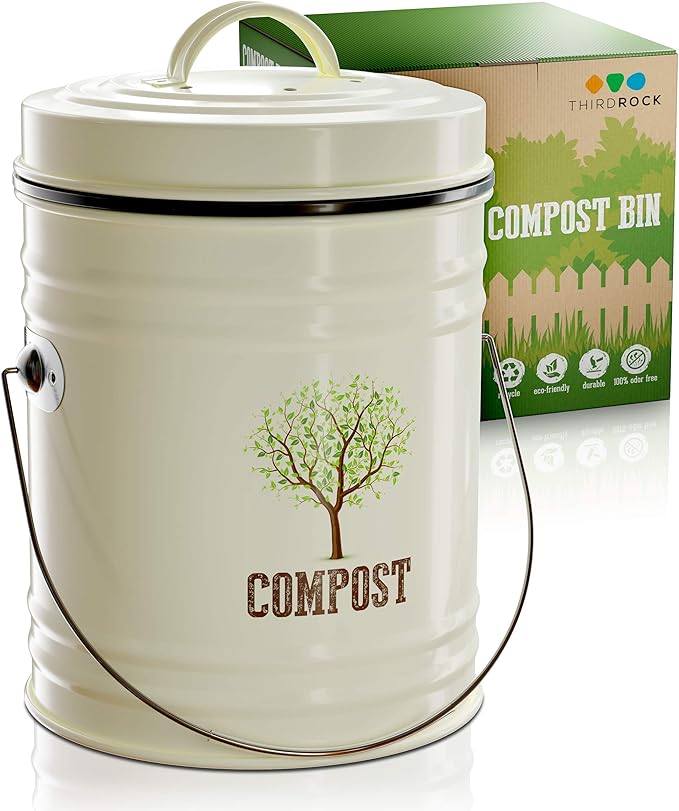
3. Prepare the Soil: If planting in a garden bed, prepare the soil by loosening it and incorporating compost for improved drainage and fertility. If growing in a container, use a well-draining potting mix.

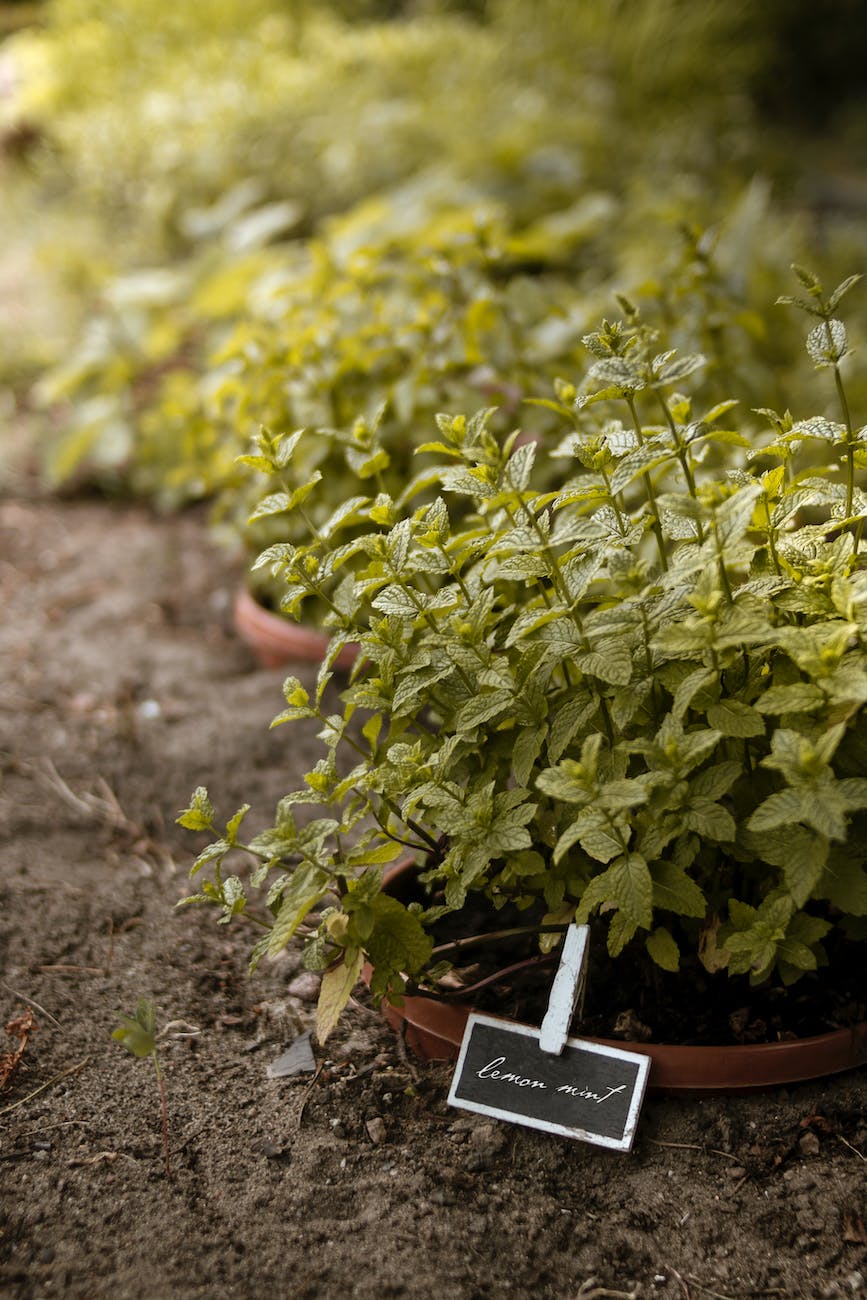
4. Choose Mint Varieties: There are several mint varieties available, each with its own unique flavor profile. Common varieties include spearmint, peppermint, chocolate mint, and pineapple mint. Choose the variety that suits your taste preferences and intended uses.

5. Planting Mint: If planting from seeds, sow them in shallow rows and lightly cover with soil. If using established mint plants, you can either propagate from cuttings or purchase young plants from a nursery. Plant mint cuttings or young plants at the same depth they were growing in their original container.

6. Spacing: If planting in a garden bed, space mint plants about 18 to 24 inches apart to allow for their spreading growth habit. In containers, one plant per 12-inch diameter pot is generally sufficient.

7. Watering: Keep the soil consistently moist, but not soggy. Mint prefers slightly damp soil. Water at the base of the plant to avoid wetting the leaves, which can make the plant susceptible to diseases.

8. Fertilization: Mint is a relatively low-maintenance herb and doesn’t require heavy fertilization. You can apply a balanced, slow-release fertilizer in the spring to provide nutrients for the growing season.

9. Pruning: Regular pruning is essential to keep mint from becoming too invasive. Pinch back the tips of the stems to encourage bushier growth and prevent the plant from becoming leggy.

10. Harvesting Mint: You can start harvesting mint leaves once the plant is established and has enough foliage. Harvest by snipping the leaves just above a set of leaves to encourage new growth. Regular harvesting will also help control the plant’s growth.

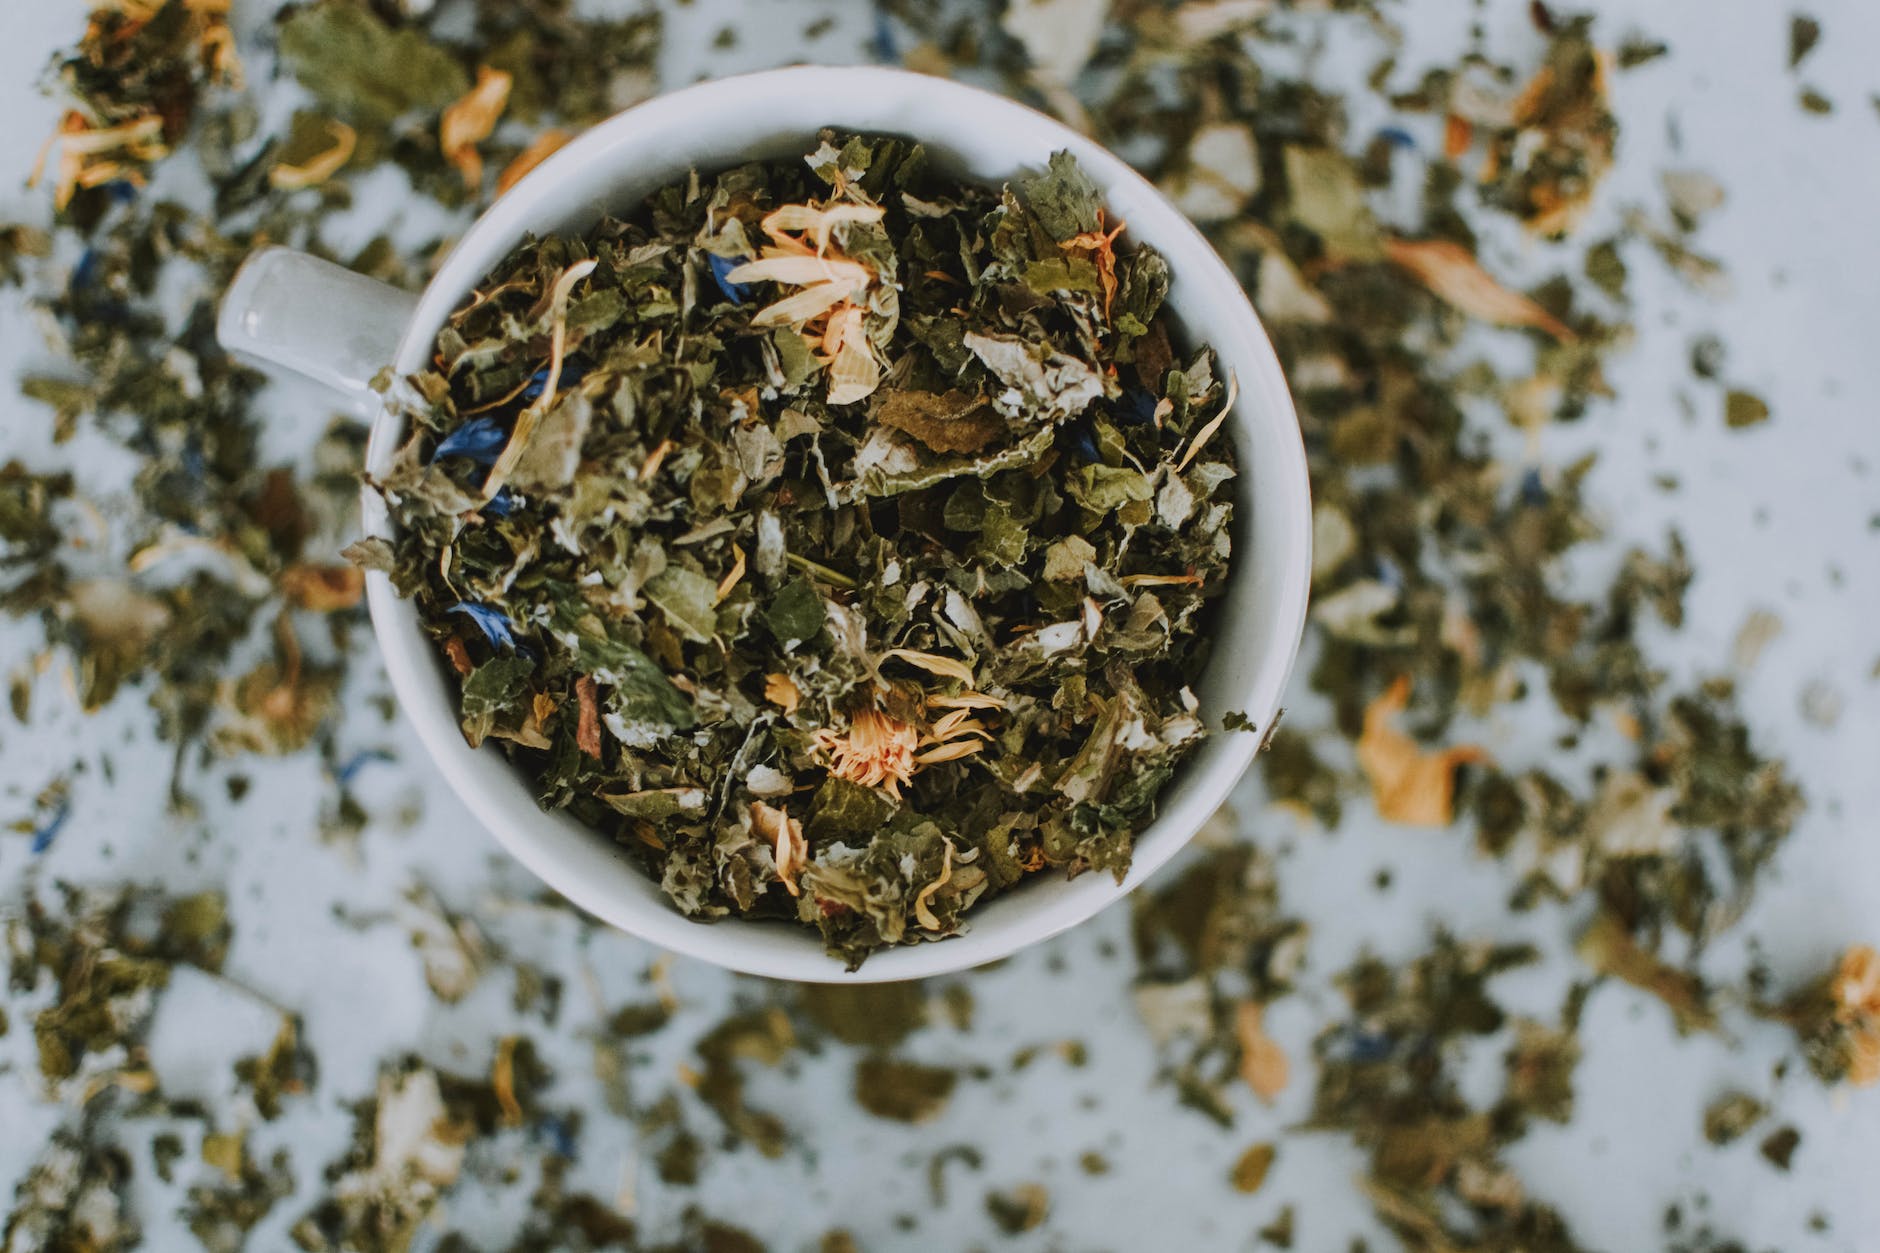
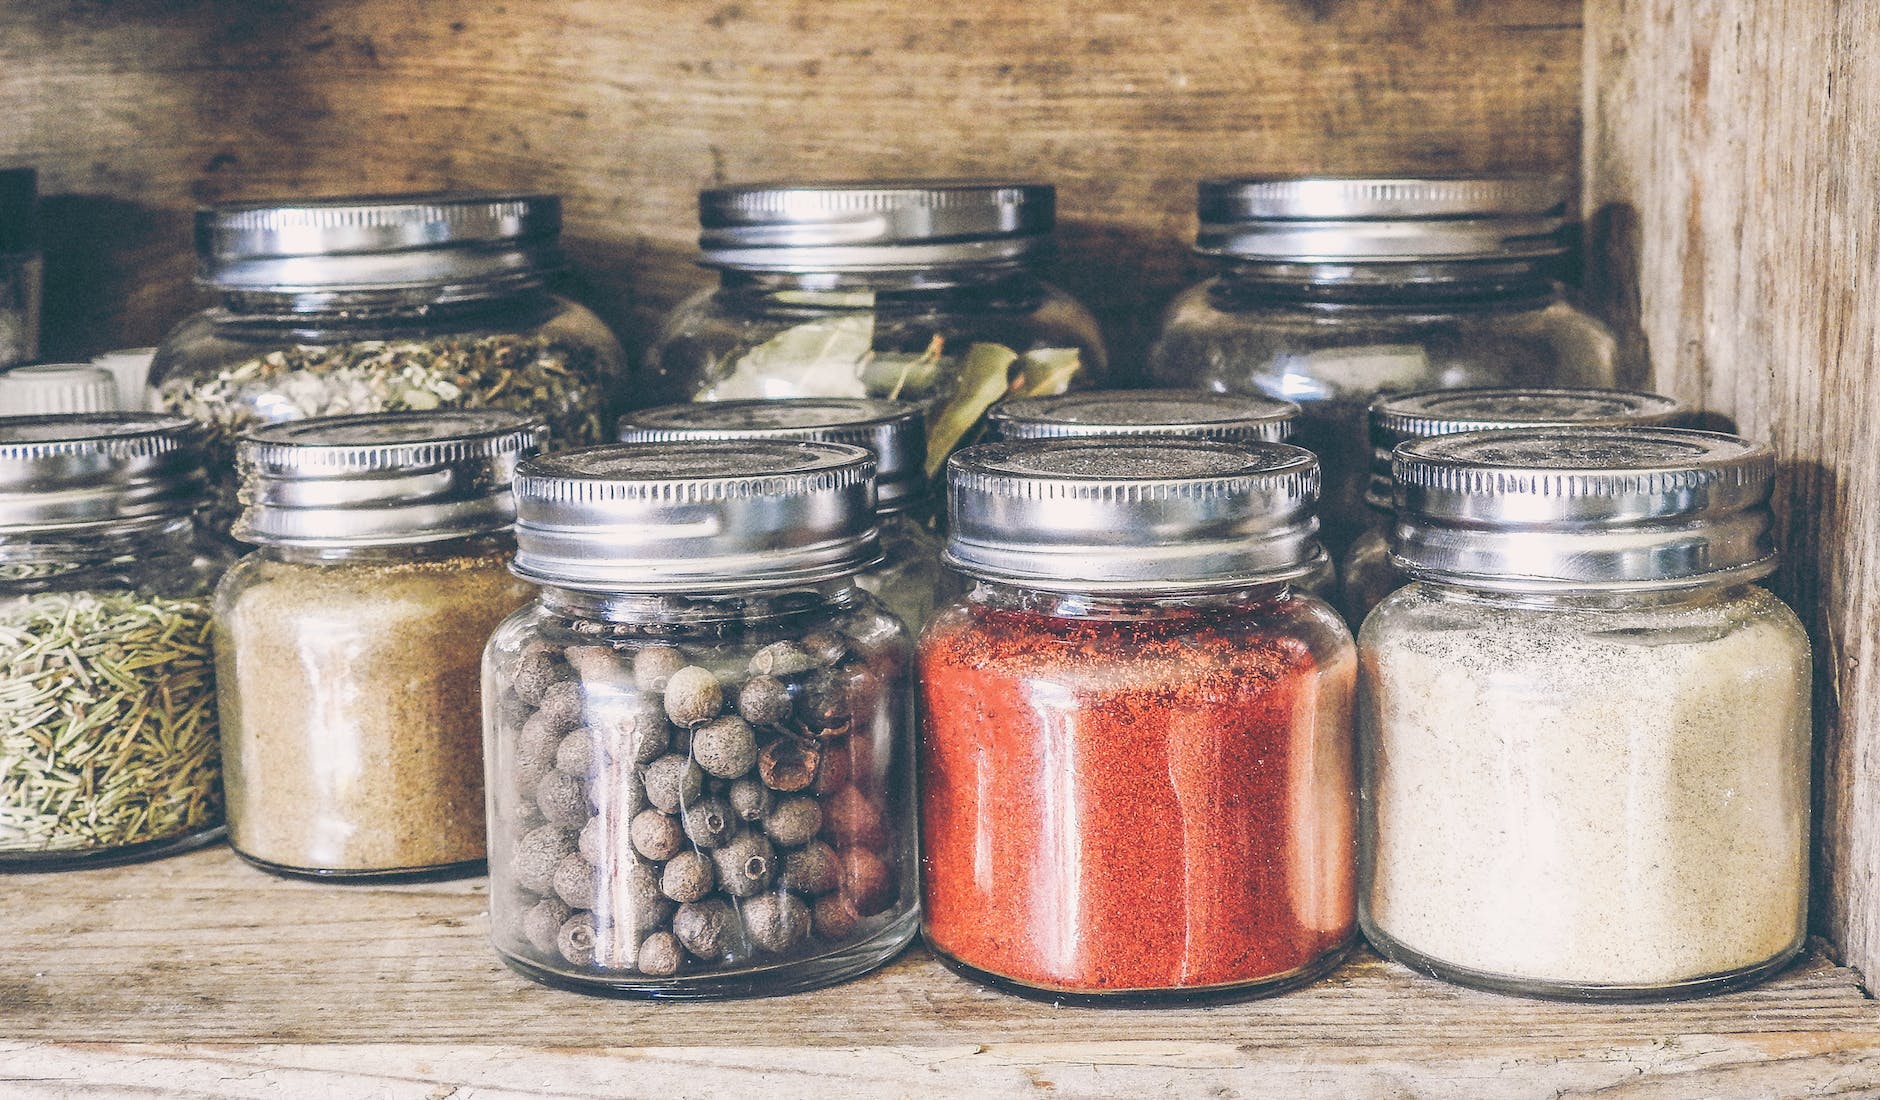
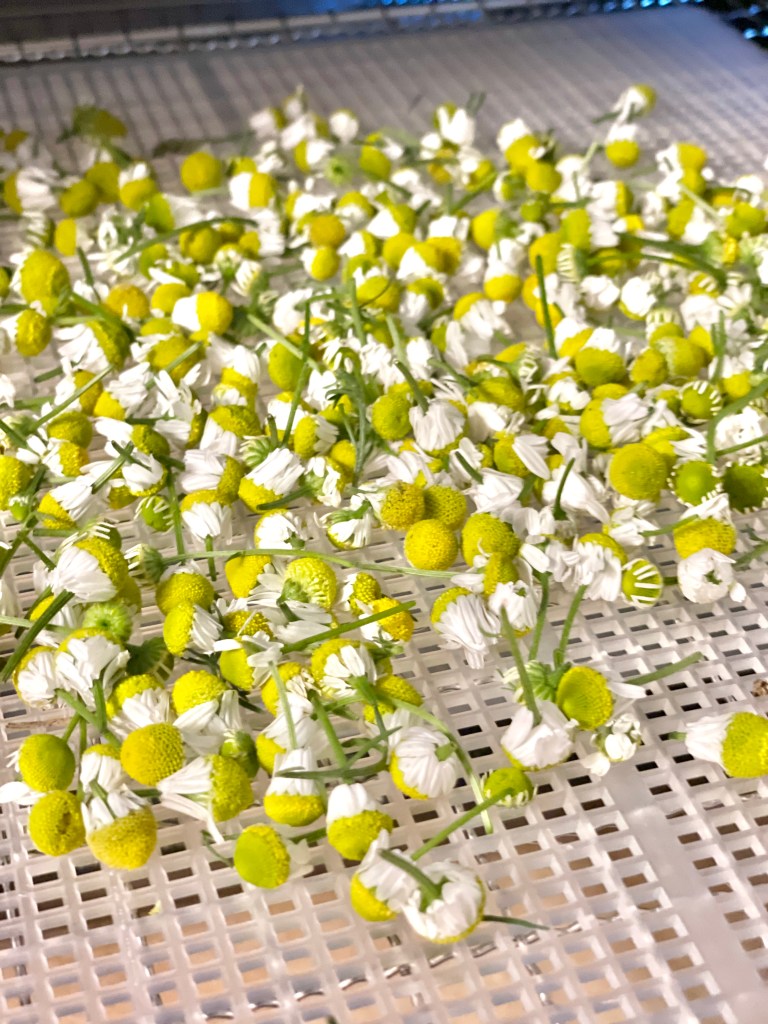
To dry mint, spread them out in a single layer in a cool, dry place away from direct sunlight. Once they’re completely dry, store them in an airtight container in a cool, dark location. Dried mint can be used for teas, infused oils, and more. I use these mesh drying racks in a cool, dark room (we have a basement pantry that works great for this). Allow them to dry completely.

The other, much quicker way to dry herbs is with a dehydrator. It’s best to dry herbs on a very low temperature setting to retain its beneficial and medicinal compounds. We set our dehydrator to 110°F or below (or use the lowest setting available) for 12-24 hours.

I use these air-tight containers to store my dried herbs.

11. Preventing Overgrowth: Mint has a tendency to spread rapidly through underground runners (rhizomes). To prevent overgrowth, regularly trim the edges of the plant and remove any runners that extend beyond the desired planting area.

12. Winter Care: In colder climates, mint may die back in the winter. Mulching around the base of the plant can help protect the roots from freezing temperatures.


By following these steps, you can enjoy a bountiful harvest of fresh and flavorful mint leaves for culinary uses, teas, and more. Just be mindful of its spreading tendencies and take steps to keep it in check if needed.

Gardening, Sustainability

Garden Gold: Unveiling the Remarkable Benefits of a Worm Farm for Your Garden


Imagine having a thriving ecosystem right in your garden that works tirelessly to improve soil quality, boost plant growth, and contribute to a more sustainable environment. Welcome to the world of worm farming! In this blog post, we’ll delve into the incredible advantages of setting up a worm farm and how these wriggly wonders can become your garden’s best allies.

1. Nature’s Nutrient Cyclers:

Worms, particularly red wigglers and Eisenia fetida, are experts at breaking down organic matter:

  • Vermicompost: The castings produced by worms, also known as vermicompost, are a nutrient-rich soil amendment that enhances plant health and growth.
  • Microbial Activity: As worms consume organic matter, their digestive process enriches the soil with beneficial microorganisms that promote nutrient availability.

2. Improved Soil Structure:

The activity of worms works wonders beneath the surface:

  • Aeration: Worm tunnels create natural air passages in the soil, enhancing oxygen circulation for healthier root systems.
  • Water Retention: Well-structured soil with worm channels retains water more effectively, reducing the risk of drought stress.

3. Enhanced Nutrient Availability:

Worm castings are a treasure trove of essential nutrients:

  • Slow Release: Nutrients in vermicompost are released slowly over time, providing a consistent supply to plants.
  • Mineral Enrichment: Worms break down minerals in organic matter, making them more accessible to plants.

4. Reduced Environmental Impact:

Worm farming contributes to sustainable gardening practices:

  • Waste Reduction: Worms consume kitchen scraps, reducing the amount of organic waste sent to landfills.
  • Less Synthetic Fertilizers: Vermicompost reduces the need for synthetic fertilizers, minimizing their environmental impact.

5. Enhanced Plant Growth and Yield:

Plants thrive in nutrient-rich soil:

  • Stronger Roots: The improved soil structure and nutrient availability lead to robust root systems.
  • Bountiful Harvests: Plants grown in worm-enriched soil often yield larger, healthier produce.

6. Easy and Low-Maintenance:

Worm farming is user-friendly:

  • Compact: A worm farm requires minimal space and can even be set up indoors.
  • Low Odor: When managed properly, worm farms produce little to no offensive odor.
  • Minimal Effort: Regular feeding and occasional maintenance are all that’s needed to keep the worms happy and productive.

7. Educational Value:

Worm farming offers valuable learning opportunities:

  • Nature’s Cycles: Witnessing the process of organic matter breakdown and nutrient cycling fosters a deeper understanding of nature’s systems.
  • Educational Tool: Worm farming is a fantastic educational tool for children, teaching them about sustainability and the interconnectedness of ecosystems.

8. Versatility of Worm Castings:

Vermicompost has multiple applications:

  • Potting Mix: Incorporate worm castings into potting soil for healthier container plants.
  • Compost Tea: Brew vermicompost tea as a natural, nutrient-rich liquid fertilizer.

A worm farm is a small but powerful addition to your gardening toolkit. As nature’s soil scientists, worms tirelessly work to enrich your soil, enhance plant growth, and contribute to a greener planet. By embracing worm farming, you’re not only reaping the benefits of healthier gardens but also participating in a sustainable and eco-friendly practice that supports a thriving garden ecosystem. So, let your garden flourish with the assistance of these humble heroes – the worms!

Setting up a worm farm

Setting up a worm farm is a rewarding and environmentally friendly way to recycle kitchen scraps and create nutrient-rich vermicompost for your garden. Here’s a step-by-step guide to help you get started:

Step 1: Choose the Right Worms

The best worms for vermicomposting are red wigglers (Eisenia fetida) or red worms. These worms are voracious eaters and thrive in the conditions of a worm farm. Here is a great place to get composting worms.

Step 2: Select a Container

You can use various containers for your worm farm, such as plastic bins, wooden crates, or specialized worm bins available in gardening stores. Make sure the container has a tight-fitting lid to keep pests out. We use this one and it works great!

Step 3: Prepare Bedding

Create a comfortable bedding for the worms using shredded newspaper, cardboard, coconut coir, or a mix of these materials. Dampen the bedding until it feels like a damp sponge.

Step 4: Add Worms and Food

Place the worms on top of the bedding. Start by adding a small amount of kitchen scraps like fruit and vegetable peels, coffee grounds, and eggshells. Avoid adding dairy, meat, oily foods, and citrus.

Step 5: Maintain the Worm Farm

Here’s how to keep your worm farm healthy:

  • Feeding: As the worms settle in, gradually increase the amount of food scraps. Bury the food under the bedding to prevent fruit flies and odors.
  • Moisture: Keep the bedding moist, but not waterlogged. Sprinkle water when needed.
  • Temperature: Worms thrive in temperatures between 55-77°F (13-25°C). Avoid extreme heat and cold.
  • Ventilation: Drill small holes in the lid or sides of the container to ensure proper airflow.
  • Harvesting: After a few months, the bedding will turn into nutrient-rich castings. To harvest, move the bedding to one side of the container and add fresh bedding and food to the other. The worms will migrate to the new bedding, allowing you to collect the vermicompost.

Step 6: Use the Vermicompost

Once you’ve harvested the vermicompost, you can use it to enrich your garden soil or potting mix. Mix it into the soil to improve its structure and provide essential nutrients to your plants.

Tips for Success:

  • Start Small: Begin with a small worm farm and gradually expand as you become more familiar with the process.
  • Balanced Diet: Provide a mix of green and brown materials (food scraps and bedding) for a balanced diet for the worms.
  • Avoid Overfeeding: Don’t overfeed the worms; they will eat at their own pace.
  • No Chemicals: Avoid using chemicals or pesticides in your worm farm, as they can harm the worms.
  • Regular Check-ups: Check on your worms regularly to ensure they’re healthy and the conditions are optimal.

Creating a worm farm is a fun and educational way to reduce waste and improve your garden’s soil health. With a little care and attention, you’ll have a thriving ecosystem of worms working tirelessly to create nutrient-rich compost for your plants.

Gardening

From Clove to Kitchen: A Comprehensive Guide to Growing and Harvesting Garlic


Garlic, with its pungent aroma and robust flavor, has earned its place as a staple in kitchens worldwide. What if you could cultivate this culinary treasure right in your own garden? In this blog post, we’ll take you on a journey through the process of growing and harvesting garlic – from selecting the right cloves to savoring the fruits of your labor in your favorite dishes.

1. Choosing the Right Garlic Varieties:

Garlic comes in various types, each with its own distinct flavor and growth characteristics. The two main categories are softneck and hardneck garlic. Some popular varieties include:

  • Softneck Garlic: Commonly grown for its adaptability and longer storage life.
  • Hardneck Garlic: Known for its complex flavors and the bonus of producing edible scapes.

2. Prepping for Planting:

Growing garlic starts with selecting the right cloves and preparing them for planting:

  • Cloves: Gently separate the cloves from the bulb, choosing the largest and healthiest ones for planting.
  • Soil: Garlic thrives in well-draining soil rich in organic matter. Amend the soil with compost before planting.

3. Planting Garlic:

The best time to plant garlic is in the fall, a few weeks before the first frost. Follow these steps:

  • Spacing: Plant cloves about 6-8 inches apart and ensure they’re about 2 inches deep.
  • Orientation: Plant cloves with the pointed end facing up and the flat end down.
  • Mulching: Apply a layer of mulch, such as straw, to protect the garlic from extreme temperatures and suppress weeds.

4. Caring for Growing Garlic:

Garlic doesn’t require excessive attention, but a few key steps can enhance its growth:

  • Watering: Keep the soil evenly moist but not waterlogged. Reduce watering as the garlic begins to mature.
  • Fertilizing: Apply a balanced fertilizer or compost in the spring to promote healthy growth.
  • Scaping: If growing hardneck garlic, remove the scapes (flower stalks) when they curl. These are edible and delicious in various dishes.

5. Harvesting Garlic:

Harvest time is the culmination of your efforts and anticipation. Here’s how to do it right:

  • Signs of Readiness: Garlic is ready to harvest when the lower leaves turn brown and the tops begin to yellow.
  • Lifting: Gently loosen the soil around the bulbs with a fork and lift the garlic from the ground.
  • Curing: Lay the harvested garlic in a dry, well-ventilated area for about 2-3 weeks to allow the outer layers to dry and the flavors to intensify.

6. Storing Your Harvest:

Once cured, it’s time to prepare your garlic for long-term storage:

  • Cleaning: Brush off excess dirt and trim the roots and tops.
  • Braiding: Softneck garlic can be braided for attractive storage.
  • Cool, Dark Place: Store your garlic in a cool, dark, and dry place to prevent sprouting and maintain flavor.

7. Enjoying the Fruits of Your Labor:

Your homegrown garlic is now ready to shine in your culinary creations:

  • Cooking: Enhance the flavors of your dishes with the distinctive taste of fresh garlic.
  • Flavoring: Infuse oils, vinegars, or sauces with garlic for a burst of aroma and taste.
  • Baking: Roasting whole bulbs of garlic creates a creamy, sweet garlic spread.

Growing and harvesting garlic is a rewarding journey that connects you to the earth and the flavors that make food memorable. With a little patience and care, you can enjoy the satisfaction of cultivating this kitchen essential from the ground up. From planting the cloves to savoring the rich flavors, your garden-to-table garlic experience is sure to be a source of culinary delight.

Gardening, Herbs, Vegetables

September Planting Guide for Zone 5: Extend Your Harvest and Prepare for Fall Beauty


As summer gradually gives way to the cooler temperatures of autumn, there’s still plenty you can do in your Zone 5 garden to keep it vibrant and productive. While the growing season might be winding down, September offers a golden opportunity to sow new seeds and plant some cool-season crops that thrive in the crisp fall air. In this blog post, we’ll explore a variety of options for what you can plant in your Zone 5 garden to make the most of this transitional month.

1. Cool-Season Vegetables:
As the weather cools down, many cool-season vegetables thrive in Zone 5 gardens:

  • Lettuce: Plant various lettuce varieties for crisp salads well into fall.
  • Spinach: Sow spinach seeds for a nutrient-packed addition to your garden beds.
  • Kale: This hardy green shines in cooler temperatures and even improves in flavor after a light frost.
  • Radishes: Quick-growing radishes can be harvested in just a few weeks.
  • Carrots: Select varieties with shorter maturity times to enjoy fresh carrots later in the season.
  • Beets: Both the roots and greens of beets can be enjoyed, making them a versatile choice.

2. Garlic Planting:
September is garlic planting time, allowing the cloves to establish roots before winter for a bountiful harvest next summer.

3. Herbs for Spring:
Planting perennial herbs now ensures they’ll establish their root systems over the winter and thrive next spring:

  • Chives
  • Thyme
  • Oregano
  • Sage
  • Lavender
  • Mint (Consider planting in a container to control its growth.)

4. Flower Bulbs for Spring Color:
Plan for a colorful spring display by planting flower bulbs in September:

  • Tulips: These classic blooms add elegance to any garden.
  • Daffodils: Reliable and deer-resistant, daffodils are a spring garden favorite.
  • Crocuses: Plant these early bloomers for a burst of color in late winter or early spring.

5. Cover Crops for Soil Health:
Consider planting cover crops like winter rye or clover to enrich your soil and prevent erosion during the winter months.

6. Fall-Blooming Plants:
Add bursts of color to your garden with fall-blooming plants:

  • Mums: These vibrant flowers bring autumnal hues to your landscape.
  • Pansies: With their cheerful faces, pansies thrive in cooler weather.

7. Transplants for Fall Harvest:
You can also transplant cold-hardy seedlings from nurseries to enjoy a late fall harvest:

  • Broccoli
  • Cabbage
  • Cauliflower
  • Kohlrabi

Remember to stay aware of your local frost dates, as they can vary within Zone 5. Consider using season extenders like row covers or cold frames to protect your plants from early frost. Additionally, ensure your new plantings receive consistent moisture to help them establish before winter sets in.

September in Zone 5 doesn’t signal the end of your gardening journey; rather, it’s a chance to embrace the beauty of fall and continue reaping the rewards of your efforts. Whether you’re enjoying the last harvests of summer or sowing the seeds for a colorful spring, your Zone 5 garden has plenty to offer throughout September. Take advantage of the cooler temperatures and prepare your garden for a vibrant transition into the next season.

Herbs, Recipes

Elevate Your Culinary Creations with Homemade Herb-Infused Oils


Imagine capturing the essence of fresh herbs in a bottle – that’s the magic of herb-infused oils. Whether you’re an avid cook or a culinary enthusiast, herb-infused oils are a fantastic way to infuse your dishes with vibrant flavors and aromatic delights. In this blog post, we’ll explore the art of making herb-infused oils at home, from selecting the perfect herbs to enjoying the incredible depth of flavor they bring to your kitchen creations.

1. The Essence of Herb-Infused Oils:

Herb-infused oils are created by steeping aromatic herbs in high-quality oil. The oil absorbs the flavors and fragrances of the herbs, resulting in a versatile and flavorful ingredient for your culinary adventures.

2. Choosing the Right Herbs:

The key to successful herb-infused oils lies in choosing the right herbs:

  • Freshness: Opt for fresh, high-quality herbs from your garden or a trusted source.
  • Compatibility: Experiment with a variety of herbs, keeping in mind complementary and contrasting flavors.
  • Favorites: Popular herbs for infusion include basil, rosemary, thyme, oregano, and sage.

3. Selecting the Base Oil:

Choosing the right oil is essential for a successful infusion. Common choices include:

  • Olive Oil: A classic choice, olive oil provides a rich, earthy base.
  • Sunflower Oil: With its neutral flavor, sunflower oil allows the herb’s characteristics to shine.
  • Grapeseed Oil: This light oil is ideal for delicate herbs that may be overpowered by stronger oils.

4. The Infusion Process:

Creating herb-infused oils is a simple process that requires patience:

  • Washing and Drying: Wash the herbs and gently pat them dry to remove excess moisture.
  • Bruising the Herbs: Lightly bruise the herbs using a mortar and pestle to release their natural oils and flavors.
  • Steeping: Place the herbs in a clean, dry glass jar and cover them with the oil of your choice. Seal the jar tightly and allow it to sit in a cool, dark place for about 1 to 2 weeks.

5. Straining and Storing:

After the steeping period, strain the oil to remove the herbs:

  • Fine Strainer: Use a fine mesh strainer, cheesecloth, or coffee filter to strain out any herb particles.
  • Storing: Transfer the strained oil into a sterilized glass bottle or jar and store it in a cool, dark place to preserve its flavor and quality.

6. Culinary Uses:

Your homemade herb-infused oils are now ready to elevate your culinary creations:

  • Salad Dressings: Drizzle over salads to infuse them with fresh herb flavors.
  • Marinades: Use as a base for marinades to add depth and complexity to meats and vegetables.
  • Dipping Oils: Combine with balsamic vinegar for a flavorful dipping oil for bread.
  • Sauteing and Roasting: Enhance the flavors of your sautéed and roasted dishes.

7. Storage and Shelf Life:

To prolong the shelf life of your herb-infused oil:

  • Refrigeration: Store in the refrigerator to prevent spoilage and maintain freshness.
  • Labeling: Always label your infused oils with the herb and date of creation.

Creating herb-infused oils is a culinary adventure that allows you to bottle the essence of nature’s bounty. With a bit of patience and experimentation, you can craft oils that turn everyday dishes into extraordinary culinary experiences. From the garden to your kitchen, let the aromatic charms of herb-infused oils inspire your cooking creativity and elevate your culinary journey.

Gardening, Sustainability

Why You Need A Compost Tumbler For Your Garden

If you’re looking to turn your garbage into gardeners gold and do it in a hurry, then you should try a compost tumbler. If you have a compost bin then you know how great it is to add compost to your flower beds and vegetable garden. But making compost takes time and its usually in short supply. A compost tumbler is a great time saver when making compost.

Some gardeners believe that compost is better than fertilizer because it doesnt just feed your plants, it also improves your soil. Improving your soil keeps your plants healthier so they grow stronger and more capable of fighting off diseases or beating droughts. Compost is decomposed organic matter and is high in nutrients that plants love. Bacteria and other micro organisms help break down that decomposing organic matter and their short life cycles become part of the process itself. When they reproduce their offspring continue the process while the parents bodies break down and add to the organic matter. Its natures way of recycling.

VIVOSUN Tumbling Composter Dual Rotating Batch Compost Bin 43 Gallon Black

Creating compost will usually take a couple of months. If you get the ratio of browns to greens right, turn the pile to keep it aerated and dont let it dry out youll be rewarded with fresh earthy compost. The more you tend your compost pile, the quicker your garden waste will become compost. Neglect the pile and it will still become compost but itll take a lot longer. For an example of this examine the rich soil in a forest. As leaves and tree litter fall to the ground, there isnt anyone there making sure its the same wetness as a wrung out sponge. But by the time the next season rolls around, a lot of those leaves have begun decomposing and in the process, theyre feeding the trees and the cycle continues without any help from man.

The gardening season can be very short depending on where you live. In the Northeast we have about 4 months of time to grow the flowers, fruits and vegetables that we love. So unless you have a huge bin of compost ready to go on the first day of spring youll need some more during the growing season. A compost tumbler is perfect for making compost fast. Now you probably wont make enough compost to fill new beds but the amount you can make is perfect to give your plants and nice top dressing.

Or if you are a composter with a pest problem, the compost tumbler will keep the critters out of your pile. The most popular tumblers are sealed up and only have holes for air. If rodents or snakes have been problems for you in the past then the compost tumbler is the solution that youve been looking for.

Theres a few things youll need to do a little differently if youre used to bin composting. First off, youll need to add all the raw materials at once. Dont continue adding or else your compost will never be done. Add what you want and then start turning. Try to turn it everyday. If not everyday then at least a few times a week. The first few batches will take the longest unless you already have some compost that you can toss into the tumbler. Or you can use a compost activator. Thats all activators really are anyway. Just someones elses compost to help get your pile started. The bacteria and micro organisms have to get in there somehow.

Be sure not to over water when using a compost tumbler. Moisture doesnt escape as easily inside the tumbler as with a regular compost bin. And most likely your ingredients such as grass clippings or coffee grinds were already moist to begin with.

After about 3 weeks the compost should start to look like compost. It should be an even color and you shouldnt be able to tell what you put in the tumbler. If your waste is still recognizable then let it decompose a while longer. And dont forget to smell your compost. It should have a nice earthy smell to it.

If youre looking for a neat & compact composting solution that works quickly and wont receive a lot of attention from your neighbors, then look into a compost tumbler. You’ll be tumbling your way to a great garden this season.

Third Rock Compost Bin for Kitchen Counter - 1.0 Gallon Compost Pail with Inner Compost Bucket Liner - Premium Dual Layer Powder Coated Carbon Steel Countertop Compost Bin - Includes Charcoal Filter

PRO TIP: I have a small compost bin inside the house to put vegetable cuttings and scraps in. Once it’s full, I add it to the tumbler outside. It’s a great way to reduce waste and maximize your compost!

Gardening, Herbs

Harvesting Herbs: A Guide to Cultivating and Collecting Nature’s Bounty

There’s something truly satisfying about growing your own herbs and transforming them into culinary delights, soothing teas, or natural remedies. As you tend to your herb garden with care, the time will come when your herbs are ready to be harvested. In this blog post, we’ll delve into the art of harvesting herbs, exploring the best practices, tips, and techniques to ensure you enjoy the full flavor and potency of your homegrown treasures.

1. Timing is Everything:

Knowing when to harvest your herbs is crucial. The best time for harvesting varies based on the type of herb and the specific plant part you’re interested in:

  • Leaves: Most herbs are at their flavor peak just before they flower. Harvest leaves in the morning when the essential oils are the most concentrated.
  • Flowers: Harvest flowers when they’re fully open but haven’t yet begun to fade.
  • Seeds: Allow seeds to fully mature on the plant before harvesting. Seeds should be dry and easily separated from the plant.

2. The Right Tools:

Using the right tools ensures a clean and efficient harvest:

  • Pruning Shears: Sharp, clean pruning shears are essential for clean cuts that promote healthy regrowth.
  • Scissors: For delicate herbs and smaller stems, scissors are handy for precise cuts.
  • Baskets or Buckets: Use these to collect your harvested herbs, preventing bruising or wilting.

3. Harvesting Techniques:

Different herbs have different growth patterns, so adapt your harvesting techniques accordingly:

  • Bushy Herbs (e.g., basil, mint): Pinch off the tips of the branches to encourage bushier growth.
  • Leafy Herbs (e.g., parsley, cilantro): Harvest outer leaves first, leaving the inner ones to continue growing.
  • Stem Herbs (e.g., rosemary, thyme): Cut stems just above a set of leaves to promote new growth.

4. Gentle Handling:

Handle harvested herbs with care to prevent bruising or damage. Avoid crushing leaves until you’re ready to use them to preserve their essential oils.

5. Cleaning and Drying:

Once harvested, gently clean your herbs by rinsing them under cool water and patting them dry with a clean towel or paper towels. To preserve the flavor and potency, consider these drying methods:

  • Air Drying: Tie small bundles of herbs together and hang them upside down in a cool, dry place out of direct sunlight.
  • Dehydrator: Use a food dehydrator to quickly dry herbs at a low temperature.
  • Oven Drying: Place herbs on a baking sheet in an oven set to the lowest possible temperature. Keep the oven door slightly ajar for airflow.

    To dry herbs spread them out in a single layer in a cool, dry place away from direct sunlight. Once they’re completely dry, store them in an airtight container in a cool, dark location. Dried herbs can be used for teas, infused oils, and more. I use these mesh drying racks in a cool, dark room (we have a basement pantry that works great for this). Allow them to dry completely.

    The other, much quicker way to dry herbs is with a dehydrator. It’s best to dry herbs on a very low temperature setting to retain its beneficial and medicinal compounds. We set our dehydrator to 110°F or below (or use the lowest setting available) for 12-24 hours.

    I use these air-tight containers to store my dried herbs.

6. Storing Herbs:

Store dried herbs in airtight containers away from light, heat, and moisture. Label containers with the herb’s name and date of harvest to maintain freshness and potency.

7. Enjoying the Fruits of Your Labor:

Your harvested herbs can be used in a variety of ways:

  • Culinary Creations: Add fresh or dried herbs to your favorite recipes for a burst of flavor.
  • Aromatic Delights: Create herb-infused oils, vinegars, or butters to elevate your dishes.
  • Soothing Teas: Brew dried herbs into comforting and aromatic herbal teas.
  • Natural Remedies: Craft your own herbal remedies and tinctures using homegrown herbs.

Harvesting herbs is a rewarding culmination of your gardening efforts. From understanding the right timing to employing proper techniques, the process enhances your connection with nature and your ability to enjoy the freshest flavors and benefits your garden has to offer. By following these guidelines, you’re well on your way to becoming a skilled herb harvester, ready to embrace the bounty of your herb garden with confidence and joy.

Gardening, Health, Herbs

A Guide to Growing Chamomile: From Seed to Soothing Tea

Chamomile, with its delicate flowers and soothing properties, is a beloved herb that has been cherished for its calming effects and versatility. Whether you’re an experienced gardener or a beginner with a green thumb, growing chamomile can be a rewarding and enriching experience. In this blog post, we’ll walk you through the steps of cultivating your own chamomile garden, from planting the seeds to enjoying a comforting cup of chamomile tea.

Chamomile is an herb with a long history of use for its various health and wellness benefits. Whether consumed as a tea, used topically, or enjoyed in other forms, chamomile offers a range of potential advantages. Here are some of the notable benefits of chamomile:

  1. Calming and Relaxation: Chamomile is renowned for its calming properties. Drinking chamomile tea can help reduce stress and anxiety, promoting relaxation and aiding in sleep. Its mild sedative effects make it a popular choice for those seeking a natural remedy for insomnia.
  2. Digestive Aid: Chamomile tea has been used for centuries to soothe digestive discomfort. It can help relax the muscles of the gastrointestinal tract, relieving indigestion, gas, and bloating. Chamomile may also have anti-inflammatory properties that contribute to improved digestion.
  3. Anti-Inflammatory Properties: Both German chamomile and Roman chamomile contain compounds that have anti-inflammatory effects. These properties make chamomile useful for addressing various inflammatory conditions, from skin irritations to digestive issues.
  4. Skin Health: Chamomile is gentle and soothing on the skin, making it a popular ingredient in skincare products. It can help alleviate skin irritations, reduce redness, and promote healing. Chamomile’s anti-inflammatory and antioxidant properties also contribute to its skin-nurturing effects.
  5. Immune System Support: The antioxidants found in chamomile, such as flavonoids, may contribute to immune system support. Regular consumption of chamomile tea could potentially help protect the body from oxidative stress and bolster the immune response.
  6. Menstrual Pain Relief: Chamomile tea may help alleviate menstrual cramps and discomfort. Its muscle-relaxing properties can ease uterine contractions, reducing pain during menstruation.
  7. Respiratory Health: Inhaling steam infused with chamomile can provide relief from respiratory symptoms such as congestion, coughs, and sinusitis. The anti-inflammatory and antimicrobial properties of chamomile contribute to its respiratory benefits.
  8. Antioxidant Protection: Chamomile is a source of antioxidants that help combat free radicals and oxidative stress in the body. Regular consumption of chamomile tea can contribute to overall cellular health.
  9. Oral Health: Chamomile’s antimicrobial and anti-inflammatory properties make it beneficial for oral health. It can help soothe gum inflammation, reduce bacteria in the mouth, and freshen breath.
  10. Hair Care: Chamomile extracts are often used in hair care products for their potential to lighten hair color naturally. Chamomile can also soothe an itchy scalp and add shine to hair.
  11. Allergy Relief: Chamomile’s anti-inflammatory compounds, including chamazulene, may provide relief from allergy symptoms by reducing inflammation in the nasal passages and promoting respiratory comfort.
  12. Stomach Ulcer Support: Some studies suggest that chamomile may help protect against the development of stomach ulcers and promote the healing of existing ulcers due to its anti-inflammatory and antioxidant properties.

It’s important to note that individual responses to chamomile may vary, and some people may experience allergies or adverse reactions. If you have allergies or are pregnant, it’s a good idea to consult a healthcare professional before incorporating chamomile into your routine. While chamomile is generally considered safe, it’s always wise to use herbal remedies in moderation and under appropriate guidance.

Growing your own chamomile

1. Choose the Right Variety

Chamomile comes in two main varieties: German chamomile (Matricaria chamomilla) and Roman chamomile (Chamaemelum nobile). German chamomile is known for its taller growth and feathery leaves, while Roman chamomile is a low-growing, spreading plant. Consider your space and preferences when choosing the variety that suits your garden best.

Here is where I buy my chamomile seeds

2. Select a Sunny Spot

Chamomile thrives in full sun to partial shade. Choose a well-draining location in your garden that receives at least 6 hours of sunlight per day. If you’re growing chamomile indoors, place it near a sunny window.

3. Prepare the Soil

Chamomile prefers well-draining, slightly acidic soil. Amend the soil with compost to improve its texture and fertility. Avoid compacted soil, as chamomile’s delicate roots need room to spread.

4. Planting Seeds

Chamomile seeds are small and delicate, so sprinkle them lightly on the soil surface. Gently press the seeds into the soil without covering them completely, as they require light to germinate. Water the soil gently to keep it moist, but not soggy.

5. Germination and Growth

Chamomile seeds typically germinate within 7 to 14 days. Once the seedlings have grown a few inches tall, thin them out if needed to provide adequate spacing between plants. Keep the soil consistently moist, but avoid overwatering.

6. Care and Maintenance

Chamomile is relatively low-maintenance. Regularly harvest the flowers to encourage continuous blooming. Water the plants at the base to prevent water from sitting on the foliage, which can lead to disease.

7. Harvesting Chamomile

Harvest chamomile flowers in the morning when the dew has dried but before the sun is too strong. Gently pluck the flower heads and leave a portion of the stem attached. You can use the flowers fresh or dry them for later use.

8. Drying and Storing

To dry chamomile flowers, spread them out in a single layer in a cool, dry place away from direct sunlight. Once they’re completely dry, store them in an airtight container in a cool, dark location. Dried chamomile can be used for teas, infused oils, and more. I use these mesh drying racks in a cool, dark room (we have a basement pantry that works great for this). Allow them to dry completely.

The other, much quicker way to dry herbs is with a dehydrator. It’s best to dry chamomile on a very low temperature setting to retain its beneficial and medicinal compounds. We set our dehydrator to 110°F or below (or use the lowest setting available) for 12-24 hours.

I use these air-tight containers to store my dried herbs.

9. Enjoying Chamomile Tea

Chamomile tea is renowned for its soothing and calming effects. To make chamomile tea, simply steep a tablespoon of dried chamomile flowers in hot water for about 5 minutes. Strain and enjoy the warm, comforting beverage.

Growing chamomile is a wonderful way to connect with nature and enjoy the many benefits this gentle herb has to offer. From its cheerful blooms to its aromatic fragrance, chamomile brings a sense of tranquility to any garden. Whether you’re cultivating it for its therapeutic properties or simply for the joy of nurturing a plant, chamomile is a valuable addition to any gardening journey.