Just a family learning to be mroe self-sufficient and helping others do the same
Author: Jessie Williams
Welcome, I am so happy to have you! My goal is to help you learn how to embrace abundance in life and health. My blog will have tons of information on homesteading, gardening, healthy recipes, toxin-free living and so much more.
Garlic, with its pungent aroma and robust flavor, has earned its place as a staple in kitchens worldwide. What if you could cultivate this culinary treasure right in your own garden? In this blog post, we’ll take you on a journey through the process of growing and harvesting garlic – from selecting the right cloves to savoring the fruits of your labor in your favorite dishes.
1. Choosing the Right Garlic Varieties:
Garlic comes in various types, each with its own distinct flavor and growth characteristics. The two main categories are softneck and hardneck garlic. Some popular varieties include:
Softneck Garlic: Commonly grown for its adaptability and longer storage life.
Hardneck Garlic: Known for its complex flavors and the bonus of producing edible scapes.
2. Prepping for Planting:
Growing garlic starts with selecting the right cloves and preparing them for planting:
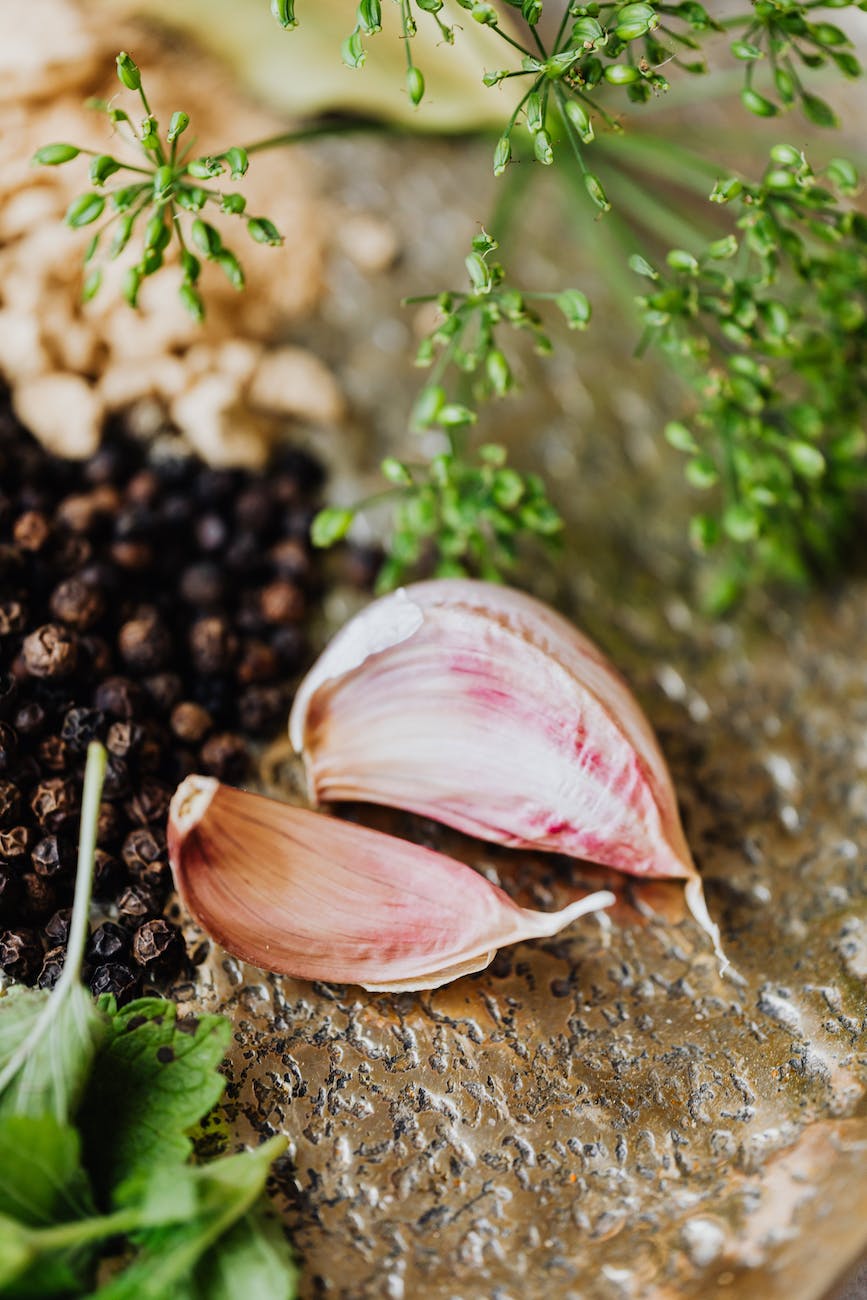
Cloves: Gently separate the cloves from the bulb, choosing the largest and healthiest ones for planting.
Soil: Garlic thrives in well-draining soil rich in organic matter. Amend the soil with compost before planting.
3. Planting Garlic:
The best time to plant garlic is in the fall, a few weeks before the first frost. Follow these steps:
Spacing: Plant cloves about 6-8 inches apart and ensure they’re about 2 inches deep.
Orientation: Plant cloves with the pointed end facing up and the flat end down.
Mulching: Apply a layer of mulch, such as straw, to protect the garlic from extreme temperatures and suppress weeds.
4. Caring for Growing Garlic:
Garlic doesn’t require excessive attention, but a few key steps can enhance its growth:
Watering: Keep the soil evenly moist but not waterlogged. Reduce watering as the garlic begins to mature.
Fertilizing: Apply a balanced fertilizer or compost in the spring to promote healthy growth.
Scaping: If growing hardneck garlic, remove the scapes (flower stalks) when they curl. These are edible and delicious in various dishes.
5. Harvesting Garlic:
Harvest time is the culmination of your efforts and anticipation. Here’s how to do it right:
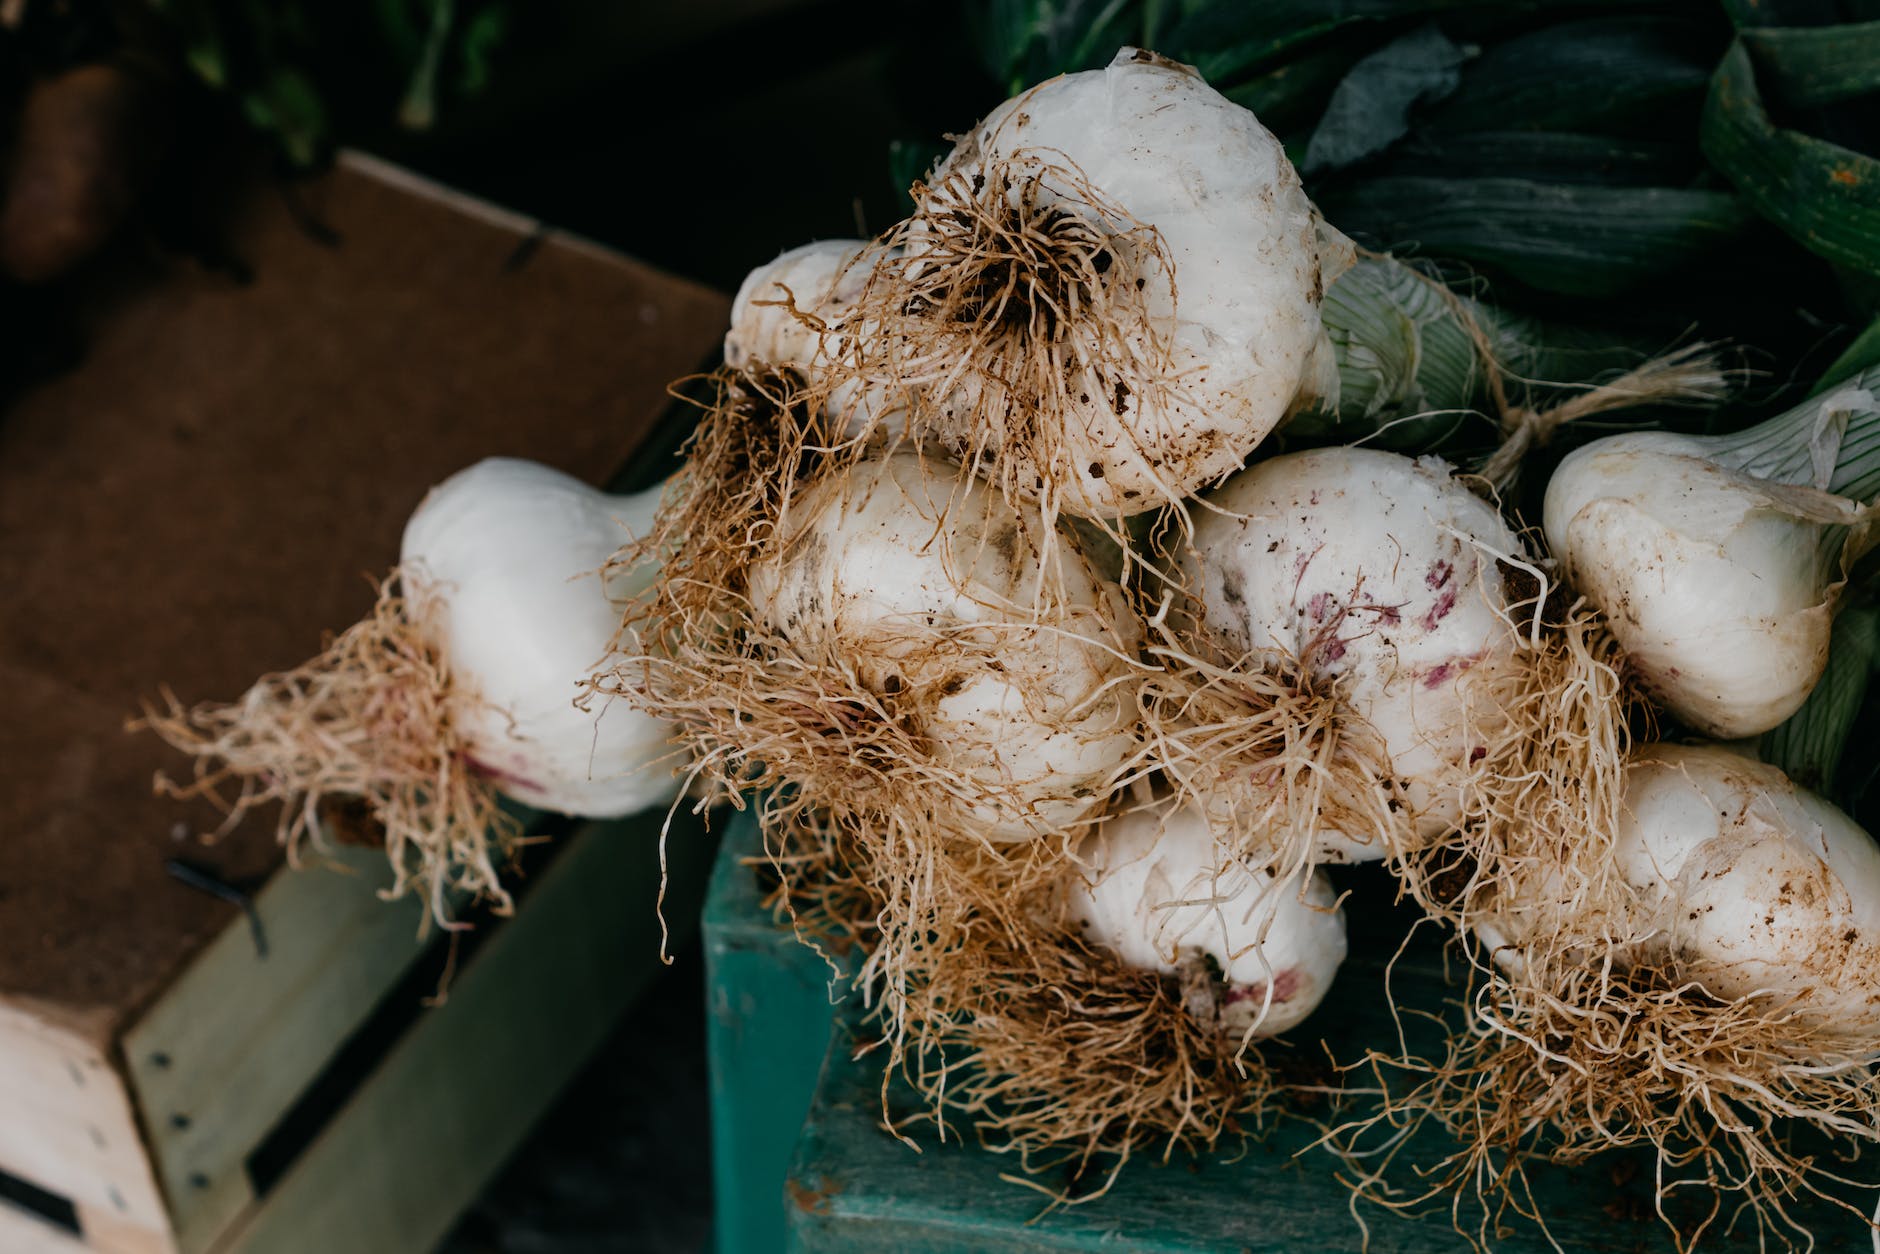
Signs of Readiness: Garlic is ready to harvest when the lower leaves turn brown and the tops begin to yellow.
Lifting: Gently loosen the soil around the bulbs with a fork and lift the garlic from the ground.
Curing: Lay the harvested garlic in a dry, well-ventilated area for about 2-3 weeks to allow the outer layers to dry and the flavors to intensify.
6. Storing Your Harvest:
Once cured, it’s time to prepare your garlic for long-term storage:
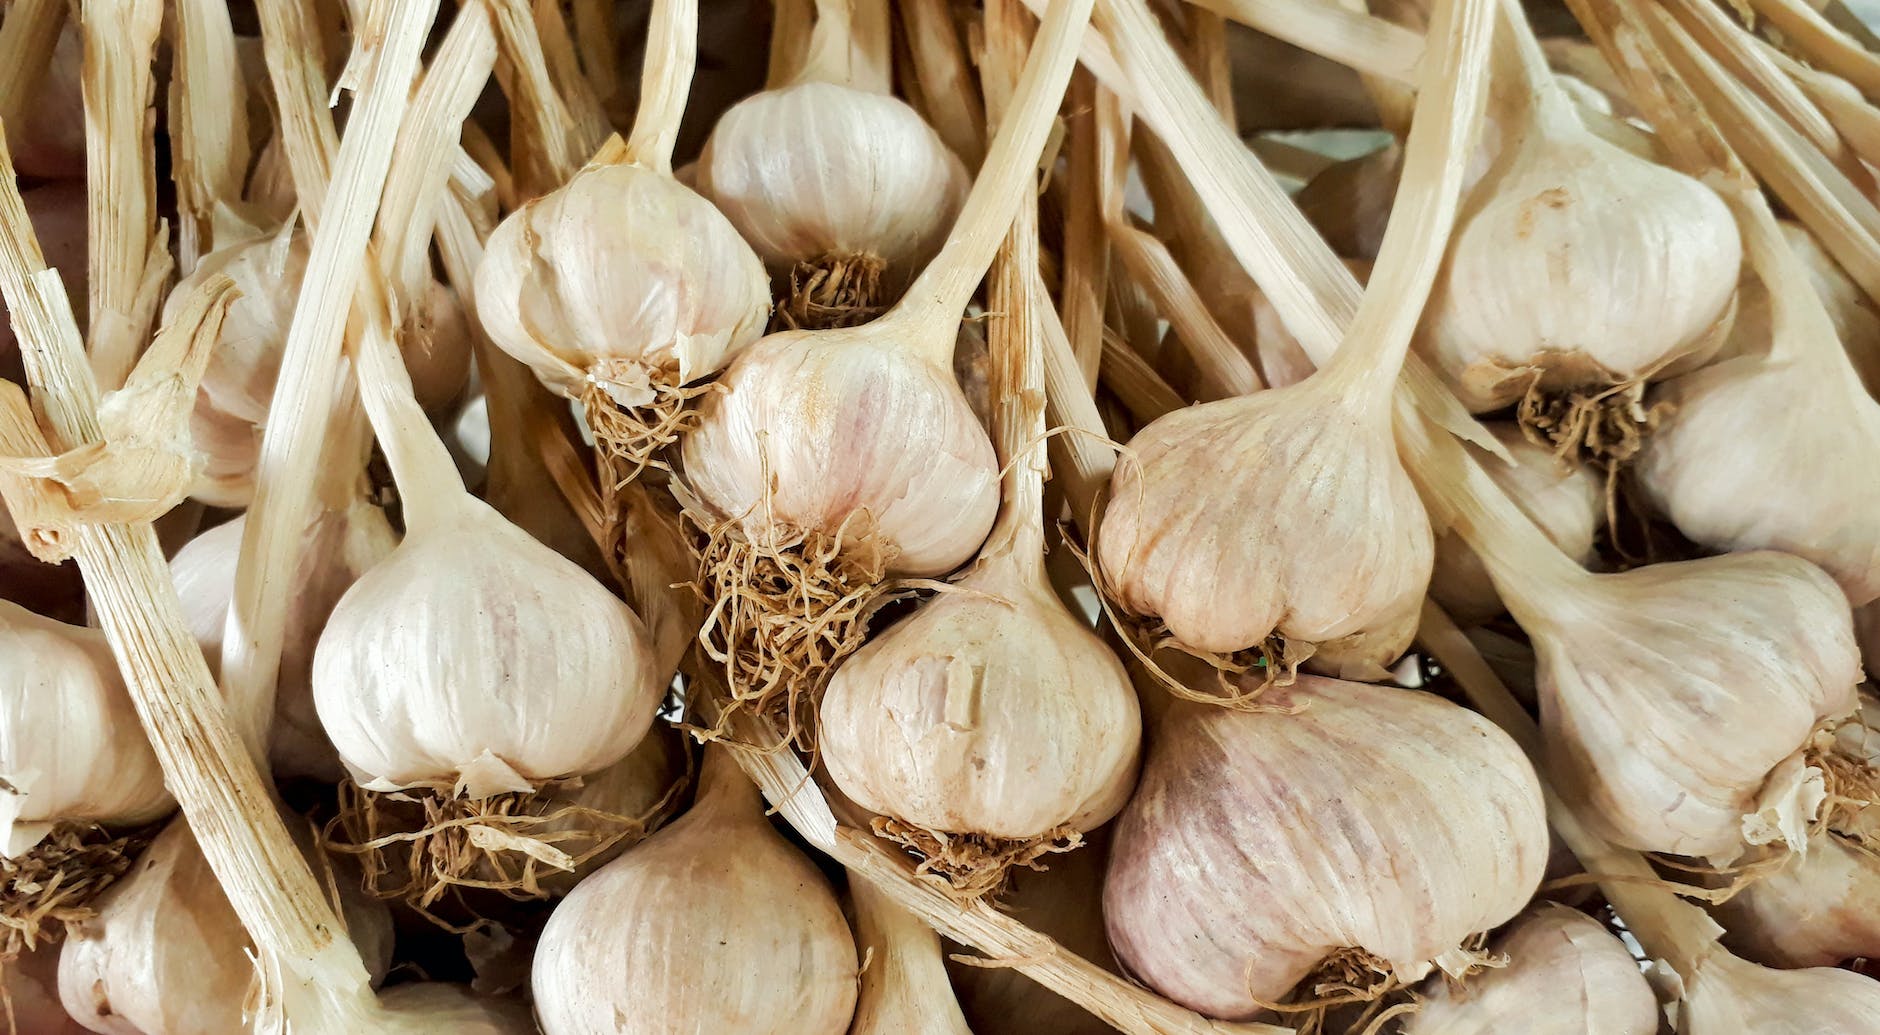
Cleaning: Brush off excess dirt and trim the roots and tops.
Braiding: Softneck garlic can be braided for attractive storage.
Cool, Dark Place: Store your garlic in a cool, dark, and dry place to prevent sprouting and maintain flavor.
7. Enjoying the Fruits of Your Labor:
Your homegrown garlic is now ready to shine in your culinary creations:
Cooking: Enhance the flavors of your dishes with the distinctive taste of fresh garlic.
Flavoring: Infuse oils, vinegars, or sauces with garlic for a burst of aroma and taste.
Baking: Roasting whole bulbs of garlic creates a creamy, sweet garlic spread.
Growing and harvesting garlic is a rewarding journey that connects you to the earth and the flavors that make food memorable. With a little patience and care, you can enjoy the satisfaction of cultivating this kitchen essential from the ground up. From planting the cloves to savoring the rich flavors, your garden-to-table garlic experience is sure to be a source of culinary delight.
As summer gradually gives way to the cooler temperatures of autumn, there’s still plenty you can do in your Zone 5 garden to keep it vibrant and productive. While the growing season might be winding down, September offers a golden opportunity to sow new seeds and plant some cool-season crops that thrive in the crisp fall air. In this blog post, we’ll explore a variety of options for what you can plant in your Zone 5 garden to make the most of this transitional month.
1. Cool-Season Vegetables: As the weather cools down, many cool-season vegetables thrive in Zone 5 gardens:
Lettuce: Plant various lettuce varieties for crisp salads well into fall.
Spinach: Sow spinach seeds for a nutrient-packed addition to your garden beds.
Kale: This hardy green shines in cooler temperatures and even improves in flavor after a light frost.
Radishes: Quick-growing radishes can be harvested in just a few weeks.
Carrots: Select varieties with shorter maturity times to enjoy fresh carrots later in the season.
Beets: Both the roots and greens of beets can be enjoyed, making them a versatile choice.
2. Garlic Planting: September is garlic planting time, allowing the cloves to establish roots before winter for a bountiful harvest next summer.
3. Herbs for Spring: Planting perennial herbs now ensures they’ll establish their root systems over the winter and thrive next spring:
Chives
Thyme
Oregano
Sage
Lavender
Mint (Consider planting in a container to control its growth.)
4. Flower Bulbs for Spring Color: Plan for a colorful spring display by planting flower bulbs in September:
Tulips: These classic blooms add elegance to any garden.
Daffodils: Reliable and deer-resistant, daffodils are a spring garden favorite.
Crocuses: Plant these early bloomers for a burst of color in late winter or early spring.
5. Cover Crops for Soil Health: Consider planting cover crops like winter rye or clover to enrich your soil and prevent erosion during the winter months.
6. Fall-Blooming Plants: Add bursts of color to your garden with fall-blooming plants:
Mums: These vibrant flowers bring autumnal hues to your landscape.
Pansies: With their cheerful faces, pansies thrive in cooler weather.
7. Transplants for Fall Harvest: You can also transplant cold-hardy seedlings from nurseries to enjoy a late fall harvest:
Broccoli
Cabbage
Cauliflower
Kohlrabi
Remember to stay aware of your local frost dates, as they can vary within Zone 5. Consider using season extenders like row covers or cold frames to protect your plants from early frost. Additionally, ensure your new plantings receive consistent moisture to help them establish before winter sets in.
September in Zone 5 doesn’t signal the end of your gardening journey; rather, it’s a chance to embrace the beauty of fall and continue reaping the rewards of your efforts. Whether you’re enjoying the last harvests of summer or sowing the seeds for a colorful spring, your Zone 5 garden has plenty to offer throughout September. Take advantage of the cooler temperatures and prepare your garden for a vibrant transition into the next season.
There’s something truly magical about capturing the vibrant flavors of summer in a jar. Canned peach jam is a delightful way to savor the sweetness of ripe peaches long after the season has passed. In this blog post, we’ll guide you through the process of making your own mouthwatering canned peach jam, ensuring you have a taste of sunshine even in the chilliest of months.
Peaches – Use fresh ripe peaches for optimal results. Frozen fruit tends to produce runny jam. If you must use frozen fruit, get them into the pot before they thaw; the faster they defrost, the less juice escapes the peaches, which will help the jam thicken up. Although it still may be thinner than you want.
Sugar – Granulated sugar is best for jam-making.
Lemon juice – To set properly, jam needs the right balance of acid and pectin. Since peaches are a low-acid fruit, you need lemon juice.
SURE-JELL fruit pectin – The gelling agent and a must forhomemade jams and jellies
Vanilla extract
OPTIONAL: Nutmeg and/or Cinnamon – Adds some extra flavor for a spiced jam
If you are new to canning, I highly recommend getting this book to get you started. It goes over all you need to know about canning, safety and has great recipes.
Wash the canning jars, lids, and bands in hot, soapy water. Rinse well.
Sterilize the jars by placing them in a water bath canner or a large pot filled with water. Bring to a simmer and keep them hot until ready to use.
Place the lids in a separate pot of hot water to soften the seals.
2. Prepare the Peaches:
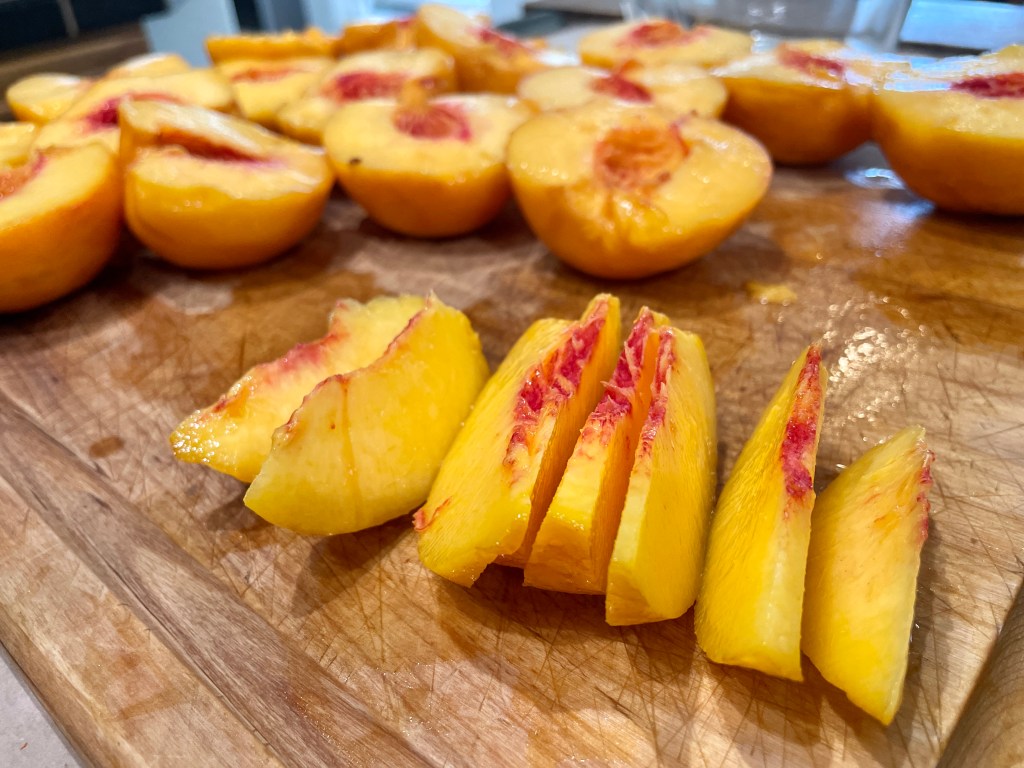
Wash the peaches thoroughly and remove the skins by blanching them in boiling water for about 30 seconds, then transferring them to an ice water bath.
Once cooled, the skins should peel off easily. Cut the peaches in half, remove the pits, and finely chop the flesh.
3. Cook the Jam:
In a large pot, combine the chopped peaches and lemon juice. Bring the mixture to a simmer over medium heat.
Gradually add the fruit pectin while stirring constantly to prevent clumping.
Once the mixture is simmering, gradually add the granulated sugar while stirring until it’s fully dissolved.
Add in vanilla and optional spices
4. Bring to a Boil:
Increase the heat to high and bring the mixture to a rolling boil, stirring frequently to prevent sticking.
5. Perform a Gel Test:
To check if the jam is ready, perform a gel test. Place a small amount of the jam on a chilled plate and let it sit for a minute. If it wrinkles when pushed with your finger, it’s ready.
6. Fill the Jars:
Carefully remove a hot jar from the water bath canner using jar lifter tongs.
Using a funnel, ladle the hot jam into the sterilized jar, leaving about 1/4-inch headspace at the top.
Use a clean cloth or paper towel to wipe the rim of the jar to ensure a clean seal.
7. Seal the Jars:
Retrieve a lid from the pot of hot water using tongs. Place it on top of the jar and secure it with a band, tightening until fingertip-tight (not overly tight).
8. Process the Jars:
Carefully place the filled jars back into the water bath canner, ensuring they’re fully submerged in water.
Bring the water to a gentle boil and process the jars for about 10 minutes.
9. Remove and Cool:
Using jar lifter tongs, carefully remove the processed jars from the water bath canner and place them on a clean towel or cooling rack.
Let the jars cool undisturbed for 12-24 hours. You’ll likely hear the satisfying “ping” of the lids sealing as they cool.
10. Label and Store:
Once the jars are completely cool, label them with the date and contents.
Store your homemade canned peach jam in a cool, dark place. Any jars that haven’t sealed properly should be refrigerated and consumed within a few weeks.
Homemade canned peach jam is more than just a condiment; it’s a jar of memories and warmth that you can enjoy throughout the year. With its vibrant color, sweet aroma, and luscious taste, this jam is a testament to the beauty of preserving the bounty of summer. Whether you spread it on toast, swirl it into yogurt, or dollop it onto desserts, your homemade canned peach jam will bring a taste of sunshine to every bite.
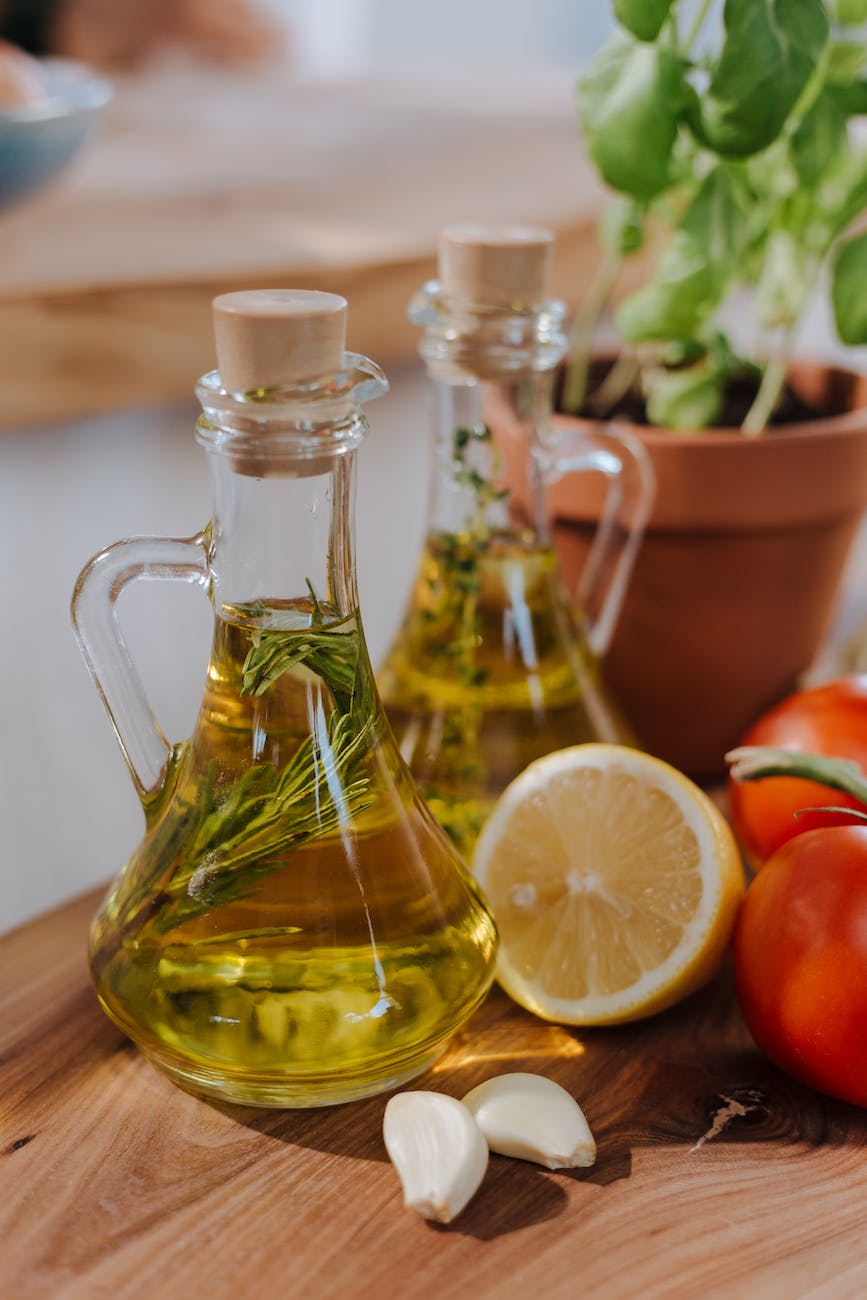
Imagine capturing the essence of fresh herbs in a bottle – that’s the magic of herb-infused oils. Whether you’re an avid cook or a culinary enthusiast, herb-infused oils are a fantastic way to infuse your dishes with vibrant flavors and aromatic delights. In this blog post, we’ll explore the art of making herb-infused oils at home, from selecting the perfect herbs to enjoying the incredible depth of flavor they bring to your kitchen creations.
1. The Essence of Herb-Infused Oils:
Herb-infused oils are created by steeping aromatic herbs in high-quality oil. The oil absorbs the flavors and fragrances of the herbs, resulting in a versatile and flavorful ingredient for your culinary adventures.
2. Choosing the Right Herbs:
The key to successful herb-infused oils lies in choosing the right herbs:
Freshness: Opt for fresh, high-quality herbs from your garden or a trusted source.
Compatibility: Experiment with a variety of herbs, keeping in mind complementary and contrasting flavors.
Favorites: Popular herbs for infusion include basil, rosemary, thyme, oregano, and sage.
3. Selecting the Base Oil:
Choosing the right oil is essential for a successful infusion. Common choices include:
Olive Oil: A classic choice, olive oil provides a rich, earthy base.
Sunflower Oil: With its neutral flavor, sunflower oil allows the herb’s characteristics to shine.
Grapeseed Oil: This light oil is ideal for delicate herbs that may be overpowered by stronger oils.
4. The Infusion Process:
Creating herb-infused oils is a simple process that requires patience:
Washing and Drying: Wash the herbs and gently pat them dry to remove excess moisture.
Bruising the Herbs: Lightly bruise the herbs using a mortar and pestle to release their natural oils and flavors.
Steeping: Place the herbs in a clean, dry glass jar and cover them with the oil of your choice. Seal the jar tightly and allow it to sit in a cool, dark place for about 1 to 2 weeks.
5. Straining and Storing:
After the steeping period, strain the oil to remove the herbs:
Fine Strainer: Use a fine mesh strainer, cheesecloth, or coffee filter to strain out any herb particles.
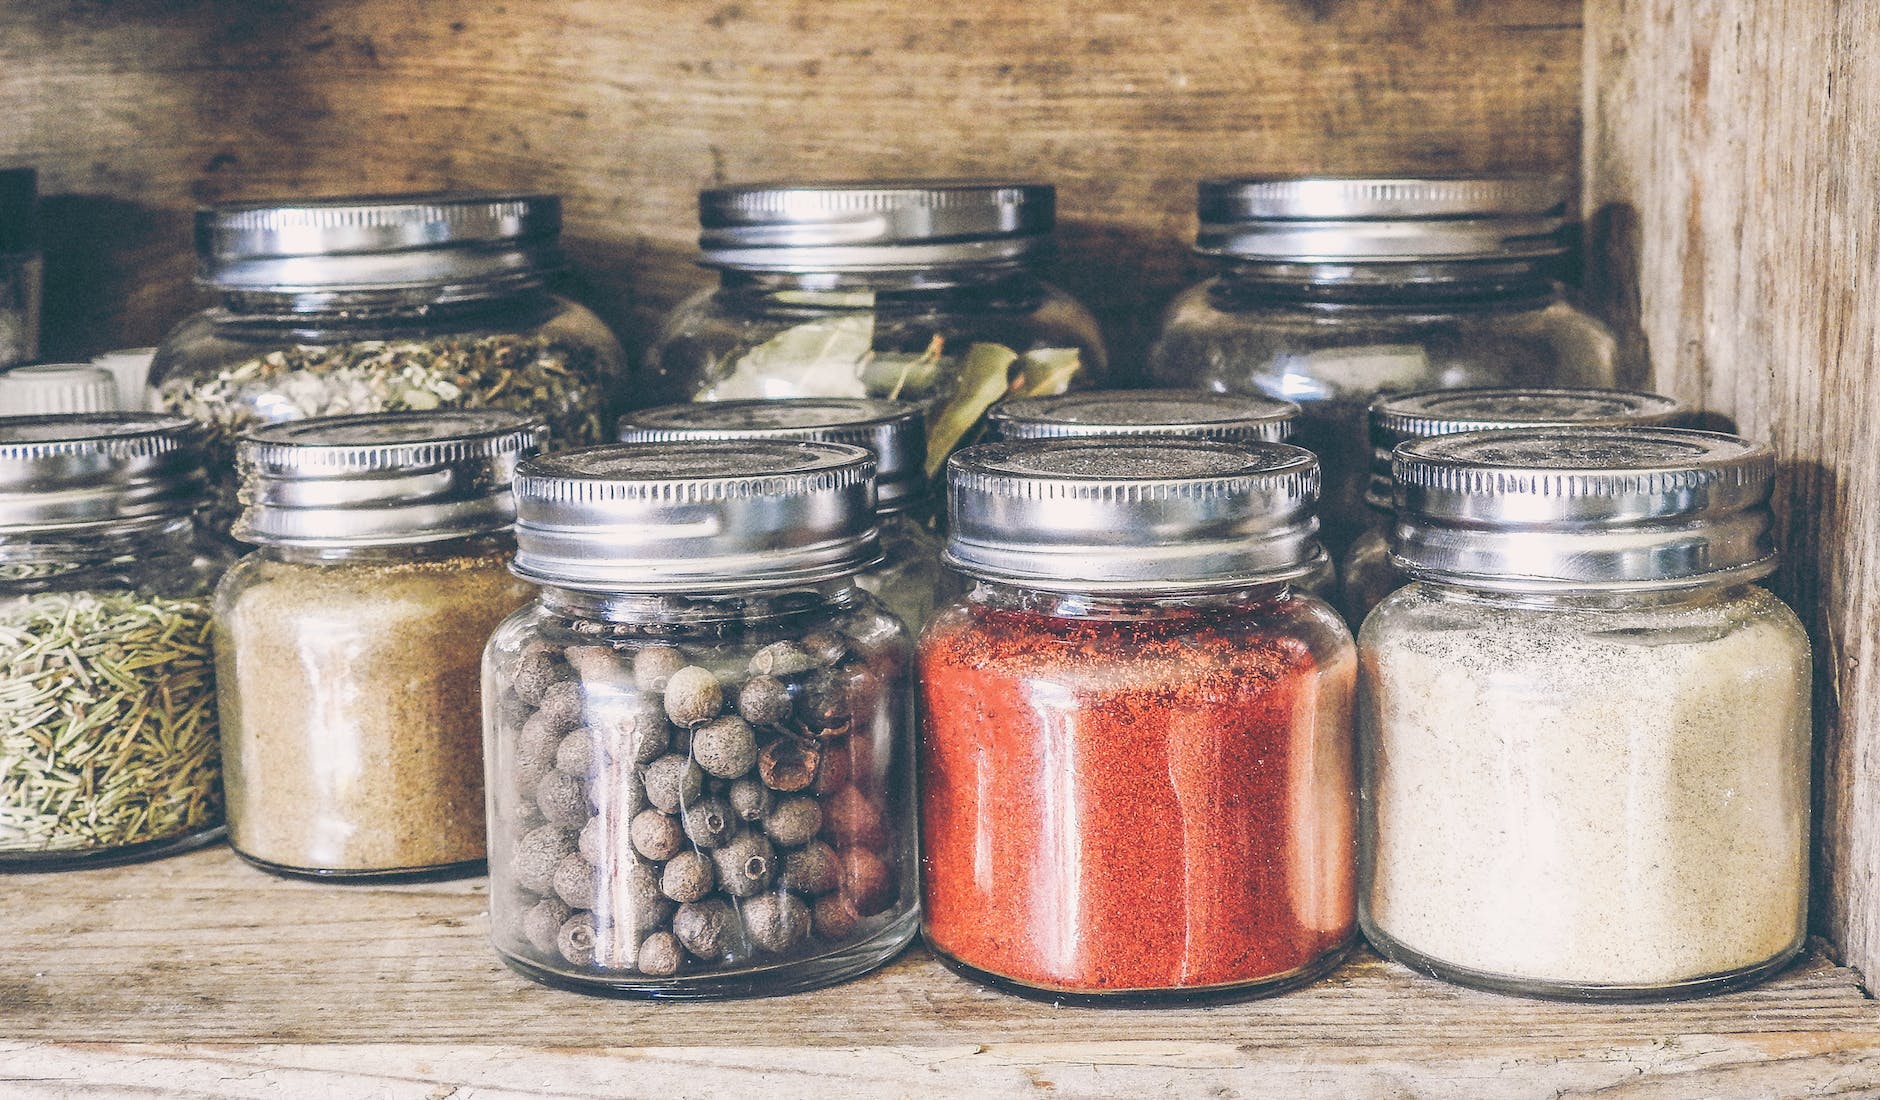
Storing: Transfer the strained oil into a sterilized glass bottle or jar and store it in a cool, dark place to preserve its flavor and quality.
6. Culinary Uses:
Your homemade herb-infused oils are now ready to elevate your culinary creations:
Salad Dressings: Drizzle over salads to infuse them with fresh herb flavors.
Marinades: Use as a base for marinades to add depth and complexity to meats and vegetables.
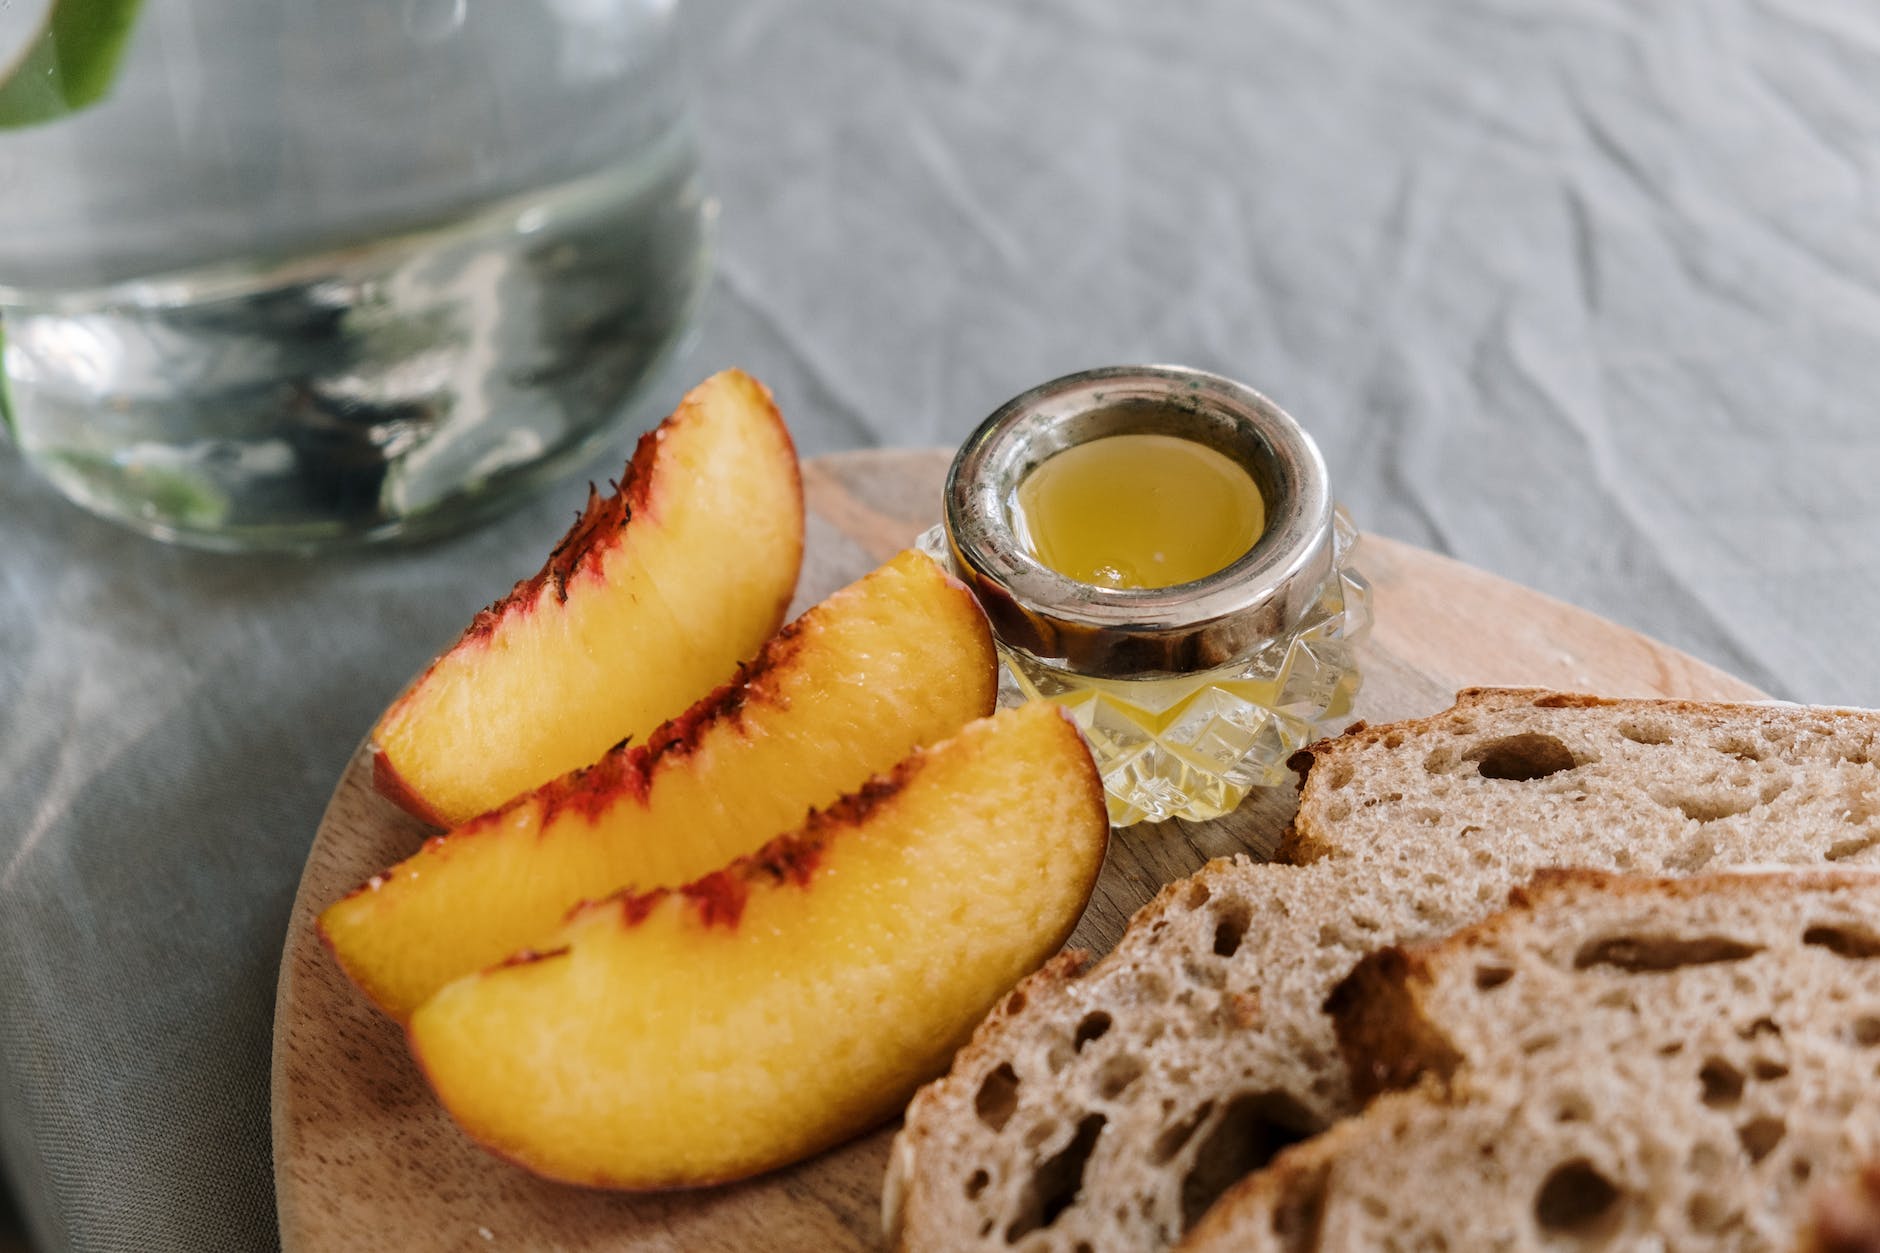
Dipping Oils: Combine with balsamic vinegar for a flavorful dipping oil for bread.
Sauteing and Roasting: Enhance the flavors of your sautéed and roasted dishes.
7. Storage and Shelf Life:
To prolong the shelf life of your herb-infused oil:
Refrigeration: Store in the refrigerator to prevent spoilage and maintain freshness.
Labeling: Always label your infused oils with the herb and date of creation.
Creating herb-infused oils is a culinary adventure that allows you to bottle the essence of nature’s bounty. With a bit of patience and experimentation, you can craft oils that turn everyday dishes into extraordinary culinary experiences. From the garden to your kitchen, let the aromatic charms of herb-infused oils inspire your cooking creativity and elevate your culinary journey.
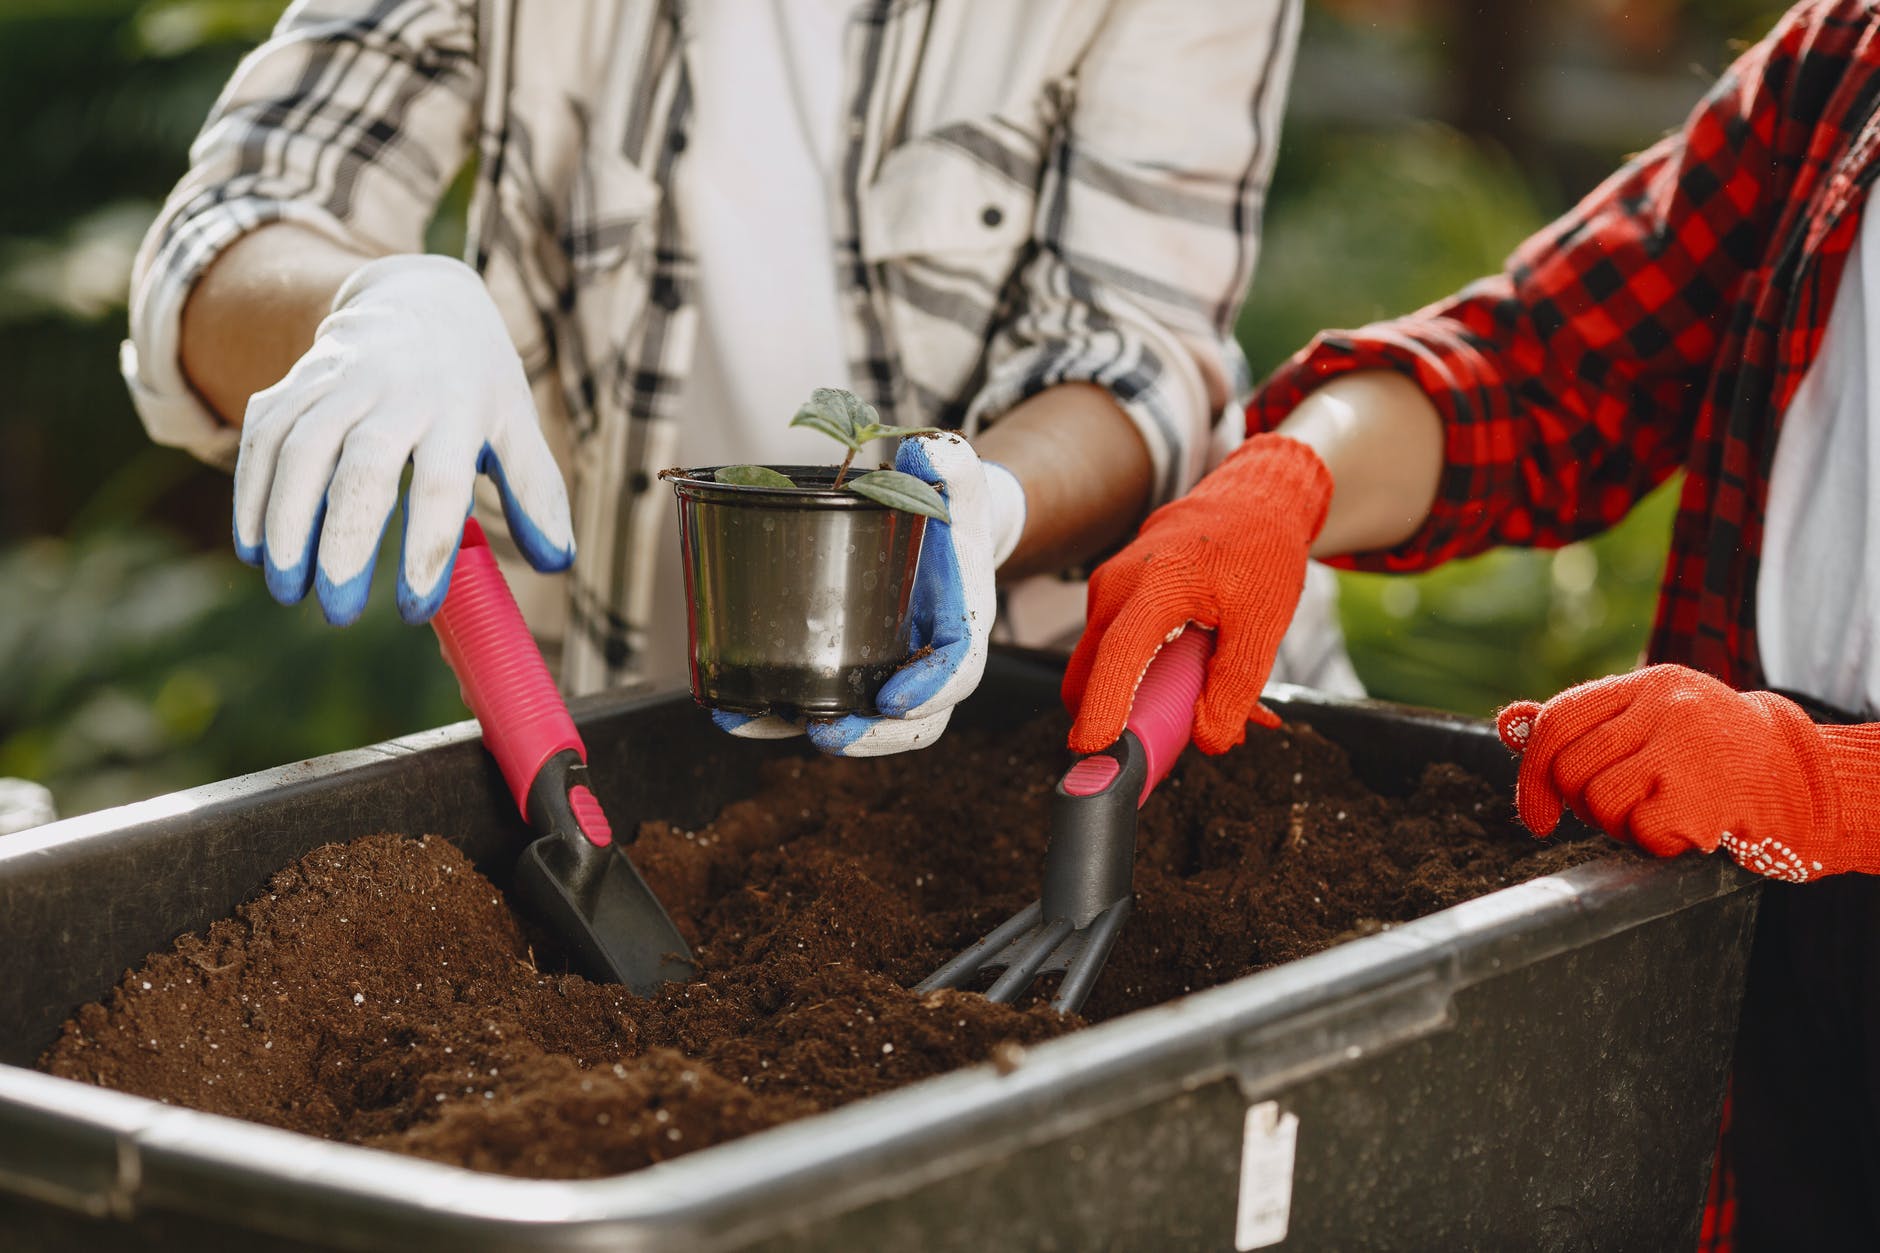
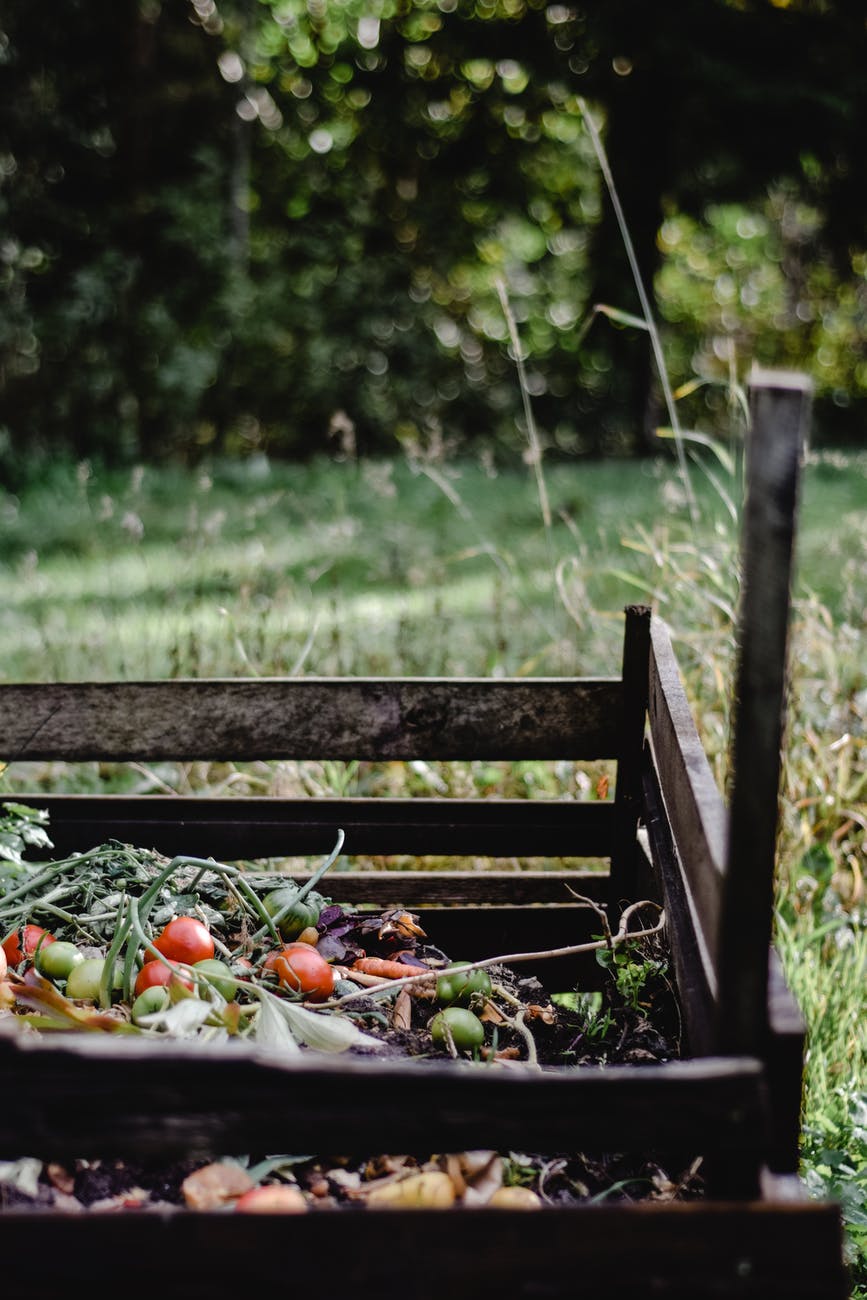
If you’re looking to turn your garbage into gardeners gold and do it in a hurry, then you should try a compost tumbler. If you have a compost bin then you know how great it is to add compost to your flower beds and vegetable garden. But making compost takes time and its usually in short supply. A compost tumbler is a great time saver when making compost.
Some gardeners believe that compost is better than fertilizer because it doesnt just feed your plants, it also improves your soil. Improving your soil keeps your plants healthier so they grow stronger and more capable of fighting off diseases or beating droughts. Compost is decomposed organic matter and is high in nutrients that plants love. Bacteria and other micro organisms help break down that decomposing organic matter and their short life cycles become part of the process itself. When they reproduce their offspring continue the process while the parents bodies break down and add to the organic matter. Its natures way of recycling.
Creating compost will usually take a couple of months. If you get the ratio of browns to greens right, turn the pile to keep it aerated and dont let it dry out youll be rewarded with fresh earthy compost. The more you tend your compost pile, the quicker your garden waste will become compost. Neglect the pile and it will still become compost but itll take a lot longer. For an example of this examine the rich soil in a forest. As leaves and tree litter fall to the ground, there isnt anyone there making sure its the same wetness as a wrung out sponge. But by the time the next season rolls around, a lot of those leaves have begun decomposing and in the process, theyre feeding the trees and the cycle continues without any help from man.
The gardening season can be very short depending on where you live. In the Northeast we have about 4 months of time to grow the flowers, fruits and vegetables that we love. So unless you have a huge bin of compost ready to go on the first day of spring youll need some more during the growing season. A compost tumbler is perfect for making compost fast. Now you probably wont make enough compost to fill new beds but the amount you can make is perfect to give your plants and nice top dressing.
Or if you are a composter with a pest problem, the compost tumbler will keep the critters out of your pile. The most popular tumblers are sealed up and only have holes for air. If rodents or snakes have been problems for you in the past then the compost tumbler is the solution that youve been looking for.
Theres a few things youll need to do a little differently if youre used to bin composting. First off, youll need to add all the raw materials at once. Dont continue adding or else your compost will never be done. Add what you want and then start turning. Try to turn it everyday. If not everyday then at least a few times a week. The first few batches will take the longest unless you already have some compost that you can toss into the tumbler. Or you can use a compost activator. Thats all activators really are anyway. Just someones elses compost to help get your pile started. The bacteria and micro organisms have to get in there somehow.
Be sure not to over water when using a compost tumbler. Moisture doesnt escape as easily inside the tumbler as with a regular compost bin. And most likely your ingredients such as grass clippings or coffee grinds were already moist to begin with.
After about 3 weeks the compost should start to look like compost. It should be an even color and you shouldnt be able to tell what you put in the tumbler. If your waste is still recognizable then let it decompose a while longer. And dont forget to smell your compost. It should have a nice earthy smell to it.
If youre looking for a neat & compact composting solution that works quickly and wont receive a lot of attention from your neighbors, then look into a compost tumbler. You’ll be tumbling your way to a great garden this season.
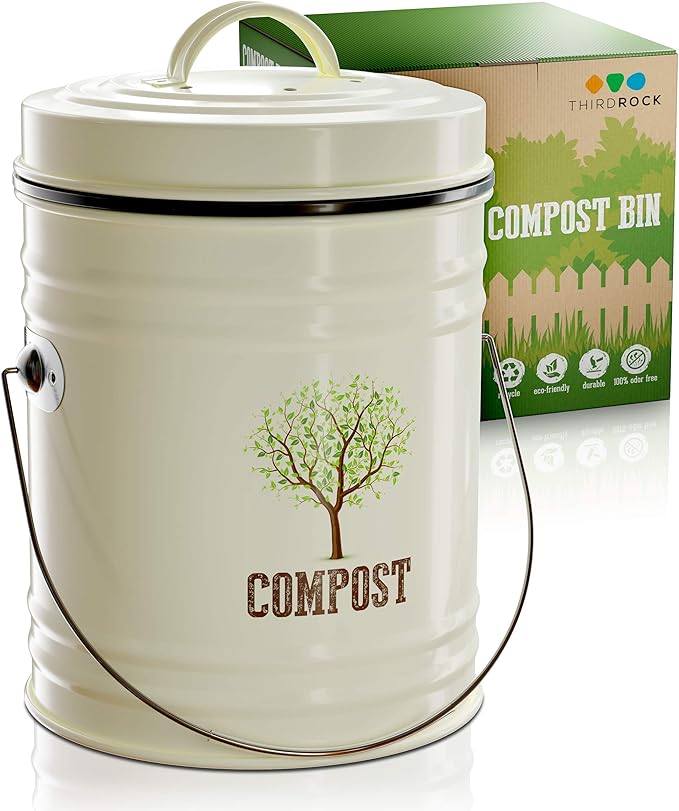
PRO TIP: I have a small compost bin inside the house to put vegetable cuttings and scraps in. Once it’s full, I add it to the tumbler outside. It’s a great way to reduce waste and maximize your compost!
There’s something truly satisfying about growing your own herbs and transforming them into culinary delights, soothing teas, or natural remedies. As you tend to your herb garden with care, the time will come when your herbs are ready to be harvested. In this blog post, we’ll delve into the art of harvesting herbs, exploring the best practices, tips, and techniques to ensure you enjoy the full flavor and potency of your homegrown treasures.
1. Timing is Everything:
Knowing when to harvest your herbs is crucial. The best time for harvesting varies based on the type of herb and the specific plant part you’re interested in:
Leaves: Most herbs are at their flavor peak just before they flower. Harvest leaves in the morning when the essential oils are the most concentrated.
Flowers: Harvest flowers when they’re fully open but haven’t yet begun to fade.
Seeds: Allow seeds to fully mature on the plant before harvesting. Seeds should be dry and easily separated from the plant.
2. The Right Tools:
Using the right tools ensures a clean and efficient harvest:
Pruning Shears: Sharp, clean pruning shears are essential for clean cuts that promote healthy regrowth.
Scissors: For delicate herbs and smaller stems, scissors are handy for precise cuts.
Baskets or Buckets: Use these to collect your harvested herbs, preventing bruising or wilting.
3. Harvesting Techniques:
Different herbs have different growth patterns, so adapt your harvesting techniques accordingly:
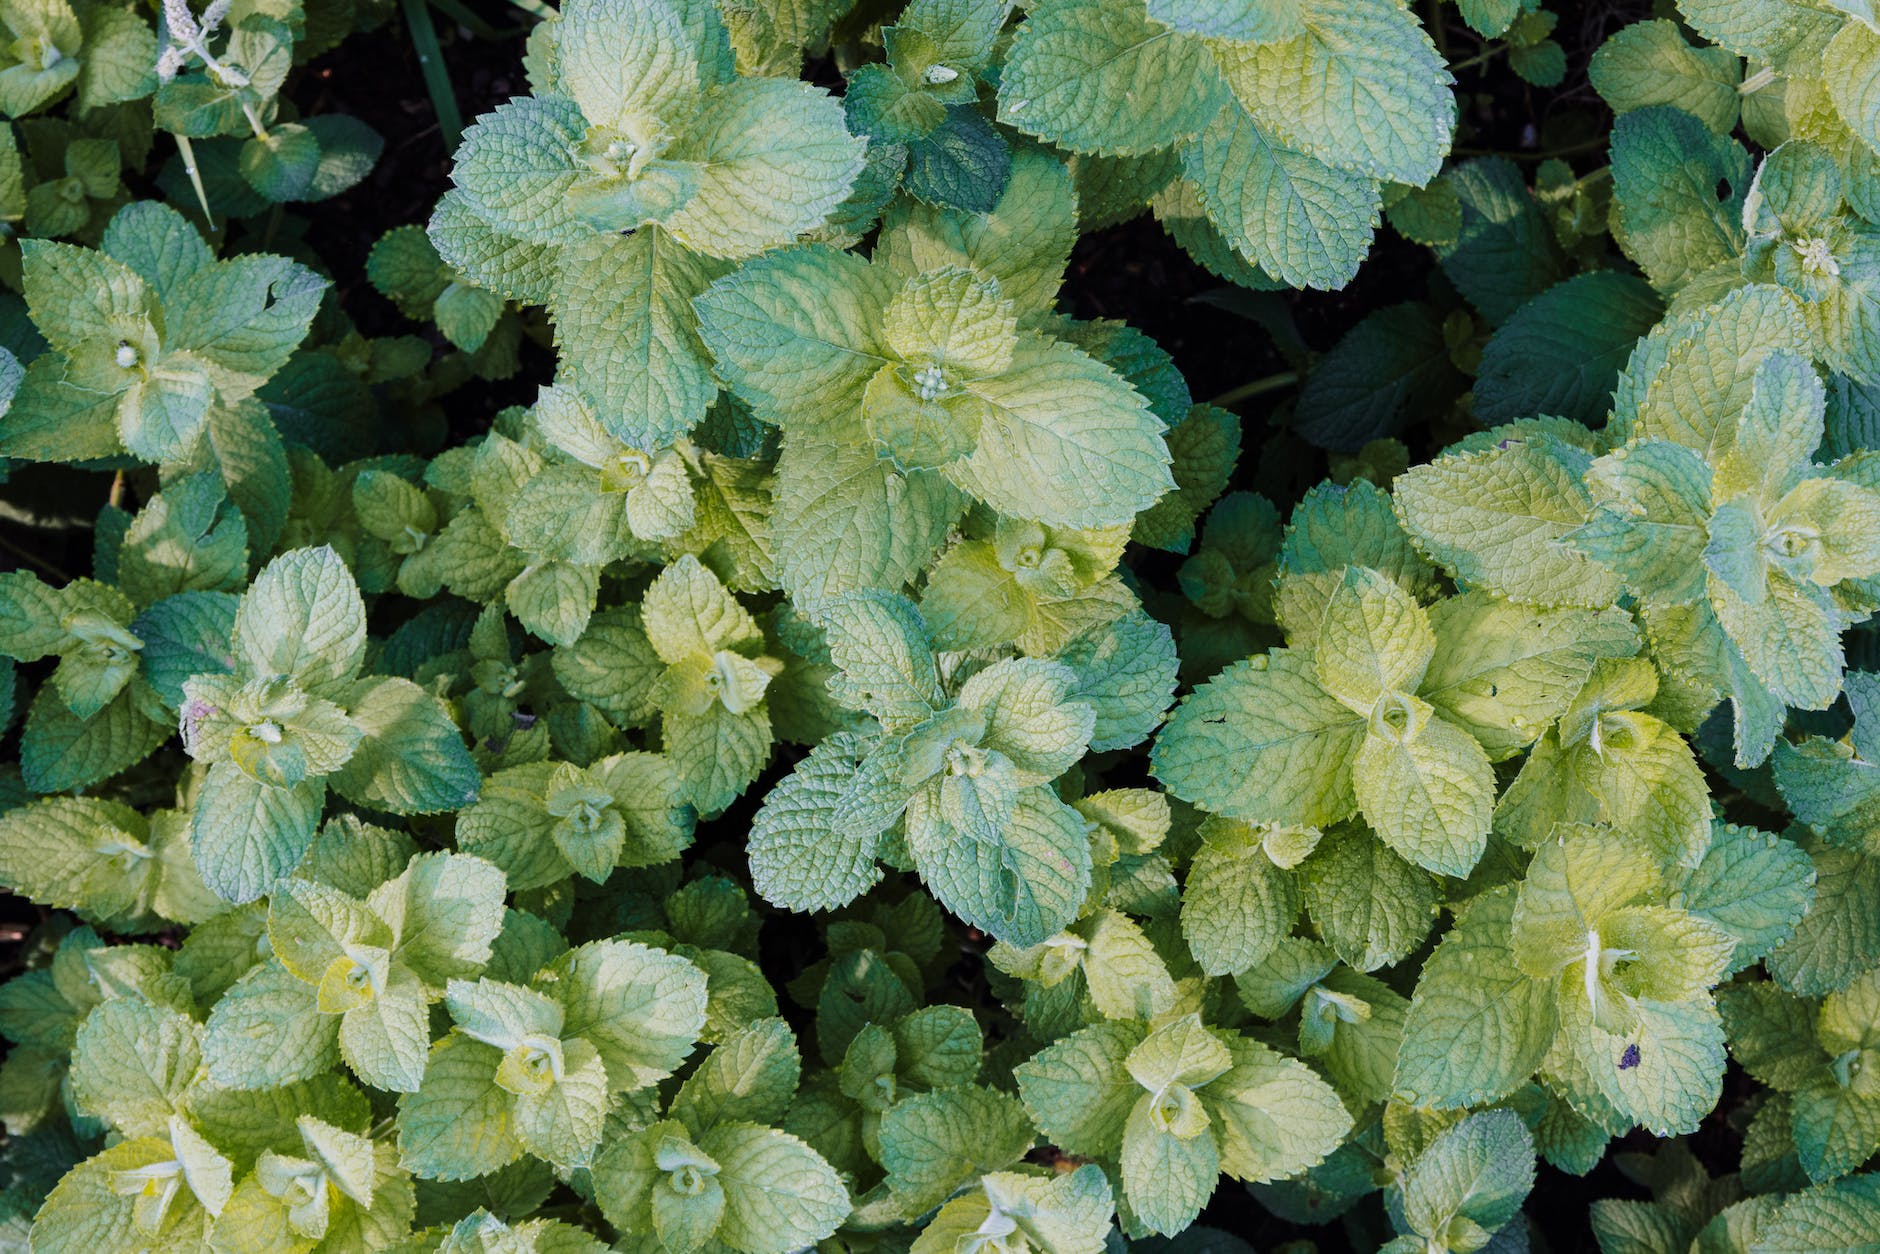
Bushy Herbs (e.g., basil, mint): Pinch off the tips of the branches to encourage bushier growth.
Leafy Herbs (e.g., parsley, cilantro): Harvest outer leaves first, leaving the inner ones to continue growing.
Stem Herbs (e.g., rosemary, thyme): Cut stems just above a set of leaves to promote new growth.
4. Gentle Handling:
Handle harvested herbs with care to prevent bruising or damage. Avoid crushing leaves until you’re ready to use them to preserve their essential oils.
5. Cleaning and Drying:
Once harvested, gently clean your herbs by rinsing them under cool water and patting them dry with a clean towel or paper towels. To preserve the flavor and potency, consider these drying methods:
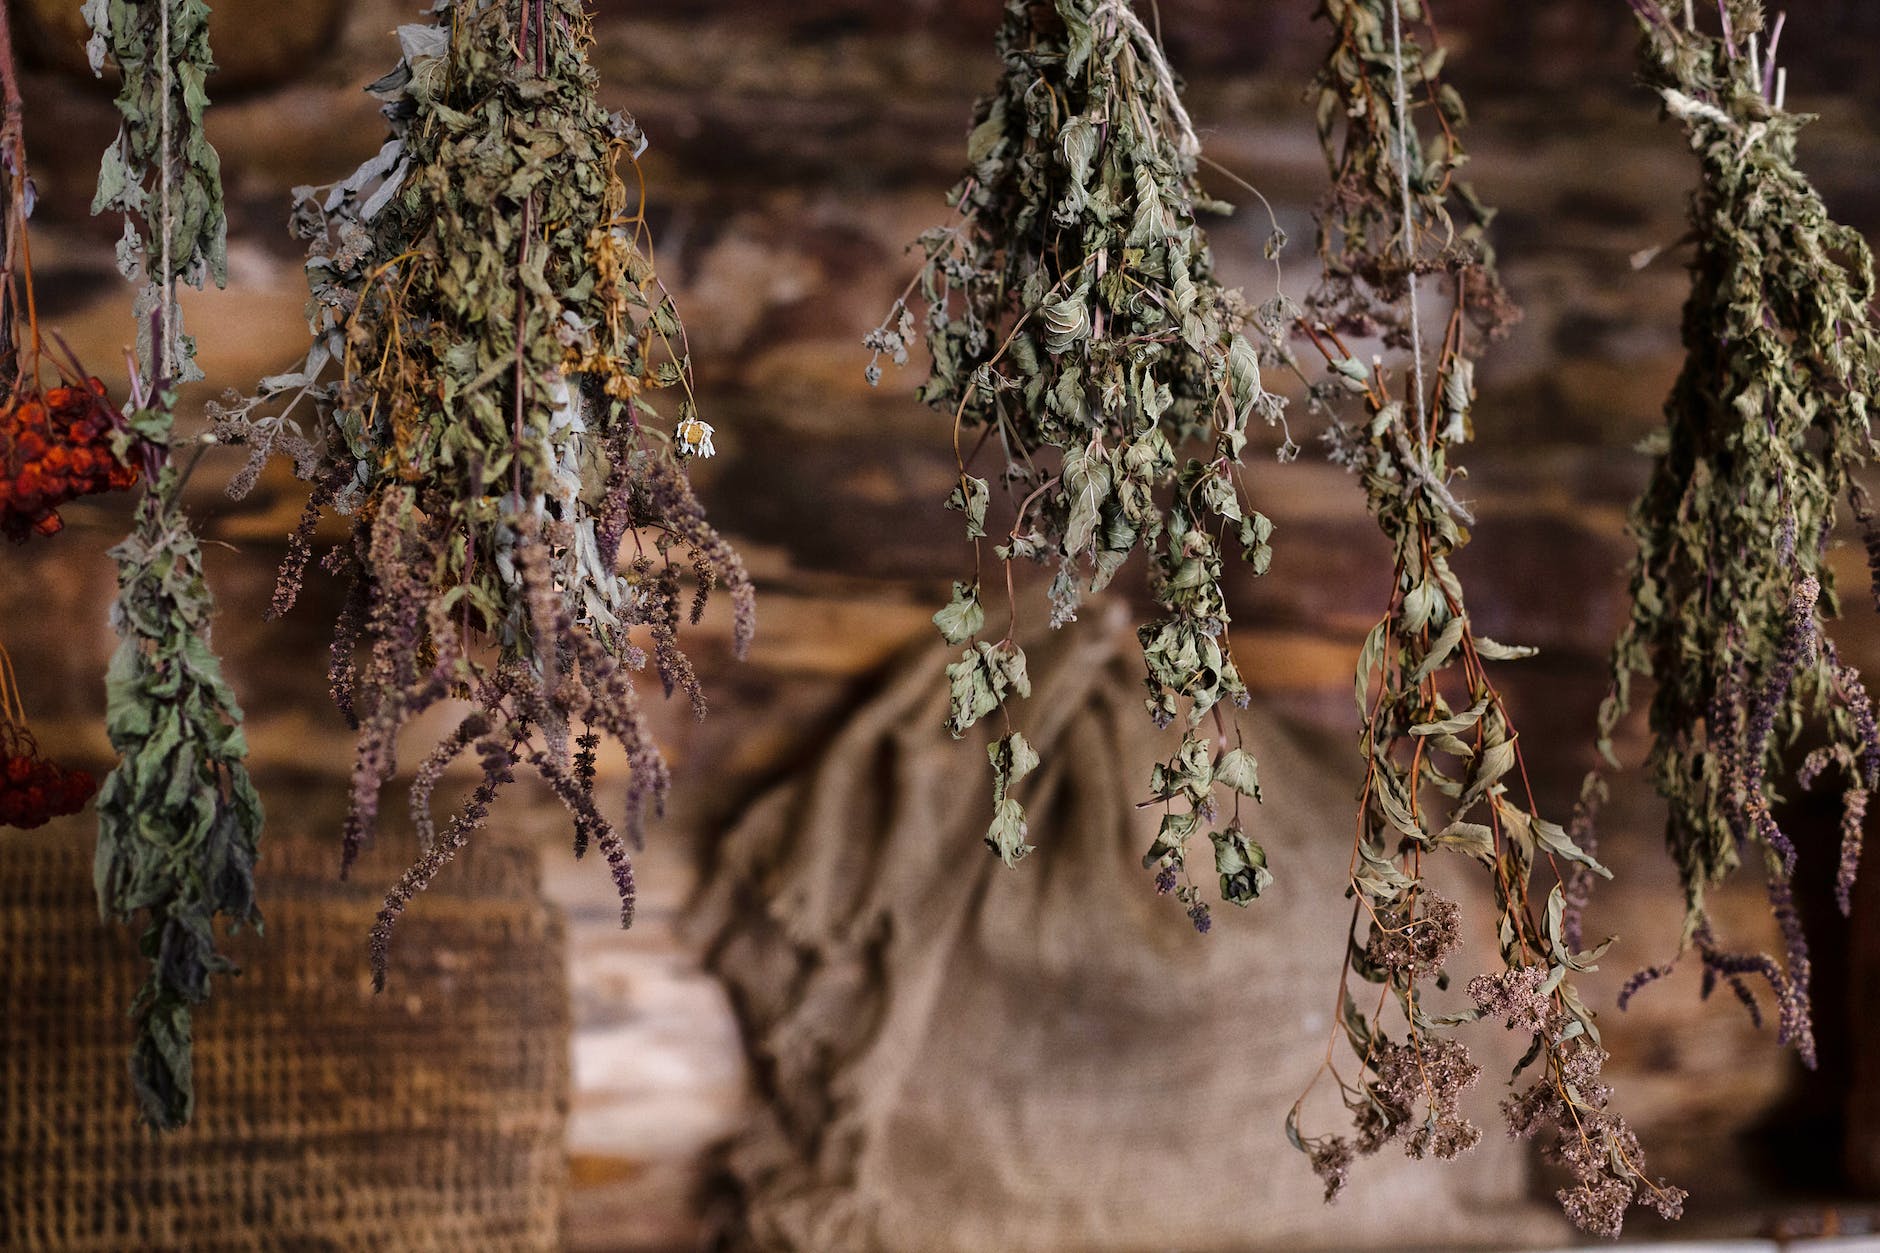
Air Drying: Tie small bundles of herbs together and hang them upside down in a cool, dry place out of direct sunlight.
Dehydrator: Use a food dehydrator to quickly dry herbs at a low temperature.
Oven Drying: Place herbs on a baking sheet in an oven set to the lowest possible temperature. Keep the oven door slightly ajar for airflow.
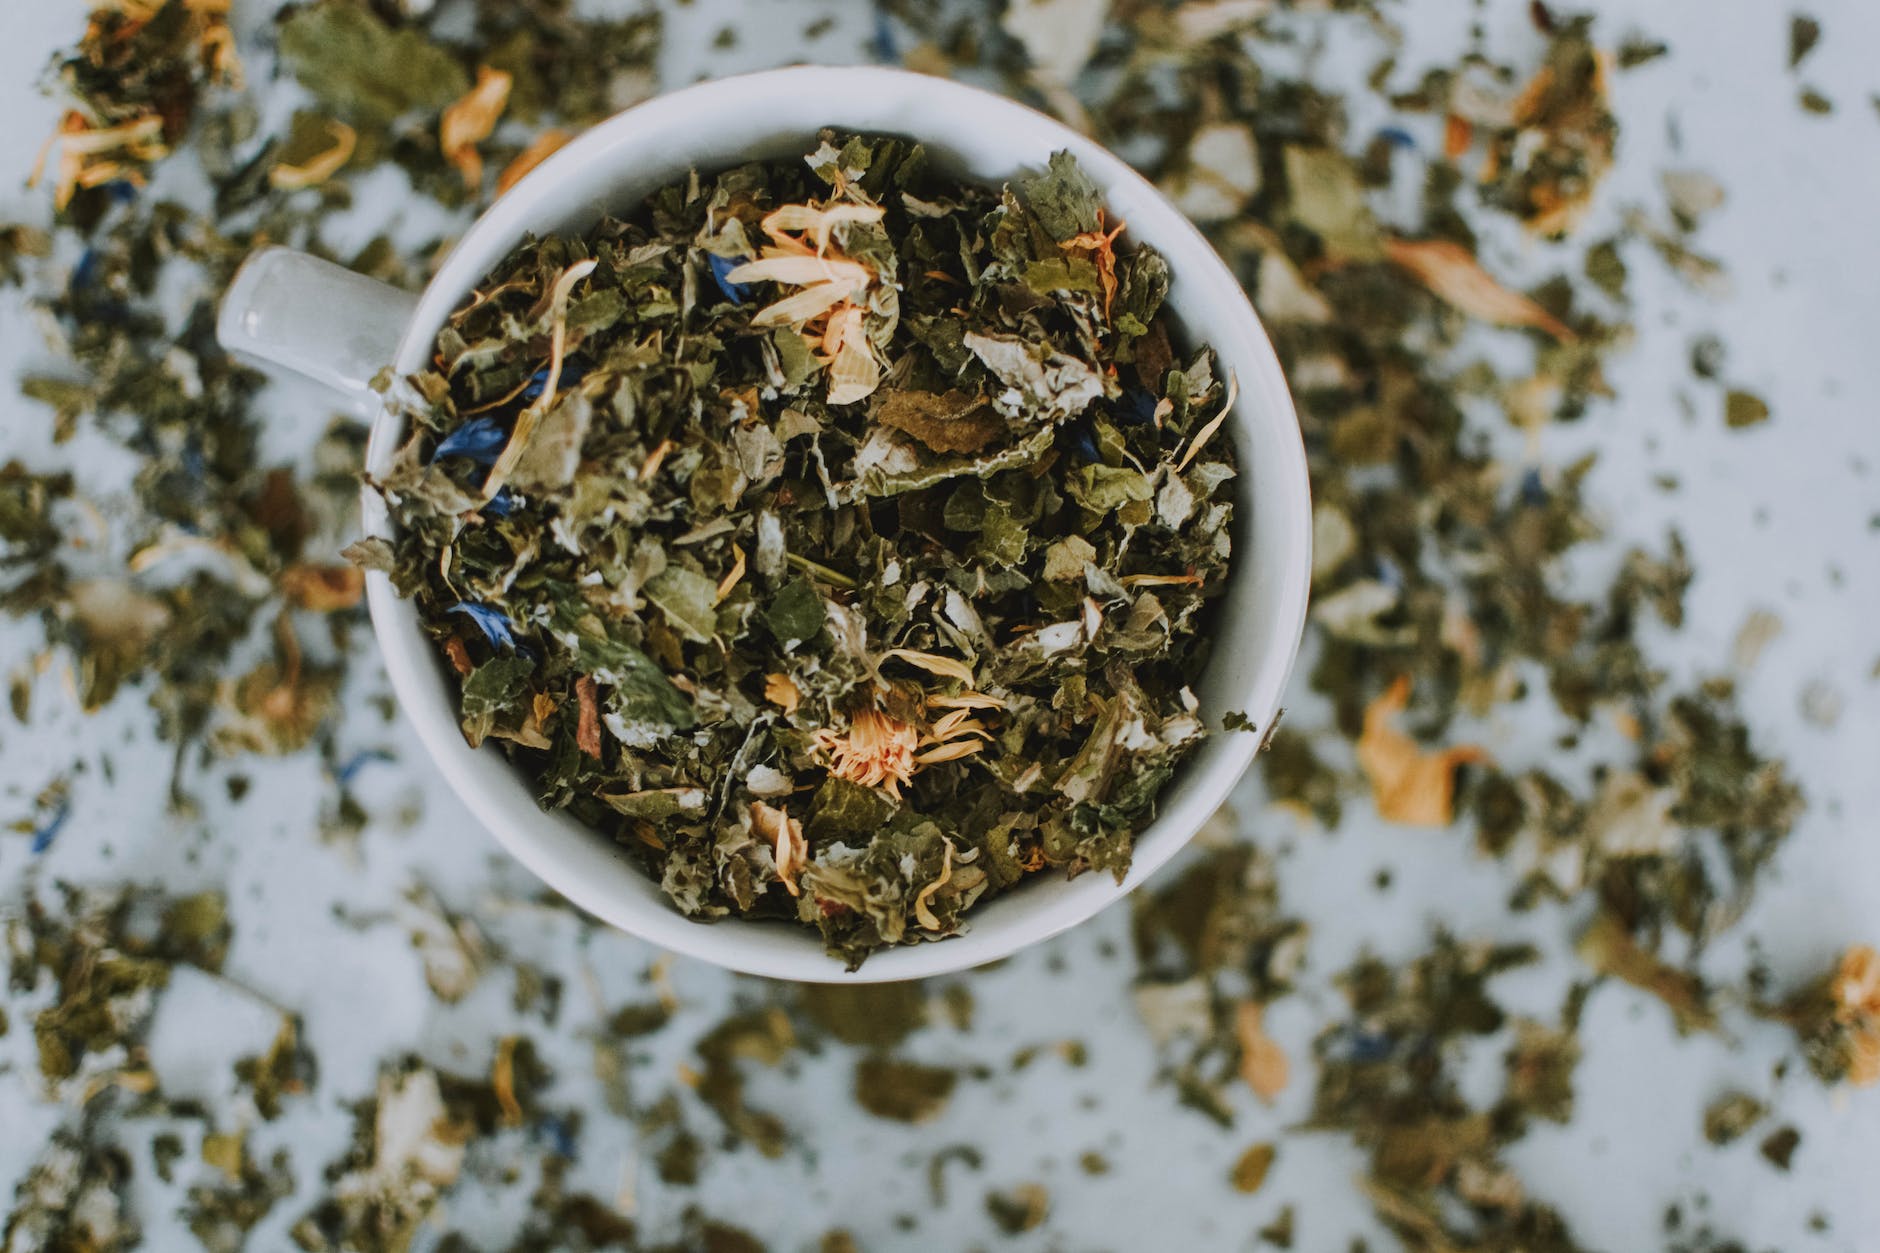
To dry herbs spread them out in a single layer in a cool, dry place away from direct sunlight. Once they’re completely dry, store them in an airtight container in a cool, dark location. Dried herbs can be used for teas, infused oils, and more. I use these mesh drying racks in a cool, dark room (we have a basement pantry that works great for this). Allow them to dry completely.
The other, much quicker way to dry herbs is with a dehydrator. It’s best to dry herbs on a very low temperature setting to retain its beneficial and medicinal compounds. We set our dehydrator to 110°F or below (or use the lowest setting available) for 12-24 hours.
Store dried herbs in airtight containers away from light, heat, and moisture. Label containers with the herb’s name and date of harvest to maintain freshness and potency.
7. Enjoying the Fruits of Your Labor:
Your harvested herbs can be used in a variety of ways:
Culinary Creations: Add fresh or dried herbs to your favorite recipes for a burst of flavor.
Aromatic Delights: Create herb-infused oils, vinegars, or butters to elevate your dishes.
Soothing Teas: Brew dried herbs into comforting and aromatic herbal teas.
Natural Remedies: Craft your own herbal remedies and tinctures using homegrown herbs.
Harvesting herbs is a rewarding culmination of your gardening efforts. From understanding the right timing to employing proper techniques, the process enhances your connection with nature and your ability to enjoy the freshest flavors and benefits your garden has to offer. By following these guidelines, you’re well on your way to becoming a skilled herb harvester, ready to embrace the bounty of your herb garden with confidence and joy.
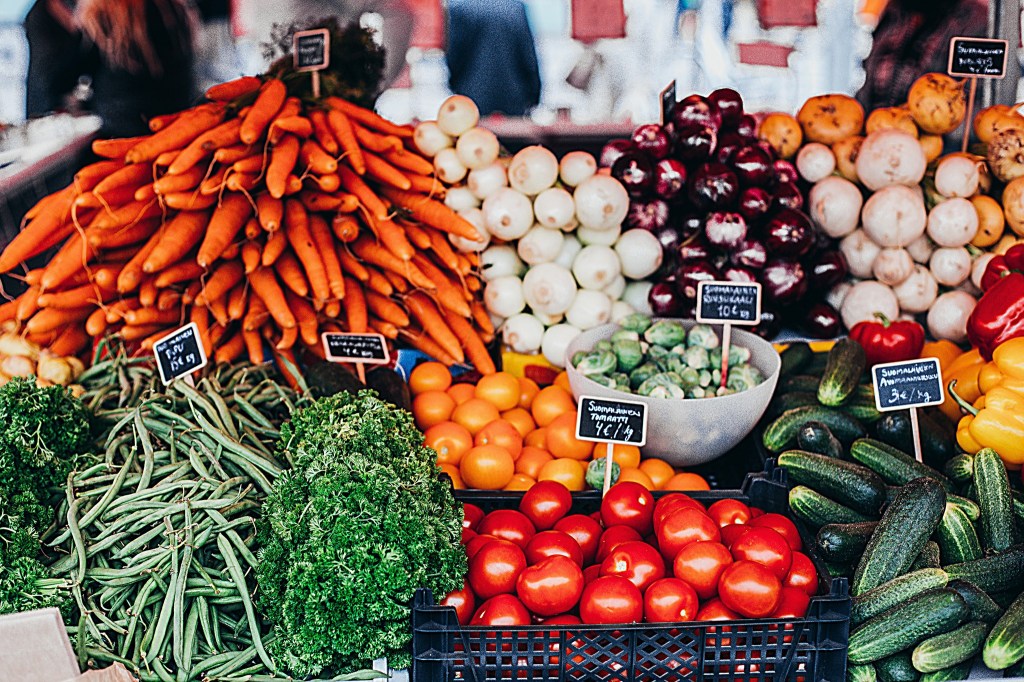
In today’s fast-paced world, the appeal of farm-fresh food is undeniable. From vibrant vegetables to pasture-raised meats, the benefits of consuming food that comes directly from local farms extend far beyond just satisfying your taste buds. In this blog post, we’ll explore the remarkable advantages of choosing farm-fresh food for your table and overall well-being.
1. Nutrient-Rich Goodness:
Farm-fresh food boasts a nutritional profile that’s hard to beat:
Higher Nutrient Levels: Produce harvested at its peak contains more vitamins, minerals, and antioxidants compared to items that have traveled long distances.
Preserved Nutrient Integrity: Less transit time means fewer opportunities for nutrient degradation.
2. Enhanced Flavor Experience:
The taste of farm-fresh food is an experience in itself:
Peak Ripeness: Local produce is often picked at its prime, leading to optimal flavor and sweetness.
Distinctive Flavors: Varieties of fruits and vegetables can exhibit their unique taste profiles when grown in their native environments.
3. Support for Local Economies:
Choosing farm-fresh food contributes to vibrant local communities:
Local Farmers: Supporting local farms bolsters the livelihoods of farmers and their families.
Choosing farm-fresh food cultivates a deeper understanding of your food’s origin:
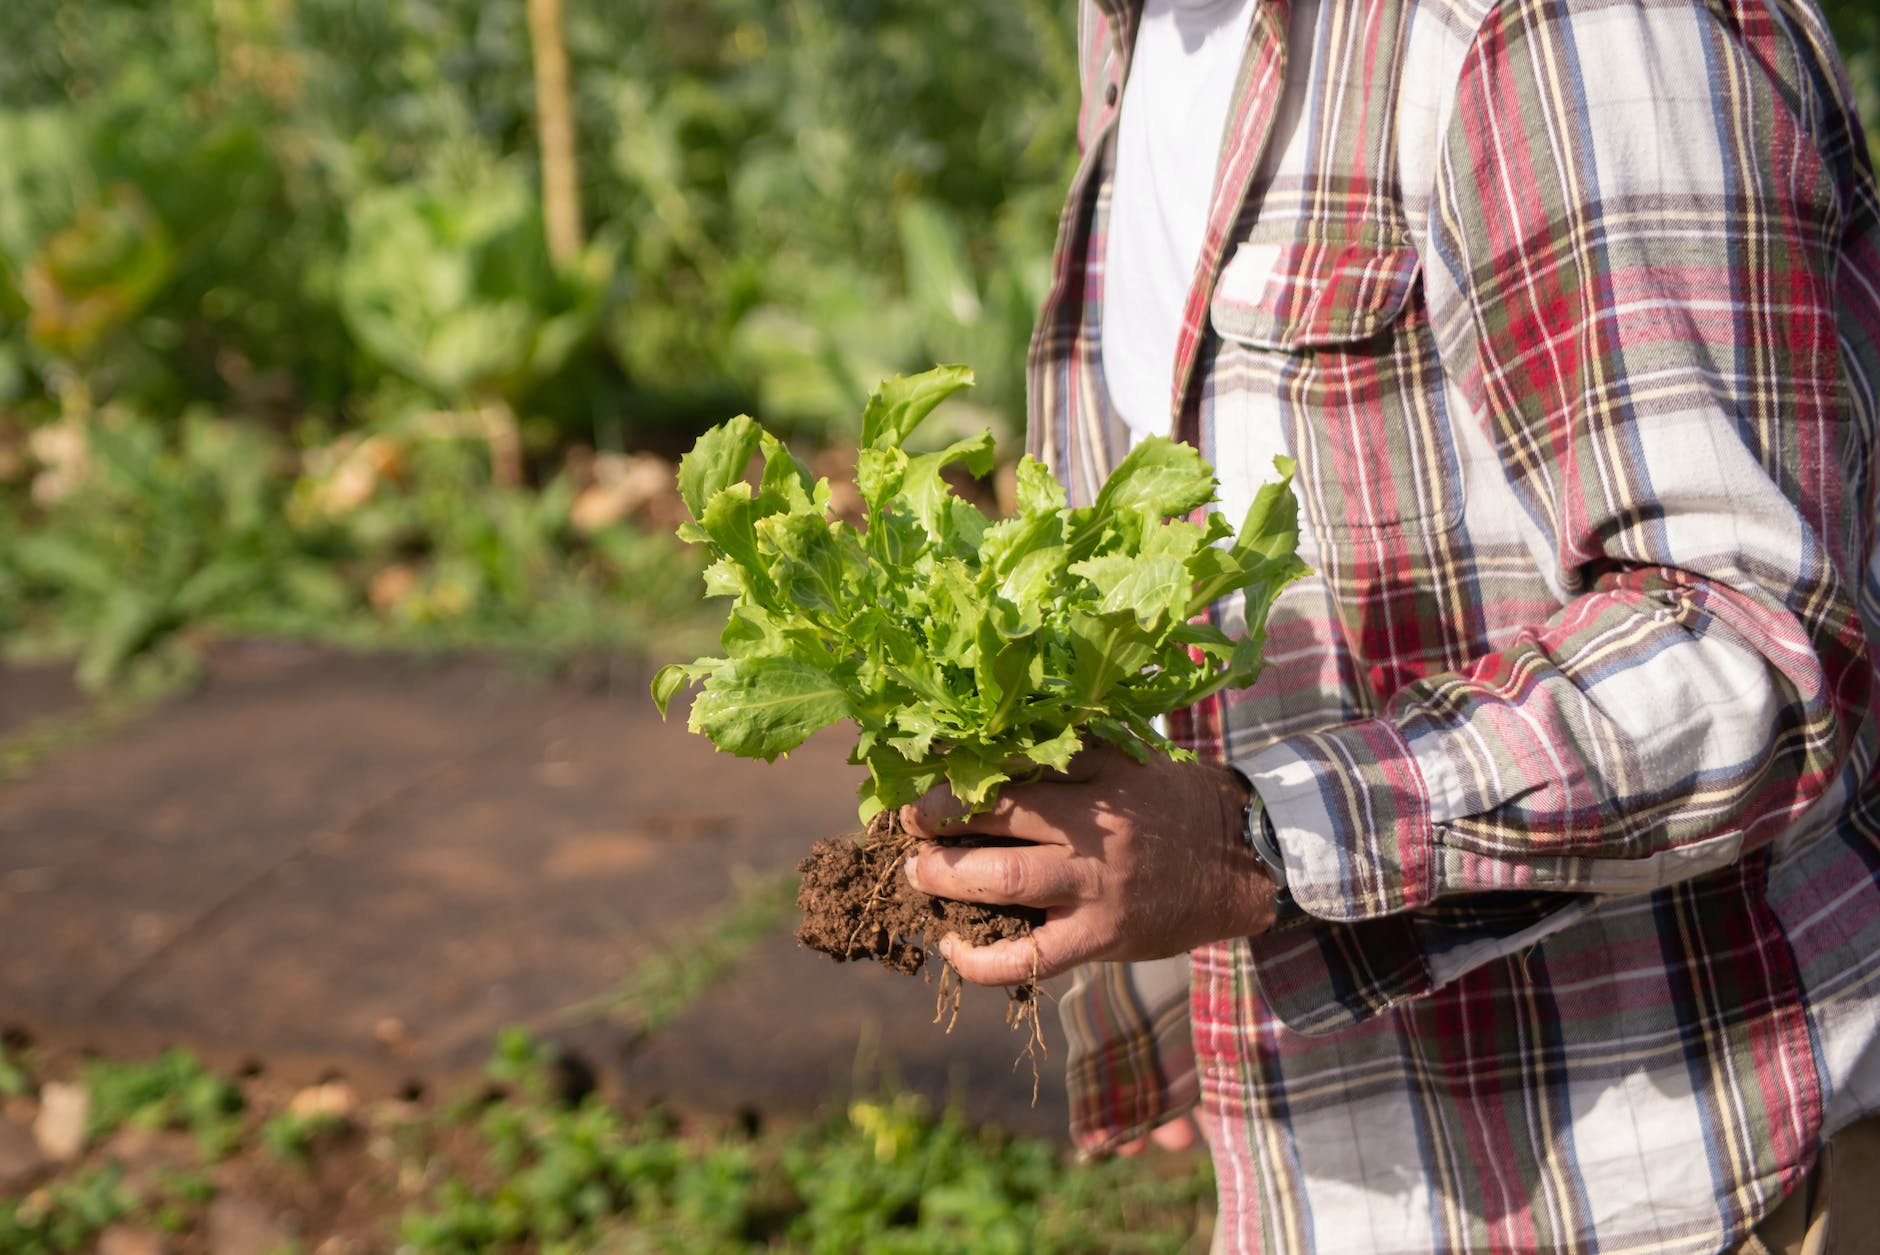
Farm Visits: Many local farms welcome visitors, offering educational opportunities and a chance to witness farming practices firsthand.
Storytelling: Learning about the people and stories behind your food enhances your appreciation for the journey from farm to fork.
The benefits of incorporating farm-fresh food into your diet extend beyond mere sustenance. From nourishing your body with wholesome nutrients to supporting local economies and fostering a connection to the land, the advantages are manifold. By embracing farm-fresh choices, you not only enjoy delicious and flavorful meals but also contribute to a healthier, more sustainable, and deeply enriching food culture.
Raising chickens should not be a fuss. There are actually several reasons why people want to cultivate chickens in their backyard. Some of these are written below.
Reason # 1 Chickens love leftovers.
A chickens appetite is incredible. They can eat almost everything, even their own kind! You can now say bye-bye to those unwanted leftovers being left rotten in your fridge. You feel less guilty of throwing them out into the garbage can. Plus, you can save on chicken feed. But be very careful with what you give for it may be their last supper. Tone down on the onions and garlic.
Reason #2 Eggs!
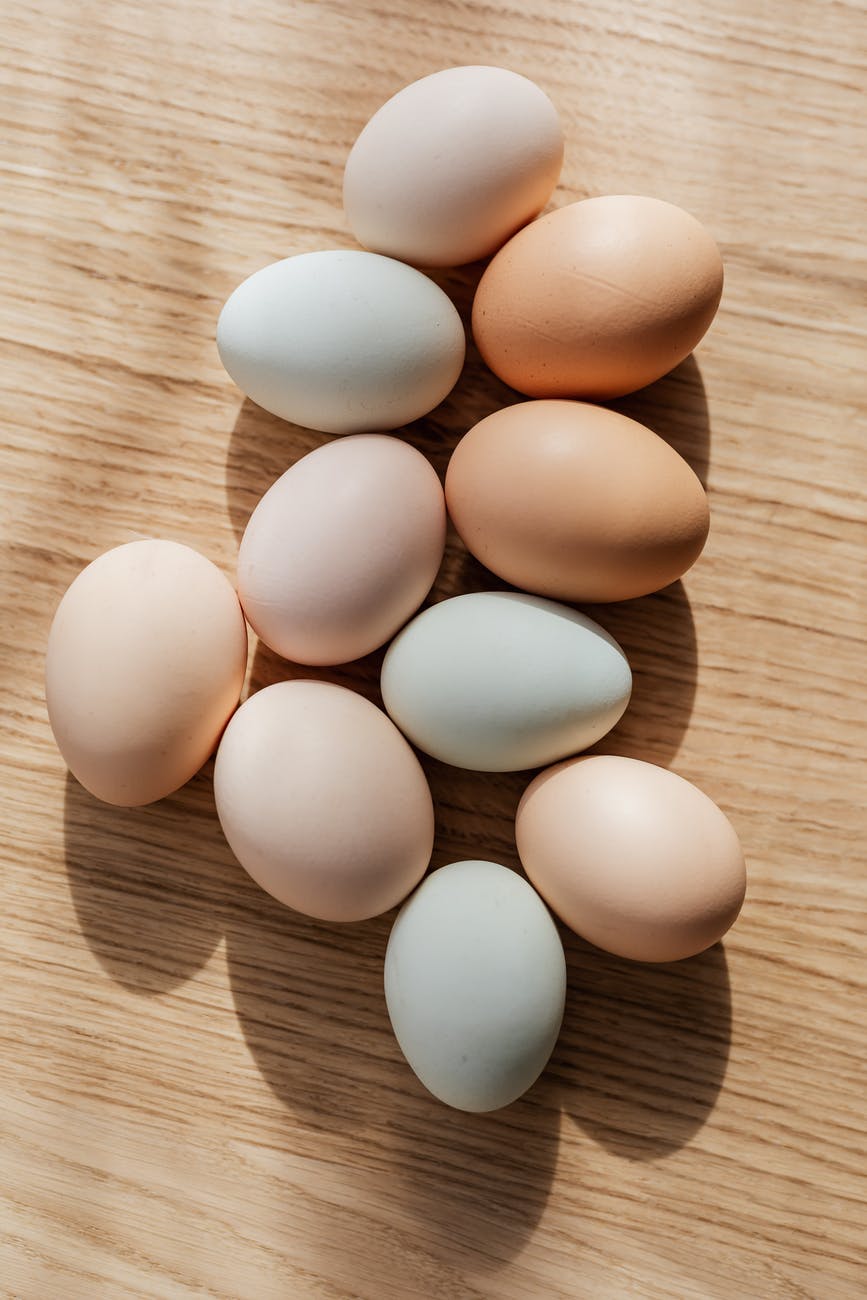
Who doesnt love eggs? Have them boiled, scrambled, sunny side up, etc. Admit it, pets that live comfortably inside your houses dont give anything more than barks, meows, purrs, and sometimes, chirp. Fishes, in general, can be eaten, but who would want to eat Goldie? None of these domesticated animals produce something edible. Well, chickens, on the other hand, have lots of benefits. One of the many benefits chickens give is their egg.
Who doesnt love eggs? Have them boiled, scrambled, sunny side up, etc. Admit it, pets that live comfortably inside your houses dont give anything more than barks, meows, purrs, and sometimes, chirp. Fishes, in general, can be eaten, but who would want to eat Goldie? None of these domesticated animals produce something edible. Well, chickens, on the other hand, have lots of benefits. One of the many benefits chickens give is their egg.
You can eat fresh eggs right from the source. Eggs taken from chickens minutes or hours ago are more tasty and nutritious than those purchased in the grocery store. Youll notice the texture and color is way different than that of the fresh ones. We have a variety of different breeds of chickens that all lay different colors which makes it more fun for the kids (and us!).
Reason #3 Source of natural fertilizers
Your lawn or backyard couldve never looked better. Chickens love to freely walk around. Chickens also love to peck on anything they see that can be considered as food. And what is food to them? Possibly anything thats organic. If you let your chickens roam around your space, youll find out how reliable they can be. They eat pests living in your backyard grubs, beetles, insects, earwigs, and anything that comes close.
After the digestion has set its due, they will transform what theyve eaten into poop. But this is not just any kind of poop but a treasure called natural fertilizer. And you know what natural fertilizers do right? They keep the soil healthy for plants to grow. Cool.
Reason #4 Low Maintenance Pets
Unlike dogs that need combing and brushing everyday to keep their fur alive and shiny, chickens doesnt need such soulful treatment. All you have to do is provide them their daily needs like food and water. You also have to clean their pad at least twice a month and change the beddings too. In return, you can gather all the eggs. Aside from just gathering, you can also start a small business of your own by supplying poultry stores with fresh eggs or chicken meat.
Reason #5 Grass and weed clippers
Got that right. Now you can save on mowing your own lawn by getting yourself chickens! For chickens, grasses, weeds, and leaves are treats. Its like a lifetime dessert offering. Its like having a cow in your own backyard. They will dig through whatever it is without even complaining about the hard work. Chickens will clip it then clean it all at the same time.
With these reasons, why bother getting yourself a dog or a cat? No offense but they cant even water the plants nor lay eggs for breakfast. All they do is prove to their masters that they are either ones best friends. In cases of chickens, you can have a best friend, a lawn mower, a supplier of organic fertilizer and an egg producer all in one.
So how do you get started?
Certain equipments must already be present upon the arrival of the chickens in your own backyard. You have to be geared up before presenting your not so baby chicks outside the world. The transition period can be quite stressful therefore being prepared can help you rid of half of the stress.
You have to purchase a lot of items for your chicks to stay comfortable from where they would lay. You need to pamper them so that when selling or butchering day comes, there are no regrets.
1. Food
Without this, who will live? The food you will give will entirely depend on the kind of chicken that you have. But to sum it up, just give something that is complete. It must contain the right food substance that your chickens will need like carbohydrates, fats, proteins, and minerals and if the budget can still take it, buy them vitamins. There are two kinds of feeds: conventional and organic. Either of the two can be purchased online or at an agricultural poultry store. We choose Scratch and Peck foods for our chickens.
If the time has come for your chickens to lay eggs or is about 20 weeks old, purchase a layer feed. But if they are younger than 20 weeks, starter or grower feed is highly recommended.
2. Waterer and Feeder
Purchase a waterer and feeder that are suspended from the ground if possible. They should hang at least a couple inches off it. A very good advantage when purchasing such items is that they will prevent your chickens from jumping on top of it and smudging off their feet filled with feces inside the container. An automatic refill feature is also included which is very reliable during times when you have to go somewhere and will take you a couple of days before you come back. Worry-free.
Our favorite water is one with little refillable cups. Our chickens love to use this, almost year round. During the really cold months, we use a heated waterer. Remember that food and water should be left outside of the coop to avoid unwanted visitors (rodents) and frostbite during the winter. The increased humidity in the coop is the top culprit of frostbite for chickens.
3. Bed
Yes, no matter how absurd it seems, you have to provide them with the proper bedding to keep them warm, comfortable, healthy and happy. But this doesnt mean that you have to buy them sheets from Best Buy. Beddings can be in the form of a pile of clean haystack, old or used newspapers, or if you wanted it to be extra special, there are beddings that can be bought online or in a poultry store.
Beddings are best inside the coop where it can provide chickens a soft surface to roam around with. Beddings are also beneficial for your flock because it absorbs the odor and droppings. You dont want a foul-smelling coop, right? Another advantage of the bedding is that is saves the eggs from cracking making it an area where eggs are safe to land.
Our favorite is hemp bedding. There are so many reasons we love it!
GIVE YOUR PETS THE POSHEST PAD – Premium Hemp Fiber is the highest quality bedding you can provide for your pets. Super warm, cozy and comfortable, Hemp Bedding is loved by a wide variety of animals big and small.
SUPERIOR QUALITIES – Hemp bedding is highly absorbent meaning less mess and less odor. A high thermal rating means your animals will stay warmer in winter and cooler in summer. Low dust means cleaner, fresher air to breathe.
LONGER LIFE = LESS EXPENSE – Hemp bedding lasts much longer than traditional paper and wood bedding materials making it the economical choice. When it does finally expire, hemp bedding makes great compost!
GREAT FOR PETS AND THE PLANET – Hemp grows super fast, needs very little water or fertilizer and no pesticides making it the eco-friendly and sustainable choice. Naturally Processed and free of chemicals and dyes.
There are a lot of bedding varieties. But whatever the bedding that youve chosen, always make it a point that it is at least two inches thick and is truly absorbent.
4. Dust Baths
If you see your chickens digging a shallow hole and creating a mess with dirt, they are dust bathing! Chickens enjoy bathing in dust. But did you know that when chickens take dust baths, they are actually protecting themselves from parasites and those creatures that find it interesting to live inside their legs and feathers. Therefore, it is necessary to have dust baths.
If you have a dry area in your chicken run that has patches of fresh ground, its the perfect spot to do their thing. But if your pen consists of entirely cement, worry not, because there are artificial dust baths (like this one) available in agricultural stores.
A walk through the woods can do more than just get your heart rate up and fill your lungs with fresh air; it can actually teach you about how to live a happier, simpler, and more fulfilling life. In this blog post, we’re taking a look at seven lessons you can learn from plants. They’ve been doing all this learning, growing, and improving thing for a long time, and they have a few helpful tips for us.
Helichrysum at the Young Living Farms in Split, Croatia
Leave the shadows and look to the light
As the sun moves across the sky during the day, many flowers and plants will turn to face the direction of the sun. Even plants sitting on a windowsill will grow toward the sunlight. It’s important that you identify and move toward the sunlight in your life. Reach for the people and things that bring you light, even when life feels dark. It’s challenging but worth it.
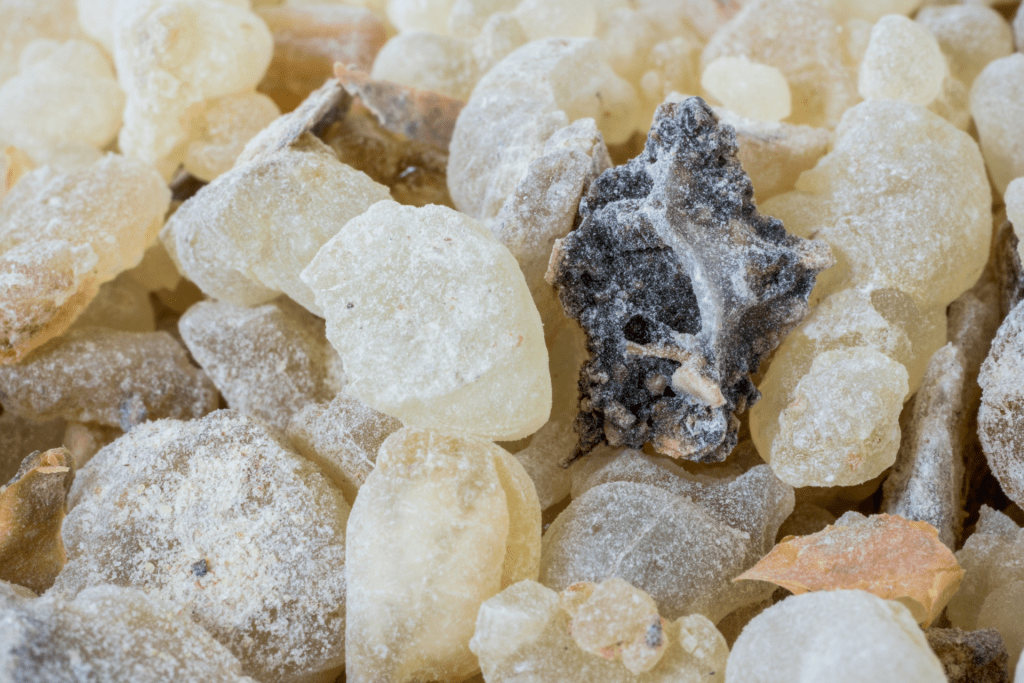
Frankincense Resin
Beauty comes in all shapes and sizes
A garden wouldn’t be nearly as lovely if all the plants were the same. The varieties of shapes, colors, sizes, and smells all add to the magic and beauty of it. Just like every flower, tree, and bush, every person is different, and they each have something unique to offer. Embrace your own individual beauty and always remember that the world is a much better place because you’re in it.
Small growth is still growth
Oregano
Most plants grow in tiny increments. If you observe a little seedling’s progress from one day to the next, it’s hard to notice any difference at all, but if you look at the same plant one year later, the change is clear. Likewise, it can be common to overlook the growth in your life. It’s hard to see progress over the course of a week or even a month, but if you look back at where you were five years ago, you can see how far you’ve come. Progress is still progress, no matter how long it takes you.
Jasmine Flowers
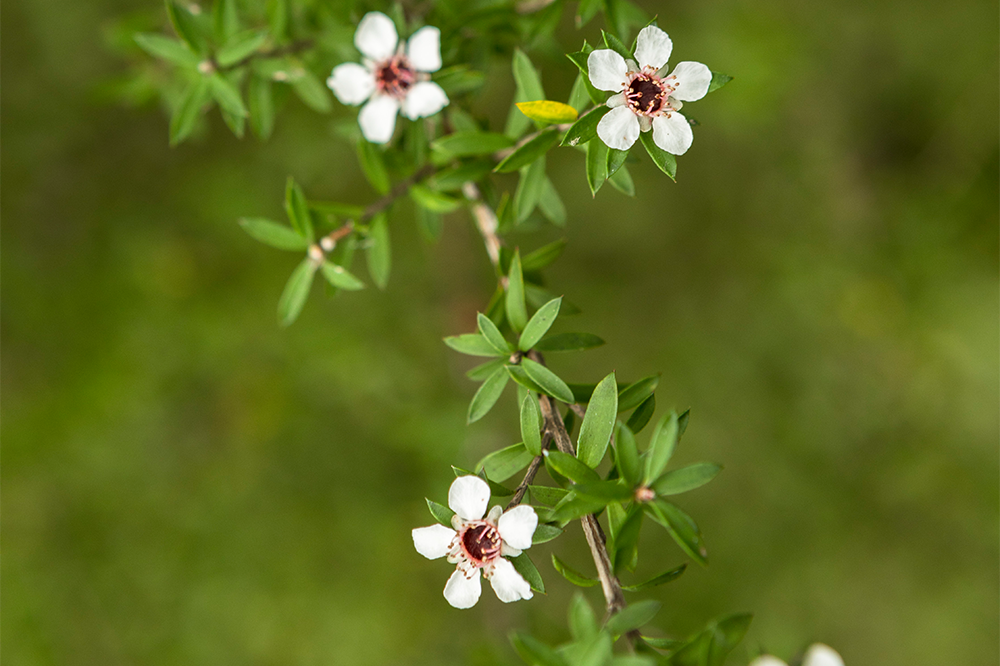
There’s more than meets the eye
Night-blooming jasmine is a beautiful white flower that—as the name suggests—blooms only at night. During the day it hides its petals inside a small green bud. It would be easy to pass over this plant and think of it as plain or even unsightly without ever knowing of the spectacular beauty hidden inside. How often do we do this with people in our lives? It’s so easy to meet someone and immediately judge them, but the truth is there’s always much more than meets the eye.
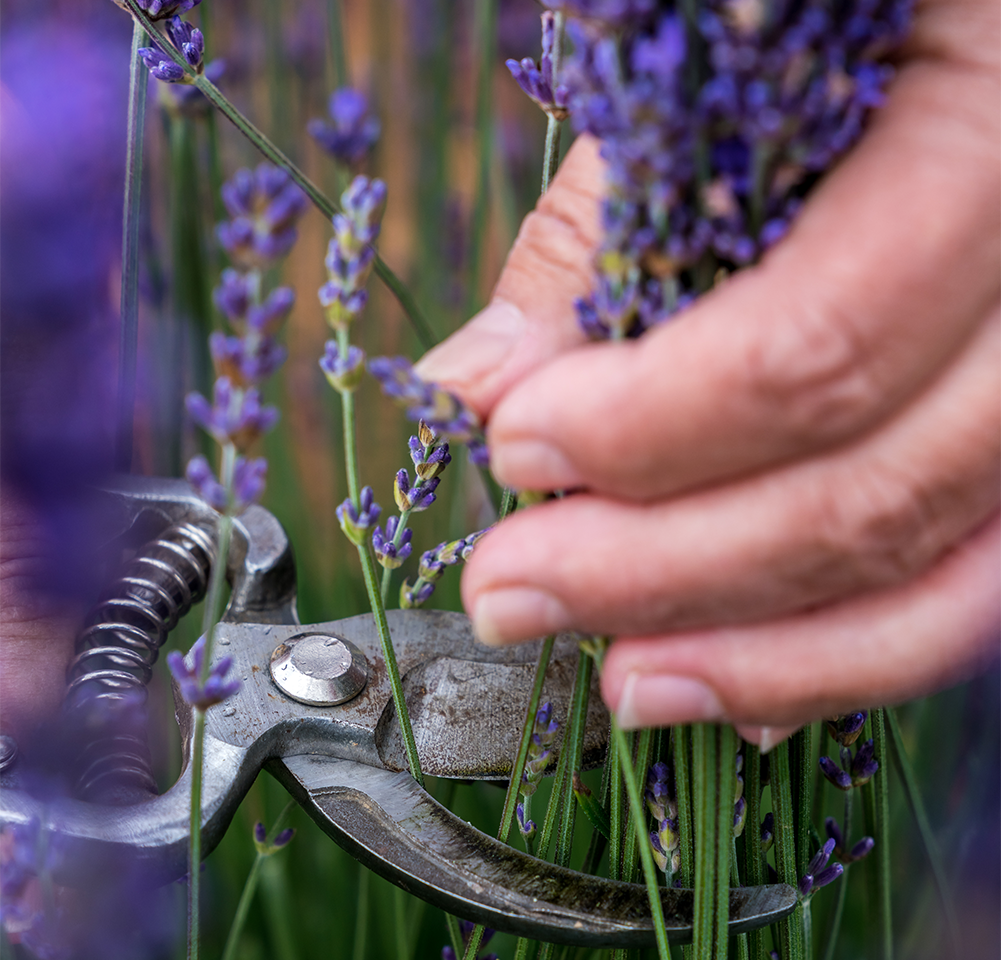
Lavender
Getting cut back can actually make you stronger
Every experienced gardener knows that pruning certain plants is essential for them to reach their fullest potential. At first it may appear to be a step backward, but it will actually help the plant take many steps forward. When you face trials or setbacks in life, remember that they can lead to better things, a better you. Sometimes losing your job or having a difficult conversation is just the thing you need to wake up and take your life in a new and better direction.
Adapt with the seasons
Plants are experts on knowing when to bloom and when to hunker down and protect themselves. In the fall and winter, deciduous plants shed their leaves and petals and hibernate through the dark and cold months. In the spring and summer, they open up and bloom, soaking in as much sunlight and energy as possible. It’s important to allow ourselves the same care. When life gets hard, it’s okay to protect yourself, regroup, and push through. Likewise, it’s also important to bask in the sun and recharge when the opportunity presents itself.
Take time to nourish yourself
Without the proper balance of sunlight, nutrient-rich soil, and water, a plant will suffer and may even stop growing. Similarly, for you to thrive, you need to make sure that you’re getting the nourishment you need. And that doesn’t just mean eating fruits and vegetables. You need to spend time doing things that feed your soul—reading books, sleeping, listening to music, spending time with people you love, playing outside. If you’re not making time for what you love, you’re limiting your happiness.
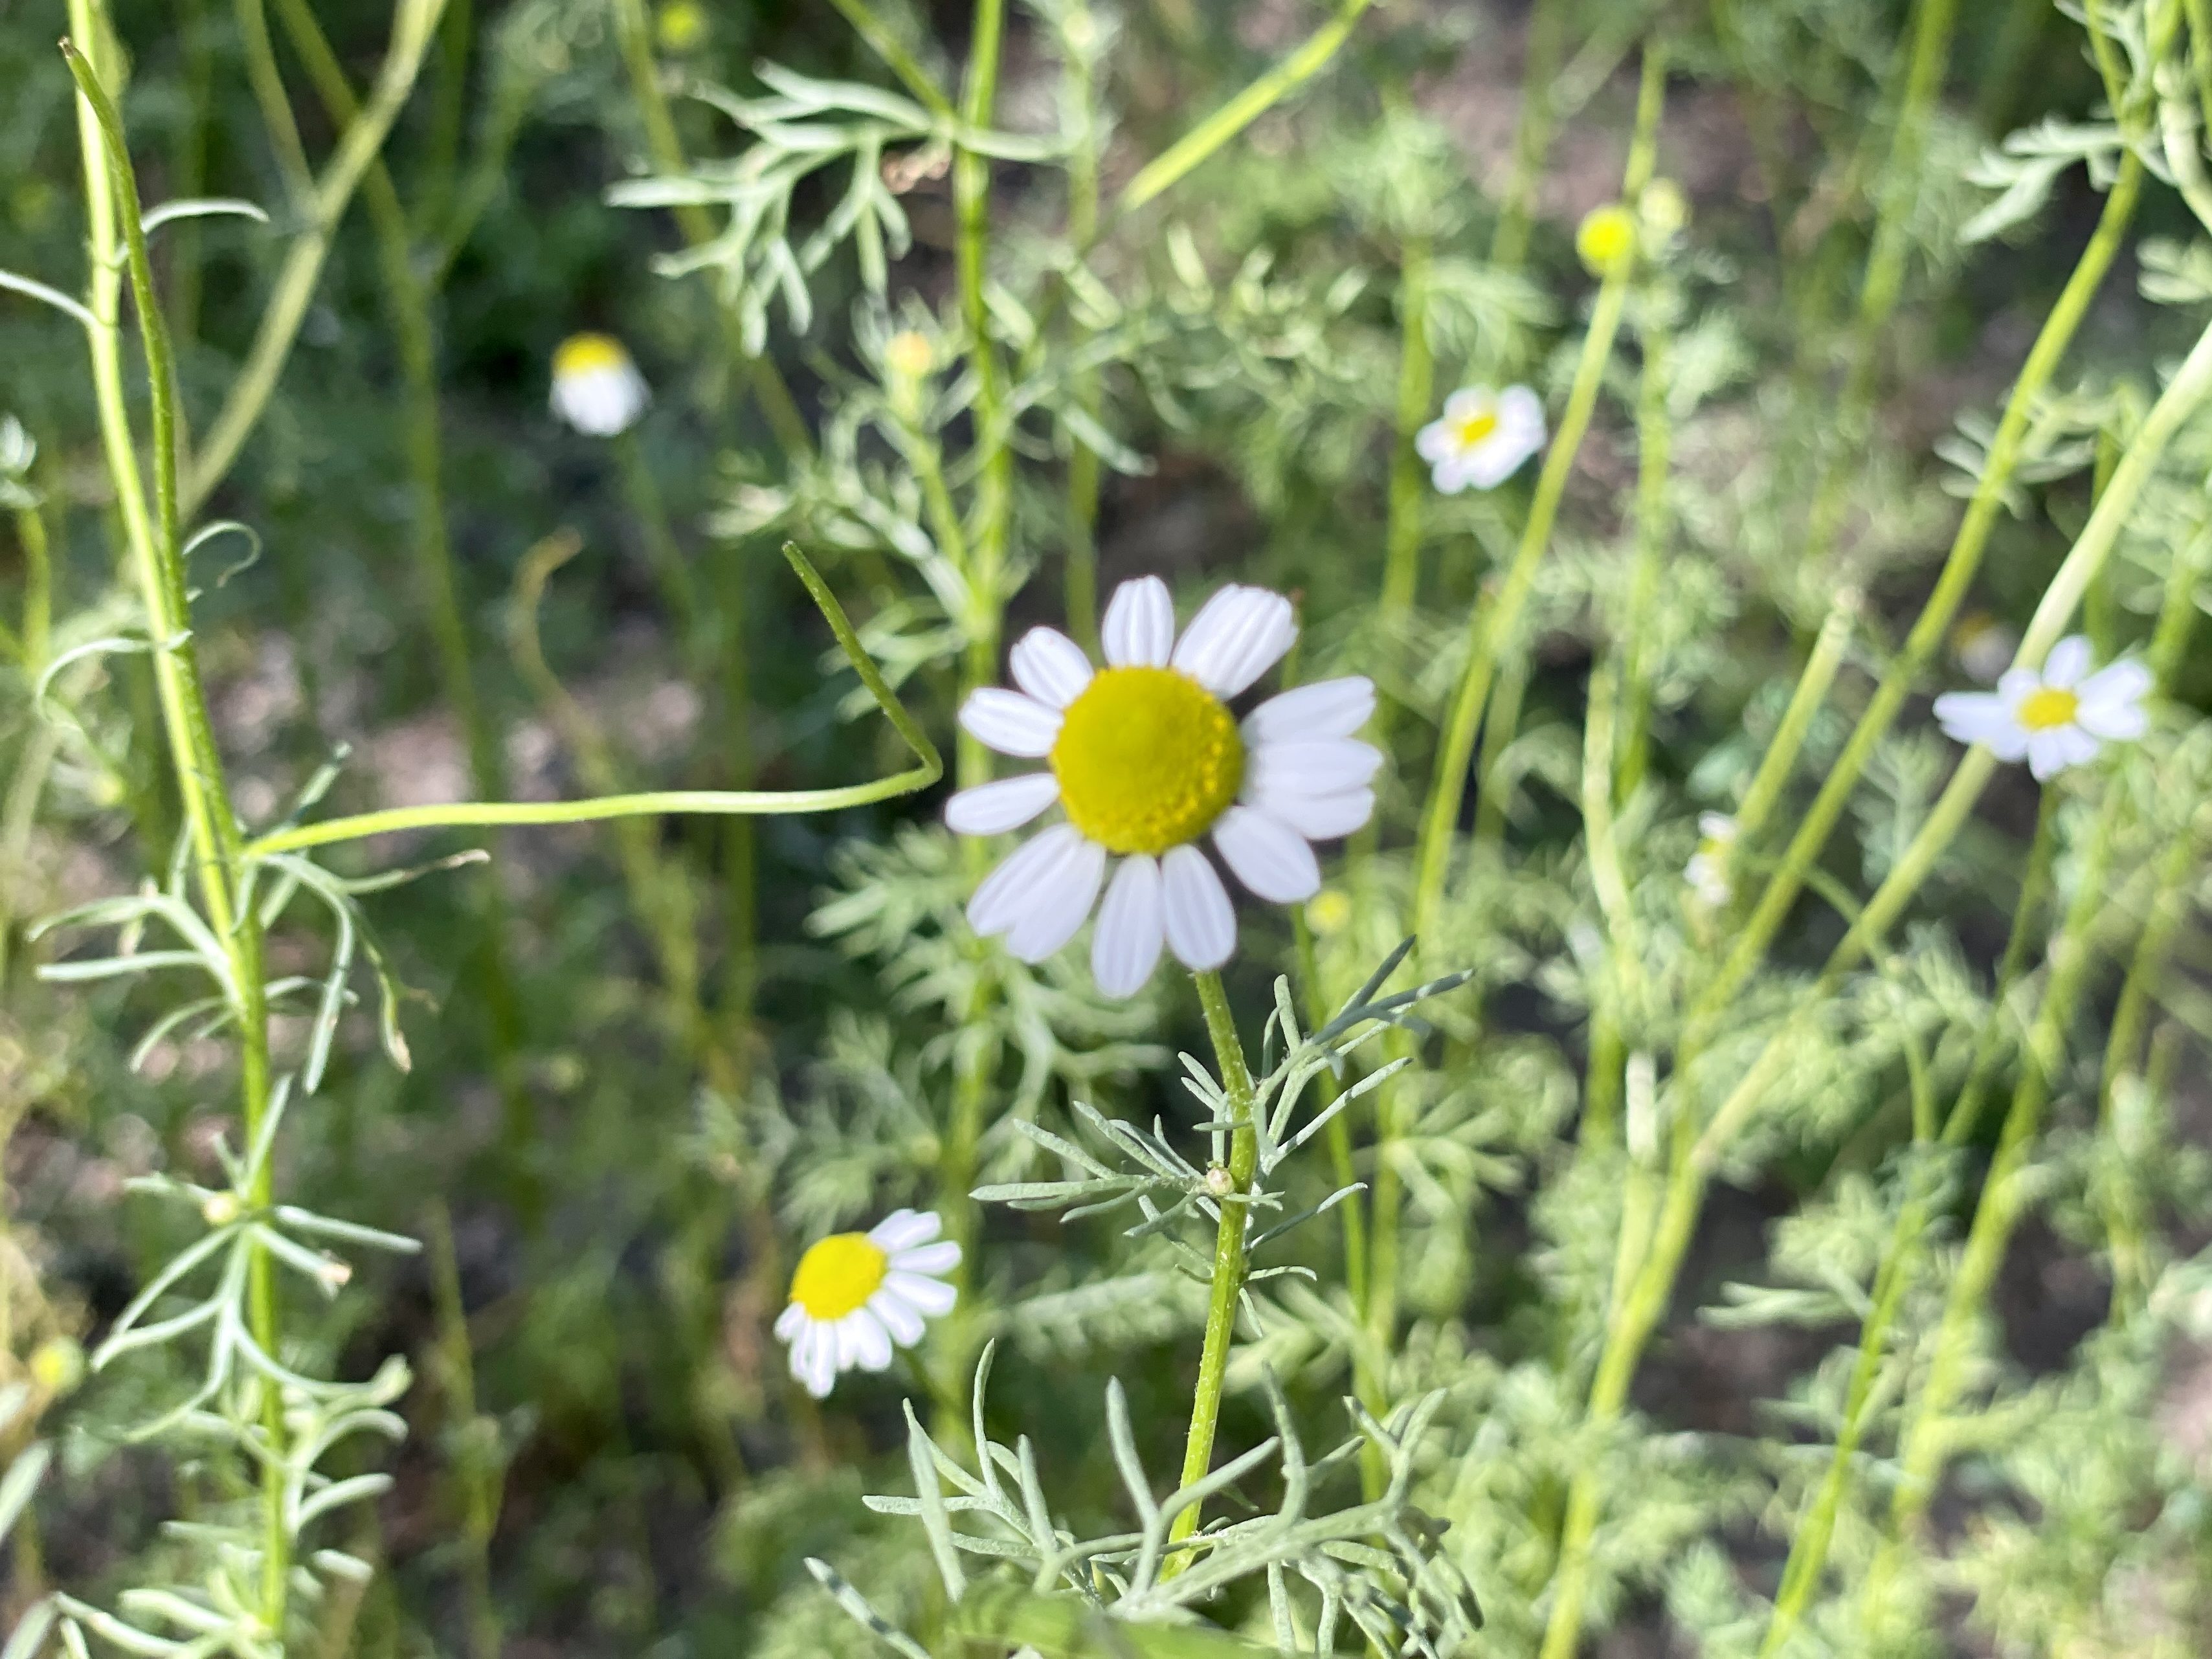
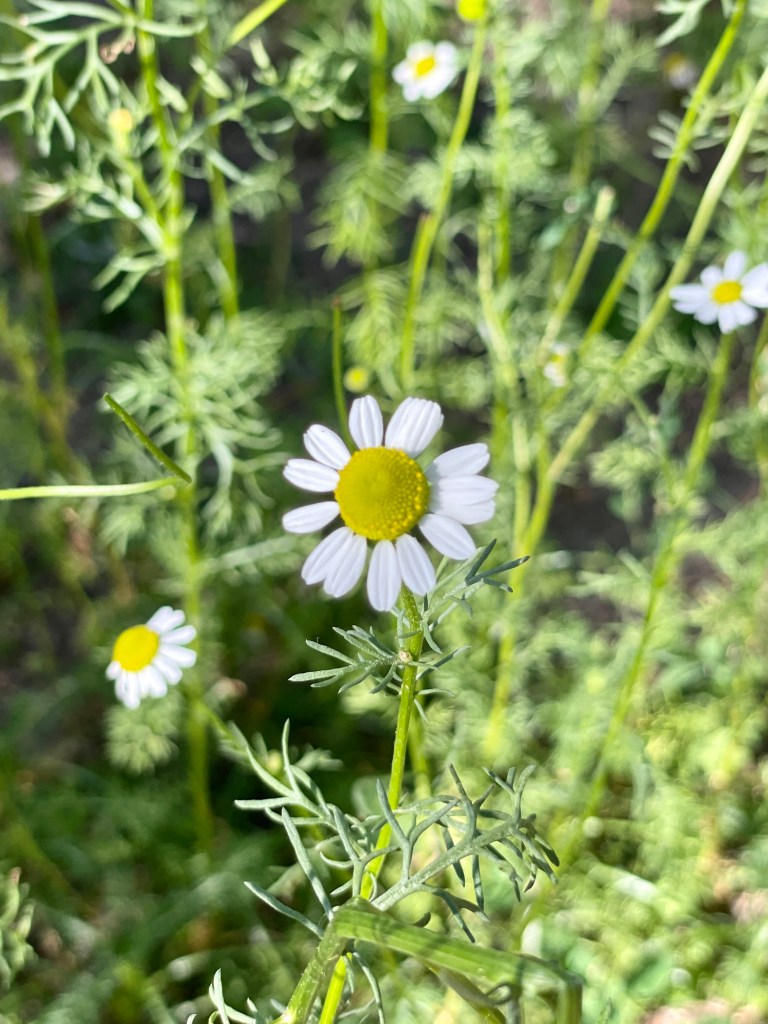
Chamomile, with its delicate flowers and soothing properties, is a beloved herb that has been cherished for its calming effects and versatility. Whether you’re an experienced gardener or a beginner with a green thumb, growing chamomile can be a rewarding and enriching experience. In this blog post, we’ll walk you through the steps of cultivating your own chamomile garden, from planting the seeds to enjoying a comforting cup of chamomile tea.
Chamomile is an herb with a long history of use for its various health and wellness benefits. Whether consumed as a tea, used topically, or enjoyed in other forms, chamomile offers a range of potential advantages. Here are some of the notable benefits of chamomile:
Calming and Relaxation: Chamomile is renowned for its calming properties. Drinking chamomile tea can help reduce stress and anxiety, promoting relaxation and aiding in sleep. Its mild sedative effects make it a popular choice for those seeking a natural remedy for insomnia.
Digestive Aid: Chamomile tea has been used for centuries to soothe digestive discomfort. It can help relax the muscles of the gastrointestinal tract, relieving indigestion, gas, and bloating. Chamomile may also have anti-inflammatory properties that contribute to improved digestion.
Anti-Inflammatory Properties: Both German chamomile and Roman chamomile contain compounds that have anti-inflammatory effects. These properties make chamomile useful for addressing various inflammatory conditions, from skin irritations to digestive issues.
Skin Health: Chamomile is gentle and soothing on the skin, making it a popular ingredient in skincare products. It can help alleviate skin irritations, reduce redness, and promote healing. Chamomile’s anti-inflammatory and antioxidant properties also contribute to its skin-nurturing effects.
Immune System Support: The antioxidants found in chamomile, such as flavonoids, may contribute to immune system support. Regular consumption of chamomile tea could potentially help protect the body from oxidative stress and bolster the immune response.
Menstrual Pain Relief: Chamomile tea may help alleviate menstrual cramps and discomfort. Its muscle-relaxing properties can ease uterine contractions, reducing pain during menstruation.
Respiratory Health: Inhaling steam infused with chamomile can provide relief from respiratory symptoms such as congestion, coughs, and sinusitis. The anti-inflammatory and antimicrobial properties of chamomile contribute to its respiratory benefits.
Antioxidant Protection: Chamomile is a source of antioxidants that help combat free radicals and oxidative stress in the body. Regular consumption of chamomile tea can contribute to overall cellular health.
Oral Health: Chamomile’s antimicrobial and anti-inflammatory properties make it beneficial for oral health. It can help soothe gum inflammation, reduce bacteria in the mouth, and freshen breath.
Hair Care: Chamomile extracts are often used in hair care products for their potential to lighten hair color naturally. Chamomile can also soothe an itchy scalp and add shine to hair.
Allergy Relief: Chamomile’s anti-inflammatory compounds, including chamazulene, may provide relief from allergy symptoms by reducing inflammation in the nasal passages and promoting respiratory comfort.
Stomach Ulcer Support: Some studies suggest that chamomile may help protect against the development of stomach ulcers and promote the healing of existing ulcers due to its anti-inflammatory and antioxidant properties.
It’s important to note that individual responses to chamomile may vary, and some people may experience allergies or adverse reactions. If you have allergies or are pregnant, it’s a good idea to consult a healthcare professional before incorporating chamomile into your routine. While chamomile is generally considered safe, it’s always wise to use herbal remedies in moderation and under appropriate guidance.
Growing your own chamomile
1. Choose the Right Variety
Chamomile comes in two main varieties: German chamomile (Matricaria chamomilla) and Roman chamomile (Chamaemelum nobile). German chamomile is known for its taller growth and feathery leaves, while Roman chamomile is a low-growing, spreading plant. Consider your space and preferences when choosing the variety that suits your garden best.
Chamomile thrives in full sun to partial shade. Choose a well-draining location in your garden that receives at least 6 hours of sunlight per day. If you’re growing chamomile indoors, place it near a sunny window.
3. Prepare the Soil
Chamomile prefers well-draining, slightly acidic soil. Amend the soil with compost to improve its texture and fertility. Avoid compacted soil, as chamomile’s delicate roots need room to spread.
4. Planting Seeds
Chamomile seeds are small and delicate, so sprinkle them lightly on the soil surface. Gently press the seeds into the soil without covering them completely, as they require light to germinate. Water the soil gently to keep it moist, but not soggy.
5. Germination and Growth
Chamomile seeds typically germinate within 7 to 14 days. Once the seedlings have grown a few inches tall, thin them out if needed to provide adequate spacing between plants. Keep the soil consistently moist, but avoid overwatering.
6. Care and Maintenance
Chamomile is relatively low-maintenance. Regularly harvest the flowers to encourage continuous blooming. Water the plants at the base to prevent water from sitting on the foliage, which can lead to disease.
7. Harvesting Chamomile
Harvest chamomile flowers in the morning when the dew has dried but before the sun is too strong. Gently pluck the flower heads and leave a portion of the stem attached. You can use the flowers fresh or dry them for later use.
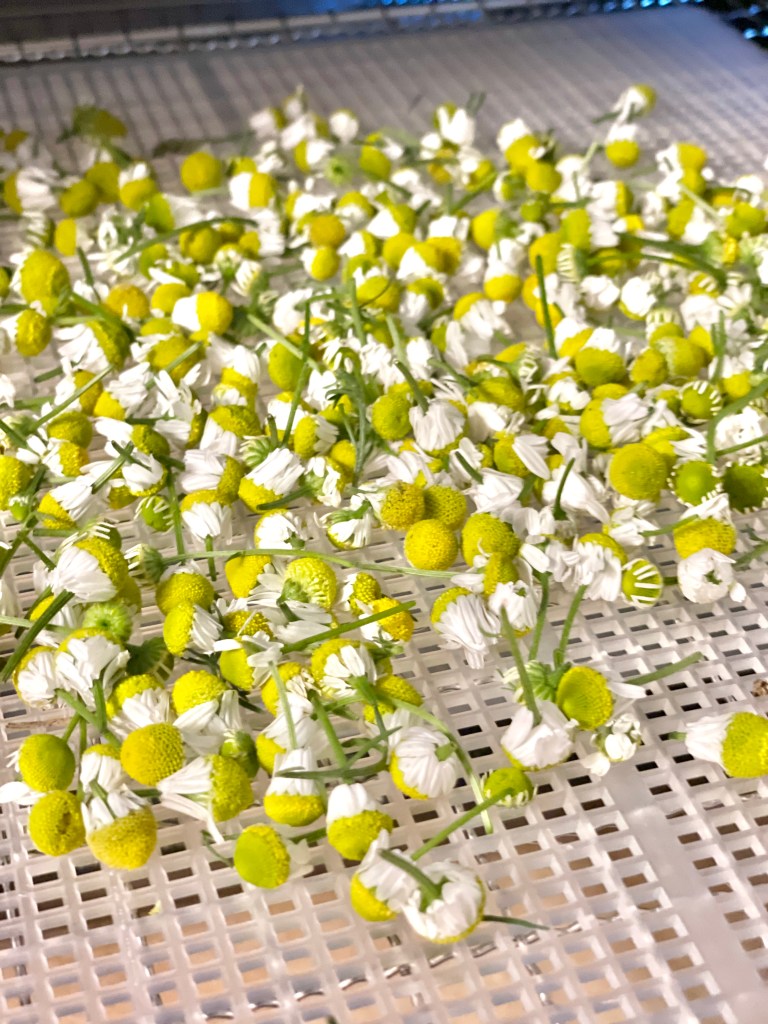
8. Drying and Storing
To dry chamomile flowers, spread them out in a single layer in a cool, dry place away from direct sunlight. Once they’re completely dry, store them in an airtight container in a cool, dark location. Dried chamomile can be used for teas, infused oils, and more. I use these mesh drying racks in a cool, dark room (we have a basement pantry that works great for this). Allow them to dry completely.
The other, much quicker way to dry herbs is with a dehydrator. It’s best to dry chamomile on a very low temperature setting to retain its beneficial and medicinal compounds. We set our dehydrator to 110°F or below (or use the lowest setting available) for 12-24 hours.
Chamomile tea is renowned for its soothing and calming effects. To make chamomile tea, simply steep a tablespoon of dried chamomile flowers in hot water for about 5 minutes. Strain and enjoy the warm, comforting beverage.
Growing chamomile is a wonderful way to connect with nature and enjoy the many benefits this gentle herb has to offer. From its cheerful blooms to its aromatic fragrance, chamomile brings a sense of tranquility to any garden. Whether you’re cultivating it for its therapeutic properties or simply for the joy of nurturing a plant, chamomile is a valuable addition to any gardening journey.