DIY, Sustainability

Mix and Match Magic: The Best Ingredients for DIY Skincare Adventures

Picture this: You, in your cozy kitchen, donning a DIY skincare wizard’s hat, concocting potions and elixirs that make your skin sing with joy. Welcome to the world of DIY skincare, where your favorite ingredients from the pantry and garden become the stars of your skincare routine. In this blog post, we’ll take you on a magical journey through the best ingredients for DIY skincare that will leave you glowing and feeling like a skincare sorcerer.

  1. Coconut Oil: The Enchanting Moisturizer

Ah, the versatile coconut oil! This kitchen staple doubles as a skin savior. It’s rich in fatty acids, making it a fantastic natural moisturizer. Whip up a luxurious body butter by combining coconut oil with a few drops of your favorite essential oil, and you’ll be on cloud nine.

  1. Honey: The Sweet Elixir of Youth

Honey is more than just a drizzle for your tea; it’s a natural humectant that locks moisture into your skin. Mix honey with a bit of yogurt for a soothing face mask, or blend it with oats for a gentle exfoliant. It’s the sweet secret to youthful and radiant skin.

  1. Avocado: The Creamy Complexion Booster

Avocado is a superfood for your skin! Its natural oils and vitamins can hydrate, nourish, and soothe your skin. Mash up some ripe avocado and create a hydrating face mask that’ll make your skin feel as smooth as butter.

  1. Aloe Vera: The Soothing Sorceress

Aloe vera is your go-to ingredient for soothing irritated or sunburned skin. Just slice open a leaf and apply the gel directly or mix it with a bit of coconut oil for an ultra-hydrating potion. Aloe vera’s magical touch will have you feeling refreshed in no time.

  1. Oatmeal: The Gentle Exfoliator

Oatmeal isn’t just for breakfast; it’s a gentle exfoliant that can soothe sensitive skin. Blend oats into a fine powder and mix with yogurt or honey for a soothing face scrub. Your skin will thank you for the pampering.

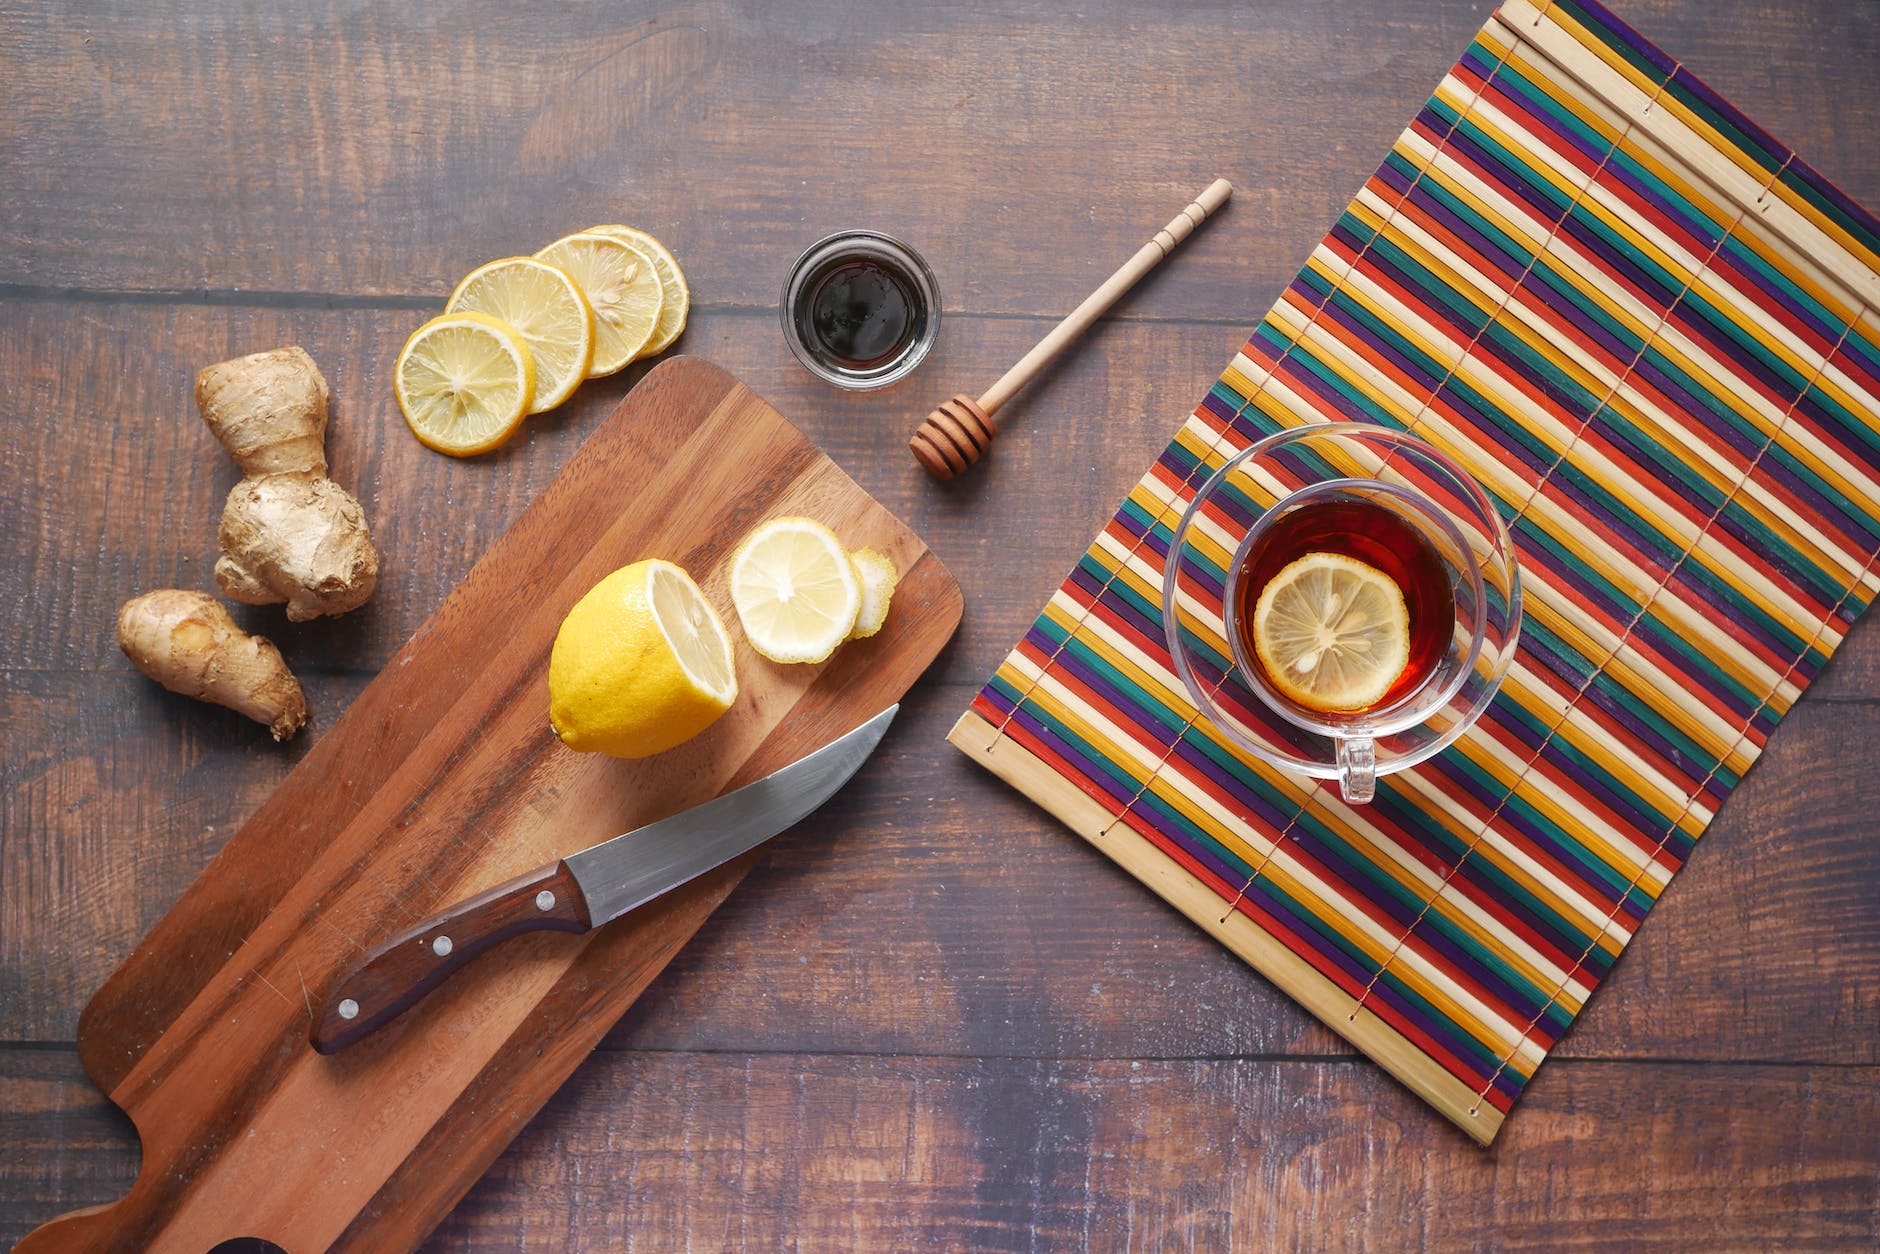
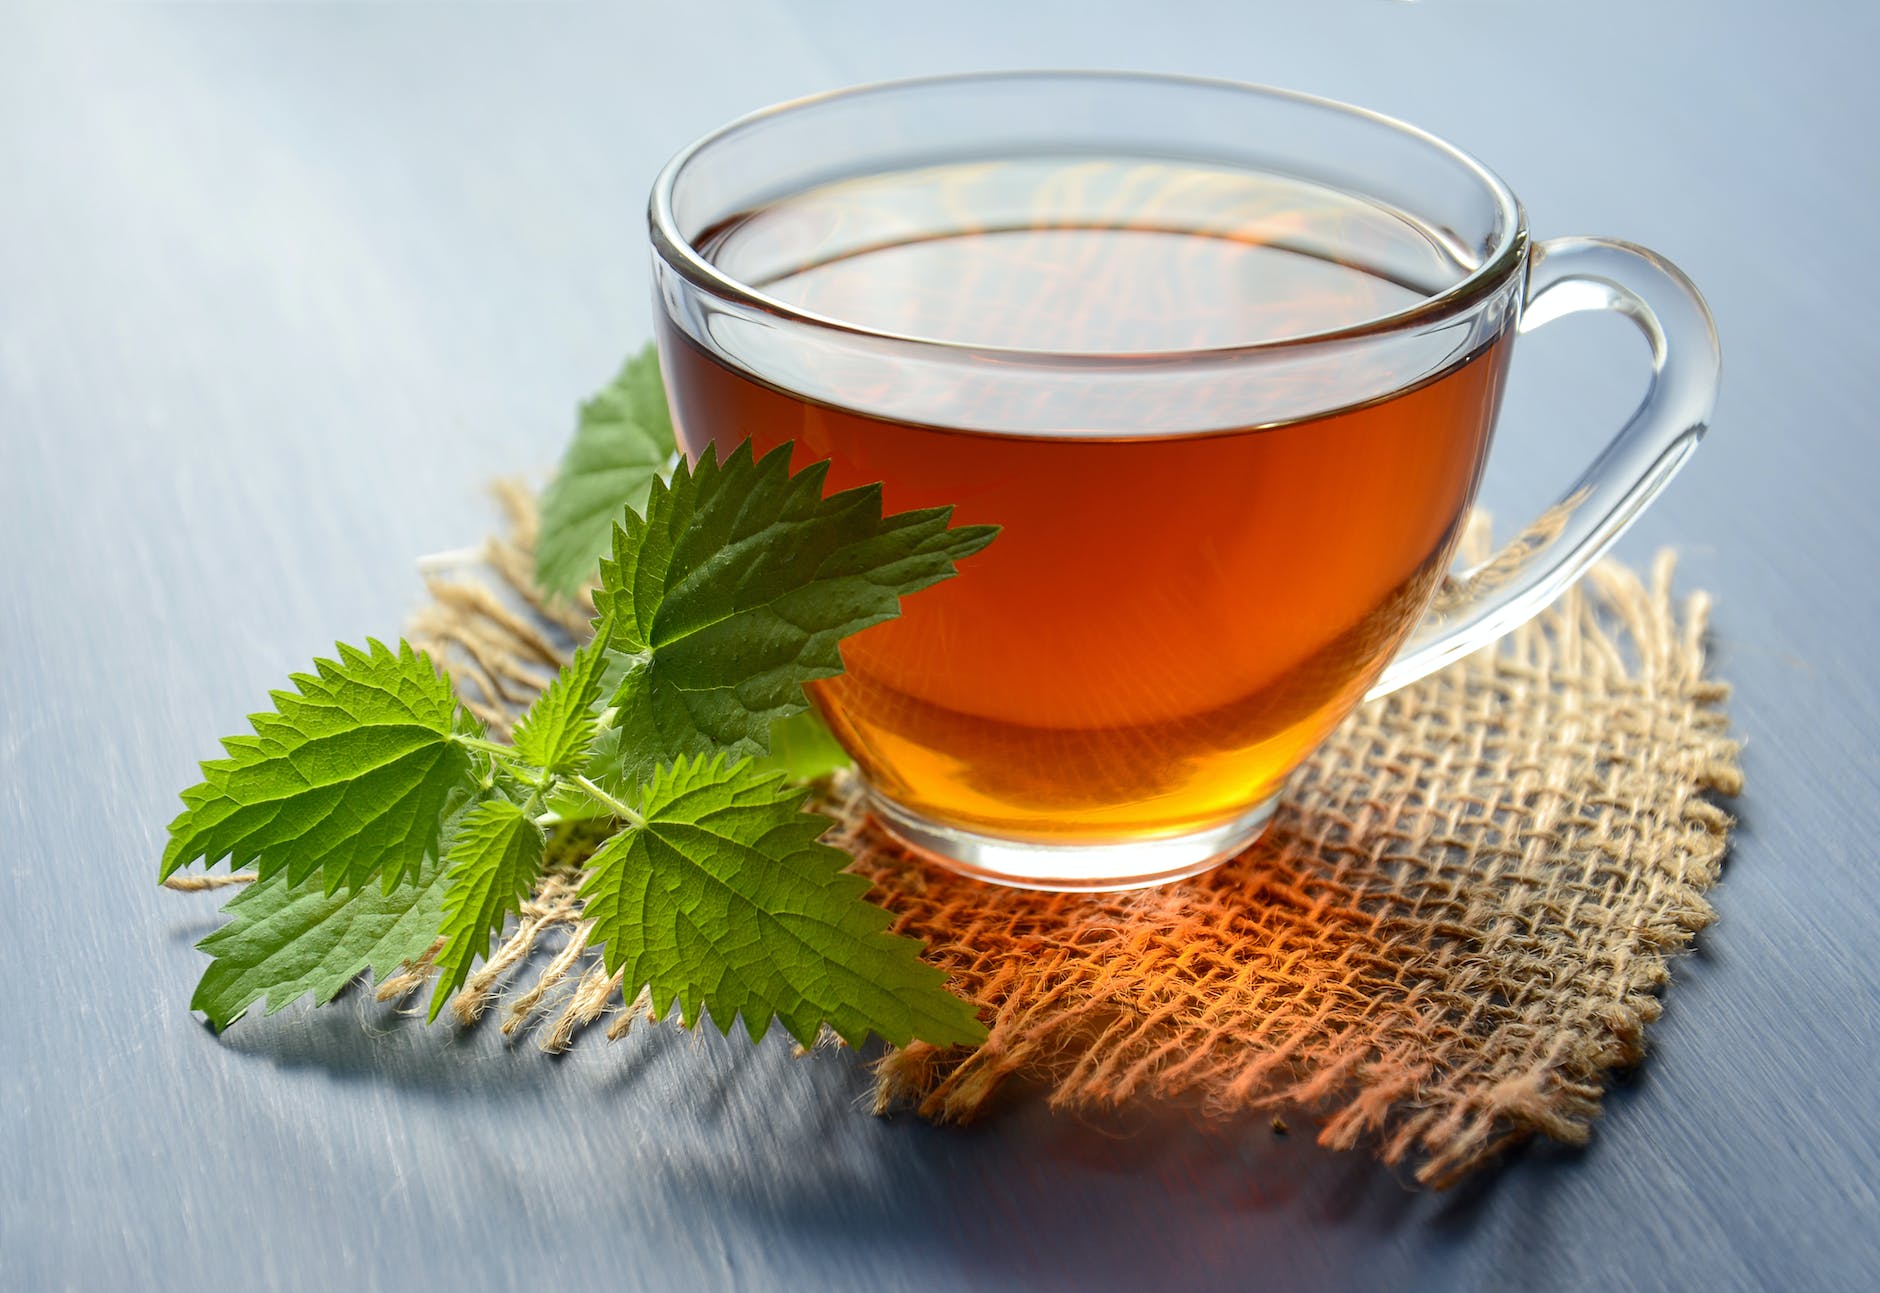
  1. Tea: The Brew of Radiance

Tea isn’t just for sipping; it can also work wonders for your skin. Green tea, in particular, is loaded with antioxidants that fight signs of aging. Brew a strong cup, let it cool, and use it as a toner or mix it into your DIY skincare creations for an extra boost of radiance.

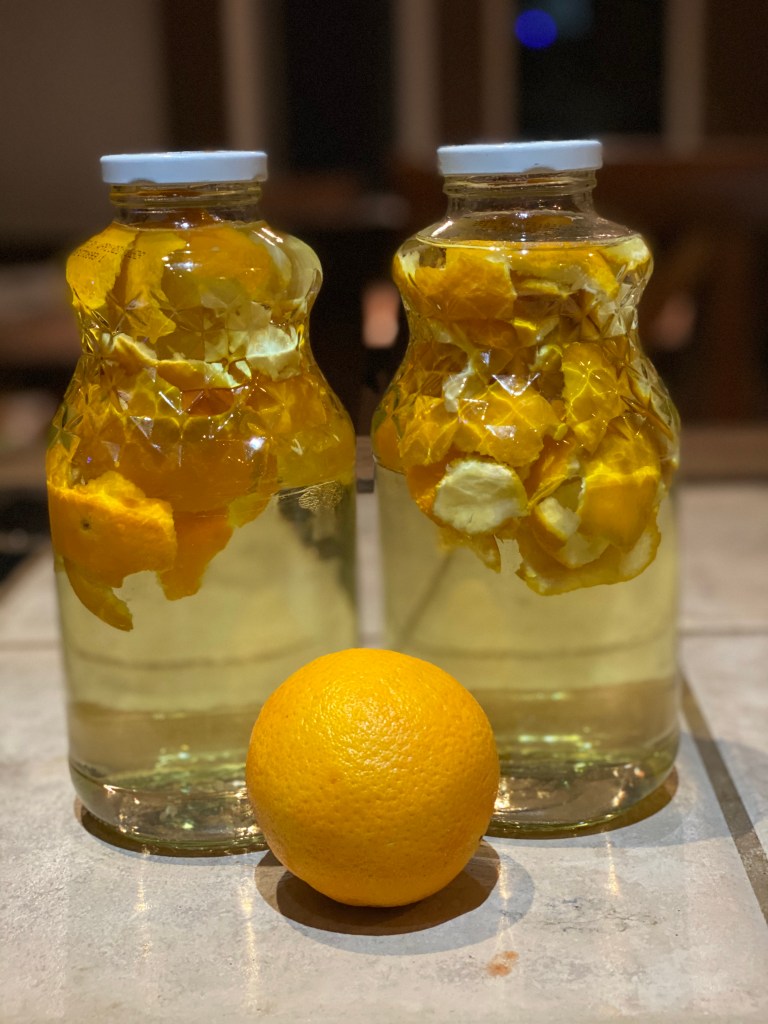
  1. Lemon: The Zesty Brightener

Lemon is like a burst of sunshine for your skin! Its high vitamin C content can brighten your complexion and even out skin tone. Mix fresh lemon juice with yogurt for a brightening face mask, but be cautious with sun exposure afterward, as lemon juice can make your skin more sensitive to UV rays.

  1. Sugar: The Sweet Scrub

Sugar isn’t just for sweetening your tea; it’s also an excellent natural exfoliant. Create a simple sugar scrub by mixing sugar with olive oil and a few drops of essential oil. Gently massage it onto your skin to reveal a soft and radiant complexion.

Creating your own DIY lotions and skincare products can be a rewarding and natural way to care for your skin. Here are some of the best ingredients for DIY lotions and skincare:

  1. Carrier Oils: Carrier oils provide the base for your skincare products and offer various benefits. Some popular options include:
  • Jojoba oil: Suitable for most skin types, as it closely resembles the skin’s natural sebum.
  • Coconut oil: Known for its moisturizing properties, but may not be suitable for acne-prone skin.
  • Sweet almond oil: A versatile and nourishing oil suitable for most skin types.
  • Argan oil: High in antioxidants and excellent for dry or mature skin.
  1. Shea Butter: Shea butter is a rich and creamy ingredient that provides intense hydration and helps improve skin elasticity. It’s ideal for making thick, luxurious creams.
  2. Beeswax: Beeswax is used to thicken lotions and create a protective barrier on the skin. It’s especially helpful in recipes for lip balms and salves. Ask around your local beekeeping community to see if they have extra wax!
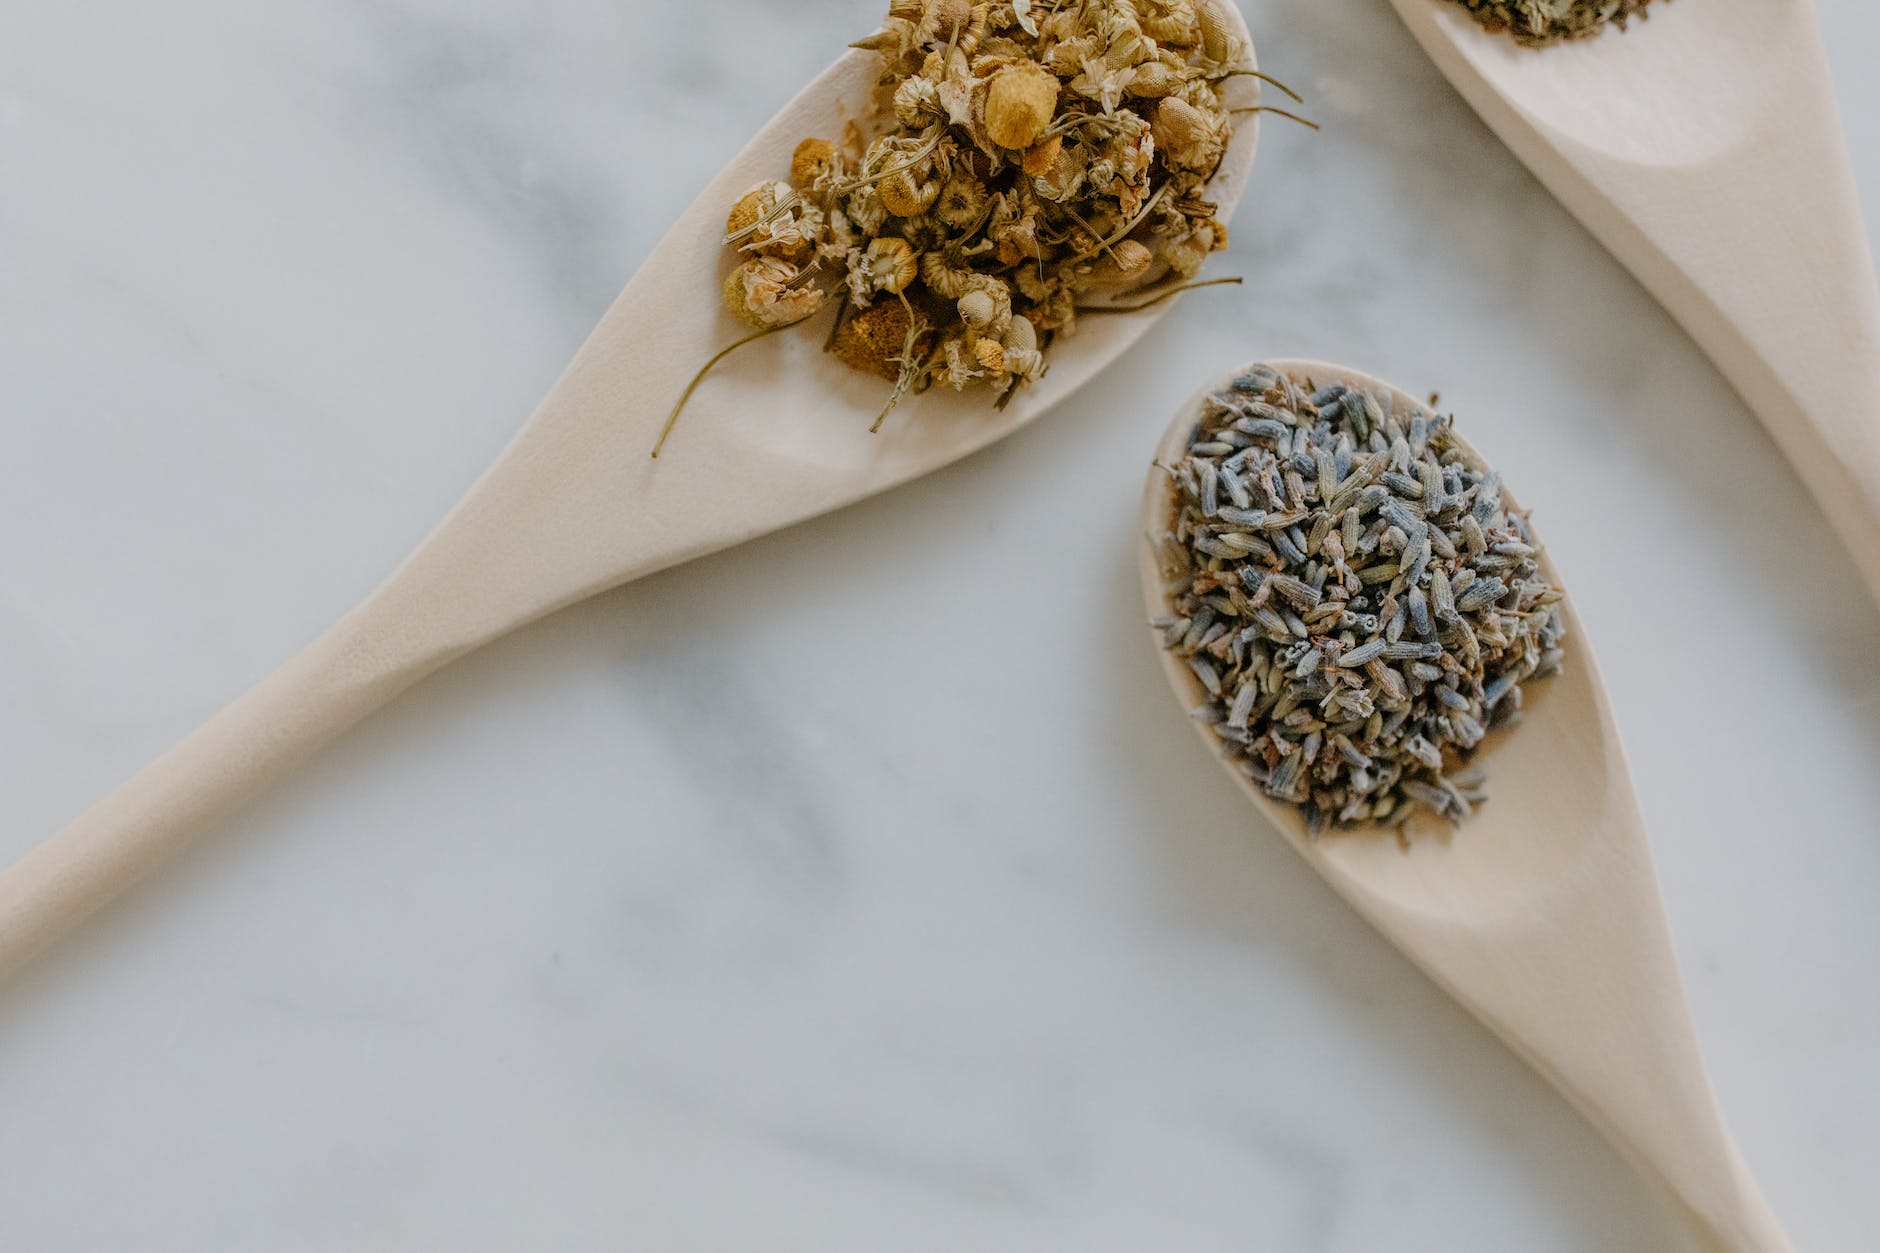
  3. Essential Oils: Essential oils add fragrance and therapeutic properties to your skincare products. Be cautious with essential oils, as they are potent and should be diluted properly. Some popular options include:
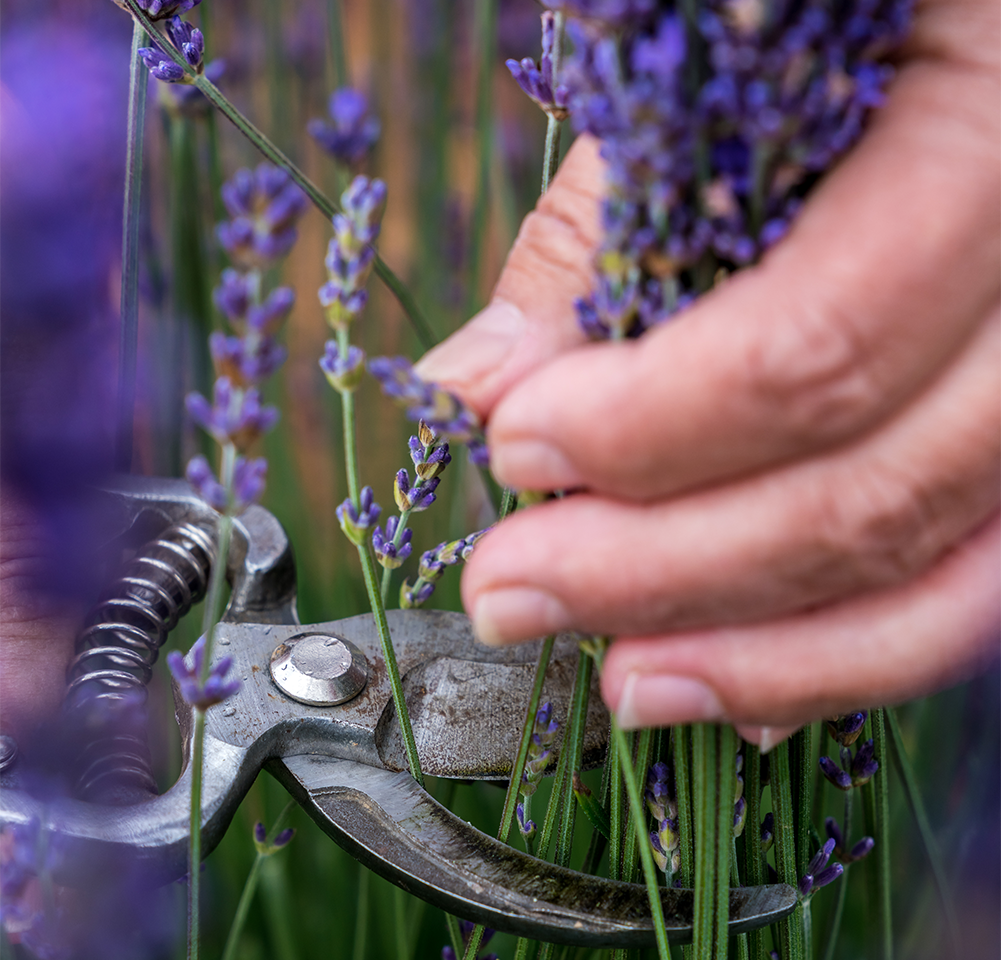
  • Lavender oil: Known for its calming and soothing properties.
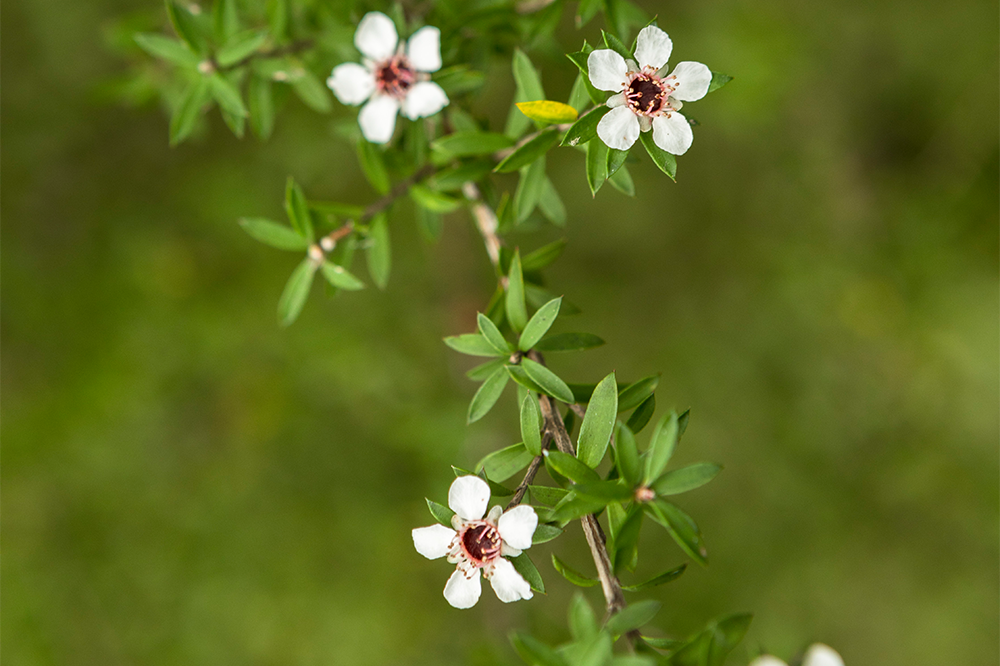
  • Tea tree oil: A powerful antimicrobial that’s excellent for acne-prone skin.
  • Rosehip oil: Contains vitamins and antioxidants, suitable for anti-aging formulations.
  • Chamomile oil: Soothing and gentle, suitable for sensitive skin.
  1. Aloe Vera Gel: Aloe vera is known for its soothing and moisturizing properties. It’s great for sunburn relief and sensitive skin.
  2. Honey: Honey is a natural humectant, which means it helps retain moisture. It’s also antimicrobial and can be added to facial masks or cleansers.
  3. Glycerin: Glycerin is a hydrating ingredient that draws moisture from the air into your skin. It’s commonly used in serums and moisturizers.
  4. Vitamin E Oil: Vitamin E is an antioxidant that can help protect the skin from free radicals and promote skin healing. It’s often added to anti-aging skincare products.
  5. Clay: Different types of clay, such as bentonite or kaolin clay, can be used in face masks and cleansers to absorb excess oil, unclog pores, and provide gentle exfoliation.
  6. Hydrosols (Floral Waters): Hydrosols are byproducts of essential oil distillation and offer a mild, fragrant alternative to plain water in skincare formulations.
  7. Oatmeal: Ground oats can be used in masks and cleansers for gentle exfoliation and soothing properties, making it suitable for sensitive skin.
  8. Green Tea: Brewed and cooled green tea can be added to toners and serums for its antioxidant and anti-inflammatory benefits.
  9. Witch Hazel: Witch hazel is a natural astringent and can be used in toners to help balance oily or acne-prone skin.

Remember that it’s essential to use clean containers and follow proper storage guidelines when making DIY skincare products. Additionally, be mindful of any allergies or sensitivities you may have to these ingredients and perform patch tests when trying new formulations. DIY skincare can be a fun and rewarding way to tailor products to your specific needs while using natural ingredients that are gentle on your skin.

With these enchanting ingredients from your kitchen and garden, you’re well on your way to becoming a DIY skincare magician. These natural treasures are not only easy on your wallet but also free from harsh chemicals and additives. So, whip up your own skincare potions, experiment with combinations, and let your inner skincare sorcerer shine. Your skin will thank you for the magic you’ve brought into your daily routine, and you’ll be glowing with confidence!

DIY, Sustainability

Harnessing the Power of Vinegar: Natural DIY Cleaning Recipes

When it comes to cleaning our homes, many of us reach for commercial cleaning products that promise to eliminate dirt, stains, and odors. However, these products often contain harsh chemicals that can be harmful to both our health and the environment. Fortunately, there’s a natural alternative that has been used for centuries โ€“ vinegar! In this blog post, we’ll explore the versatility of vinegar as a cleaner and provide you with some simple and effective DIY cleaning recipes that harness its power.

The Magic of Vinegar

Vinegar, specifically white distilled vinegar, is a powerful and natural cleaning agent. It’s non-toxic, eco-friendly, and readily available. Its acidity makes it effective at dissolving mineral deposits, cutting through grease, and neutralizing odors. Plus, it’s incredibly affordable, making it a budget-friendly option for eco-conscious homeowners. I like to infuse my vinegar beforehand to give it a fresh, clean smell before cleaning. Alternately, you can add your favorite essential oils.

Creating Your Own Infused Vinegar: A Step-by-Step Guide

Ingredients:

  • Herbs: Choose fresh herbs like mint, thyme, rosemary, or lemongrass. You can also experiment with dried herbs.
  • Citrus: Lemons, limes, oranges, or a combination work beautifully. Organic citrus fruits are preferred, as they are free from chemical residues.
  • Vinegar: Use a high-quality vinegar white vinegar
  • A clean glass bottle or jar with a tight-fitting lid

Instructions:

  1. Wash and Dry: Thoroughly wash and dry the herbs and citrus fruits to remove any dirt or residue.
  2. Prepare the Herbs: If using fresh herbs, remove the leaves from the stems and lightly bruise them to release their essential oils. If using dried herbs, measure them out according to your preference.
  3. Citrus: Simply use the rinds of citrus fruits.
  4. Combine Ingredients: In your glass bottle or jar, layer the herbs and/or citrus rinds. Start with a layer of herbs, followed by citrus zest, and repeat until the bottle is filled, leaving a small gap at the top.
  5. Heat the Vinegar: In a saucepan, heat the vinegar until it’s just about to simmer. Avoid boiling it. Heating the vinegar helps it extract scent more effectively. This is an optional step – you can just use cold vinegar.
  6. Pour the Vinegar: Carefully pour the hot vinegar over the herbs and citrus zest in the bottle. Seal the bottle tightly with its lid.
  7. Infusion Time: Store the bottle in a cool, dark place for at least one to two weeks, allowing the scents to be extracted out. Shake the bottle gently every few days to mix the contents.
  8. Strain and Store: After the infusion period, strain out the herbs and citrus using a fine mesh strainer or cheesecloth. Transfer the infused vinegar to a clean, sterilized bottle or jar and seal it.

DIY Vinegar Cleaning Recipes

All-Purpose Cleaner

Ingredients:

  • 1 part white distilled vinegar
  • 1 part water
  • Optional: 10-15 drops of essential oil (e.g., lavender, lemon, tea tree) for a pleasant scent

Instructions:

  1. Mix the vinegar and water in a spray bottle.
  2. Add essential oils if desired.
  3. Shake well before use.
  4. Use this solution to clean countertops, sinks, appliances, and more.

    Glass and Mirror Cleaner

Ingredients:

  • 1 part white distilled vinegar
  • 1 part water

Instructions:

  1. Mix the vinegar and water in a spray bottle.
  2. Spray the solution onto glass surfaces.
  3. Wipe clean with a lint-free cloth or newspaper for streak-free results.

    Oven Cleaner

Ingredients:

  • 1/2 cup white distilled vinegar
  • 1/2 cup baking soda
  • Water

Instructions:

  1. Remove oven racks and sprinkle baking soda on the oven’s interior surfaces.
  2. Spray the baking soda with water until it forms a paste.
  3. Let the paste sit overnight.
  4. The next day, wipe away the paste and grime with a cloth or sponge soaked in vinegar.

    Toilet Bowl Cleaner

Ingredients:

  • 1 cup white distilled vinegar
  • 1/2 cup baking soda

Instructions:

  1. Sprinkle the baking soda into the toilet bowl.
  2. Pour the vinegar over the baking soda.
  3. Let it fizz and sit for 10-15 minutes.
  4. Scrub the bowl with a toilet brush and flush.

    Floor Cleaner

Ingredients:

  • 1 gallon of warm water
  • 1 cup white distilled vinegar

Instructions:

  1. Mix the vinegar and warm water in a bucket.
  2. Mop your floors as usual, using this solution.

Vinegar is a natural, budget-friendly, and eco-friendly alternative to commercial cleaning products. These DIY vinegar-based cleaning recipes are not only effective but also safe for you, your family, and the environment. So, the next time you embark on your cleaning spree, give vinegar a chance to shine โ€“ you might be surprised at the fantastic results it delivers. Embrace the power of vinegar and make your home cleaner and greener today!

DIY

Embrace Autumn’s Aromas: DIY Natural Potpourri for a Cozy Fall Atmosphere


As the leaves change colors and a crispness fills the air, there’s no denying that fall has arrived. To truly savor the essence of this wonderful season, let’s bring some of its signature scents indoors. Forget store-bought potpourri; in this blog post, we’ll dive into the world of DIY natural potpourri. It’s easy, budget-friendly, and the perfect way to infuse your home with the warm, inviting fragrances of autumn. Get ready to transform your space into a cozy autumn oasis!

1. Cinnamon Spice and Everything Nice

Ingredients:

  • 4-5 cinnamon sticks
  • 1 orange peel (dried)
  • 1 tablespoon whole cloves
  • 2-3 star anise pods
  • 1 vanilla bean (optional)

Instructions:

  1. Break the cinnamon sticks into smaller pieces.
  2. Combine all the ingredients in a bowl or a decorative dish.
  3. Place your potpourri mix in various spots around your home, like the living room, kitchen, or bathroom.
  4. The combination of cinnamon, cloves, and orange will fill your home with a warm, spicy aroma.

2. Apple Orchard Delight

Ingredients:

  • 1-2 dried apple slices (homemade or store-bought)
  • A handful of dried cranberries
  • 1-2 cinnamon sticks
  • A few whole nutmegs (optional)

Instructions:

  1. Cut dried apple slices into smaller pieces if they’re too large.
  2. Combine all the ingredients in a bowl or a sachet.
  3. Place your potpourri in a decorative bowl or arrange it in a small mesh bag.
  4. The sweet and fruity aroma of apple and cranberry will evoke memories of orchard adventures.

3. Autumn Woodsy Wonderland

Ingredients:

  • 1 small pinecone
  • A handful of acorns
  • 2-3 small cedar branches or pine needles
  • 2-3 juniper berries (optional)

Instructions:

  1. Gather the natural elements like pinecones, acorns, and cedar branches.
  2. Place them in a decorative bowl or basket.
  3. Add juniper berries if you want an extra woodsy touch.
  4. The scent of pine and cedar will bring the essence of a forest right into your home.

4. Pumpkin Pie Paradise

Ingredients:

  • 1-2 small dried pumpkin slices (homemade or store-bought)
  • 1-2 cinnamon sticks
  • A pinch of ground cloves
  • A pinch of ground nutmeg

Instructions:

  1. Cut dried pumpkin slices into smaller pieces.
  2. Combine the pumpkin slices, cinnamon sticks, and ground spices in a bowl.
  3. Display your potpourri in a pretty dish.
  4. The delightful aroma of pumpkin pie will have everyone craving a slice.

5. Spiced Citrus Dream

Ingredients:

  • 1 dried orange slice (homemade or store-bought)
  • 1-2 star anise pods
  • 2-3 cloves
  • A few dried lemon or lime slices (optional)

Instructions:

  1. Cut the dried orange slice into smaller pieces if needed.
  2. Combine all the ingredients in a bowl or a decorative dish.
  3. If you have dried citrus slices, you can add them for an extra burst of citrusy fragrance.
  4. The combination of orange and spice will create a zesty, invigorating scent.

6. Harvest Bounty Medley

Ingredients:

  • A mix of dried apple slices, cinnamon sticks, and whole cloves
  • A few dried leaves (maple or oak, if available)

Instructions:

  • Combine all the ingredients in a bowl or a decorative container.
  • Tuck in some dried leaves for an authentic harvest feel.
  • Place your potpourri on your coffee table or in a decorative dish.
  • The aroma of apples and spices mixed with the earthy scent of dried leaves will transport you to an autumn harvest festival.


With these DIY natural potpourri recipes, your home will be filled with the scents of fall in no time. These simple yet creative blends will not only make your space smell fantastic but also add a touch of seasonal charm to your decor. Embrace autumn’s aromas and enjoy the cozy ambiance they create as you sip on your pumpkin spice latte and cozy up with a blanket. Happy potpourri crafting!

Animals, chickens, Sustainability

Egg-citing Savings: How to Feed Your Chickens on a Budget


If you’re a proud chicken keeper, you already know that these feathered friends are the gift that keeps on giving โ€“ fresh, delicious eggs! However, keeping your cluckers happy and well-fed doesn’t have to break the bank. In this budget-friendly guide, we’ll show you how to feed your chickens without feathering out your wallet.

1. The Grain Train: Mixing Your Own Chicken Feed

One of the most cost-effective ways to feed your chickens is by creating your own feed mix. You can buy bulk grains like corn, wheat, and oats, which are typically less expensive than pre-made feeds. Mix these grains in ratios suitable for your chickens’ age and purpose (layers, broilers, etc.). Sometimes you can find local business that mix their own for a much better price than buying at a traditional feed store.

2. Garden Goodies: Let Your Chickens Do the Work

Chickens love to forage, and allowing them access to your garden or a designated area can significantly reduce your feed expenses. They’ll feast on weeds, insects, and even kitchen scraps like vegetable peels, fruit cores, and leftover bread.

3. Dumpster Diving for Chickens (Legally, of Course!)

Okay, maybe not diving, but dumpster diving for your chickens can be a fantastic way to score free or nearly free food for your flock. Visit your local bakery or grocery store to inquire about getting their food scraps, like stale bread or produce that’s past its prime. Your chickens will be thrilled with the variety!

One of our favorite things to do is get spent grain from local breweries. This can supplement the feed of our chickens and goats.

4. Egg-cellent Supplements: Nutritional Bonuses

Instead of purchasing expensive commercial supplements, look for budget-friendly alternatives. Crushed eggshells, for example, can provide calcium, while mixing in yogurt or cottage cheese offers an extra protein boost. Plus, it’s a fun treat for your feathered friends!

5. Shop Smart: Find Deals and Discounts

Keep an eye out for sales and discounts at your local feed store or online. Buying in bulk can also save you money in the long run. Just ensure you have proper storage to keep your feed fresh and pest-free.

6. Flock Gardening: Grow Your Own Chicken Food

Consider planting a chicken-friendly garden. Grow crops like sunflowers, clover, or alfalfa that chickens love to munch on. Not only will this save you money, but it’ll also provide a natural source of nutrition for your flock.

7. DIY Chicken Treats: Homemade Goodies

Get creative with DIY chicken treats. Make your own suet blocks by mixing birdseed, cornmeal, and melted suet or lard. Freeze it in a mold, and voila โ€“ a budget-friendly chicken snack that’ll keep them clucking happily.

8. Share the Load: Collaborate with Fellow Chicken Keepers

Join a local poultry enthusiasts’ group or connect with friends and neighbors who also raise chickens. You can share resources, bulk purchases, or even take turns watching each other’s flocks when someone goes on vacation.

9. Chickens on a Diet: Optimize Their Food Consumption

Don’t overfeed your chickens. Monitor their consumption, and only provide what they can finish in a day to minimize waste. Investing in a good-quality feeder that prevents spillage can save you money in the long run.

10. Barter with Your Bounty: Trade Eggs or Chickens

If you have more eggs or chickens than you can handle, consider bartering with neighbors, friends, or local farmers. Trade for fresh produce, homemade goods, or even services to keep your chicken budget in check.

Feeding your chickens on a budget doesn’t mean sacrificing their health or happiness. With a little creativity, resourcefulness, and a dash of chicken charm, you can provide your feathered companions with a nutritious diet without emptying your wallet. So, get clucking and start saving โ€“ your chickens and your bank account will thank you!

Health, Herbs, Recipes

Sip Your Way to Immunity: Delicious Herbal Teas to Boost Your Defenses


In a world where staying healthy is more important than ever, our immune systems deserve all the support they can get. While a well-balanced diet and regular exercise play crucial roles in maintaining good health, sometimes a comforting cup of herbal tea can be just the thing to give your immune system a little extra love. Join us on a flavorful journey as we explore some delightful, immunity-boosting herbal tea recipes that not only taste amazing but also provide a much-needed dose of wellness.

1. Ginger-Lemon Zest Tea: The Wake-Up Call Your Immune System Needs

Ingredients:

  • 1-inch piece of fresh ginger, sliced
  • 1 lemon, sliced
  • 1 teaspoon honey (optional)
  • 2 cups of water

Instructions:

  1. Boil 2 cups of water and add the ginger and lemon slices.
  2. Let it simmer for 5-7 minutes.
  3. Strain the tea into your favorite mug, and sweeten with honey if desired.
  4. Sip and enjoy the zesty goodness!

2. Turmeric Gold Elixir: The Warrior of Immunity

Ingredients:

  • 1 teaspoon turmeric powder
  • 1/2 teaspoon ground cinnamon
  • A pinch of black pepper
  • 1 teaspoon honey
  • 2 cups of almond milk (or any milk of your choice)

Instructions:

  1. In a saucepan, gently heat the almond milk.
  2. Add the turmeric, cinnamon, and a pinch of black pepper.
  3. Stir well and let it simmer for 5 minutes.
  4. Sweeten with honey and savor the golden goodness.

3. Minty Fresh Immune Tea: Cool and Calm Your Way to Wellness

Ingredients:

  • A handful of fresh mint leaves
  • 1 green tea bag (or 1 teaspoon loose green tea leaves)
  • 1 teaspoon honey (optional)
  • 2 cups of hot water

Instructions:

  1. Place the green tea bag (or loose leaves) and mint leaves in a teapot.
  2. Pour hot water over them and steep for 3-4 minutes.
  3. Remove the tea bag or strain the tea if using loose leaves.
  4. Sweeten with honey, if desired, and enjoy the refreshing minty flavor.

4. Elderberry Delight: Berry Blast for Immunity

Ingredients:

  • 2 tablespoons dried elderberries
  • 1 cinnamon stick
  • 1 teaspoon honey (optional)
  • 2 cups of water

Instructions:

  1. In a saucepan, combine the dried elderberries and cinnamon stick with water.
  2. Bring to a boil, then reduce heat and simmer for 15-20 minutes.
  3. Remove from heat, strain into a cup, and sweeten with honey if desired.
  4. Sip this berry-infused delight to boost your immune system.

5. Chamomile-Lavender Dream Tea: Sweet Dreams and Strong Immunity

Ingredients:

  • 1 chamomile tea bag (or 1 teaspoon dried chamomile flowers)
  • 1/2 teaspoon dried lavender buds
  • 1 teaspoon honey (optional)
  • 2 cups of hot water

Instructions:

  1. Place the chamomile tea bag (or chamomile flowers) and dried lavender buds in a teapot.
  2. Pour hot water over them and steep for 5-7 minutes.
  3. Remove the tea bag or strain the tea if using loose flowers.
  4. Sweeten with honey if desired, and sip your way to relaxation and immunity.


These delightful herbal teas not only tantalize your taste buds but also provide a comforting boost to your immune system. Incorporating these recipes into your daily routine can be a flavorful and enjoyable way to stay healthy. If you like to use dried herbs and prepare these ingredients ahead of time, I recommend tea bags like these or reusable ones otherwise a tea strainer like this works great. I also like adding my ingredients to a tea pot with the infuser in it. So, brew a cup, cozy up with a blanket, and let these immune-supporting herbal teas become your wellness companions in every season. Cheers to health and happiness!

Animals, DIY, Sustainability

The Art and Science of Natural Whitewash: Beauty and Benefits for Your Home

In a world of high-tech paint and chemical finishes, there’s something charmingly rustic and timeless about the art of whitewashing. This ancient technique not only adds a touch of country chic to your home but also boasts numerous benefits for both your living space and the environment. In this blog post, we’ll delve into how to make natural whitewash and explore the many advantages it brings to your abode.

Chapter 1: What is Whitewash?

Whitewash is a simple, time-tested paint-like mixture that consists of water, lime, and pigment. Historically, it was used to brighten walls, fences, and buildings while protecting them from pests and weathering. Today, it’s making a comeback as a sustainable and eco-friendly alternative to modern paints and finishes. I use whitewash primarily in my animal shelters. It’s way more eco-friendly than painting, safe for the animals and has many benefits.

Chapter 2: Making Your Own Natural Whitewash

Ingredients:

Instructions:

  1. Safety First: Lime is caustic, so protect yourself with gloves and goggles when handling it. Work in a well-ventilated area.
  2. Mixing Lime: Adding water slowly until it turns into a smooth paste.
  3. Diluting Lime: Mix the lime paste (or hydrated lime) with water to create a thick, creamy consistency. You can add more lime or water as needed to create the consistency you are wanting. I usually aim to get it to the thickness of paint or slightly thicker.
  4. Application: Apply the whitewash to your chosen surface using a brush, roller, or sprayer. Apply multiple coats for greater coverage.
  5. Drying: Whitewash dries relatively quickly, but it may take a few days to fully cure. Avoid exposing it to rain or excessive moisture during this time.

Chapter 3: Benefits of Natural Whitewash

Now that you know how to make whitewash, let’s explore why you should consider it for your home:

  1. Eco-Friendly: Natural whitewash is environmentally friendly, containing no harmful chemicals commonly found in commercial paints. It’s a sustainable choice for eco-conscious homeowners.
  2. Breathability: Whitewash allows surfaces to breathe, preventing moisture buildup and the growth of mold and mildew. It’s an ideal choice for damp or humid areas.
  3. Protection: Whitewash acts as a protective barrier against pests and weathering, extending the life of wood, brick, and other surfaces.
  4. Cooling Effect: The reflective nature of whitewash can help keep interiors cooler in hot climates, reducing the need for air conditioning.
  5. Aesthetic Appeal: Whitewash adds a charming, rustic look to interiors and exteriors. It can be used to achieve various styles, from farmhouse chic to Mediterranean elegance.
  6. Cost-Effective: Making your own whitewash is cost-effective, and lime is readily available and affordable.
  7. Low Maintenance: Whitewash is easy to maintain. You can touch up areas as needed without the hassle of matching paint colors.

Natural whitewash is not just a coating for your walls; it’s a time-honored technique that connects us to our heritage and the environment. By learning to make your own whitewash and understanding its benefits, you can enhance your living space while embracing sustainable practices and timeless aesthetics. So, pick up your lime and paintbrush, and let the whitewashing adventure begin!

Animals, chickens

Happy Hens: Exploring the Best Herbs to Boost Your Chickens’ Health and Well-Being

When it comes to raising backyard chickens, their health and happiness are top priorities. Did you know that certain herbs can play a significant role in enhancing your chickens’ overall well-being? From promoting good digestion to deterring pests, incorporating these natural wonders into your coop and yard can lead to healthier, happier hens. In this blog post, we’re delving into the world of herbs and sharing the best ones to consider for your feathered friends.

1. Oregano: Boosting Immunity and Digestion

Oregano is a powerhouse herb known for its antimicrobial properties. When offered to chickens, it can help support their immune systems and aid in digestion. You can offer fresh oregano leaves, or even dry and crush them to mix with their feed.

2. Lavender: Calming and Pest-Repelling

Lavender’s soothing aroma isn’t just for humans. Chickens can benefit from its calming effects, helping to reduce stress and promote relaxation. Additionally, lavender’s fragrance acts as a natural pest repellent, keeping bothersome insects at bay.

3. Mint: Cooling and Digestive

Mint offers more than just a refreshing scent โ€“ it can help cool your chickens in hot weather. Furthermore, mint aids in digestion and can contribute to overall gut health. Offer fresh mint leaves in their coop or as a treat.

4. Thyme: Respiratory and Antibacterial

Thyme is a natural respiratory aid and can help chickens with any respiratory issues they may face. Its antibacterial properties can also contribute to a cleaner and healthier environment in the coop.

5. Rosemary: Stimulating and Repelling

Rosemary’s invigorating aroma can stimulate your chickens’ senses, encouraging activity and exploration. Additionally, rosemary can deter pests and parasites, making it a valuable addition to your coop and yard.

6. Sage: Egg-Laying and Antioxidant

Sage is believed to have properties that support healthy egg-laying. Its antioxidant properties can also contribute to your chickens’ overall well-being. Offer sage in moderation as a treat or add it to their nesting boxes.

7. Parsley: Nutrient-Rich and Fresh Breath

Parsley is rich in vitamins and minerals that can supplement your chickens’ diet. Plus, its chlorophyll content can help freshen their breath. Chop up fresh parsley and offer it as a nutrient-packed treat.

8. Marigold: Vibrant Yolks and Pest Control

Marigold petals can enhance the color of your chickens’ egg yolks, giving them a deep, rich hue. Additionally, marigolds can repel certain pests and add a pop of color to your chicken area.

How to Offer Herbs:

  • Fresh Leaves: Offer herbs directly to your chickens as part of their daily foraging.
  • Hanging Bundles: Hang bundles of herbs in the coop for chickens to peck at.
  • Coop Bedding/nesting box: Scatter dried herbs in the coop bedding to enhance the scent and repel pests.

Embracing the power of herbs in your backyard chicken keeping routine can bring about a range of benefits โ€“ from improved digestion and respiratory health to pest control and stress reduction. By introducing these natural remedies, you’re not only enhancing the quality of your chickens’ lives but also fostering a holistic approach to their well-being. As you incorporate these herbs into your coop and yard, you’ll witness firsthand the positive impact they can have on your happy hens.

Uncategorized

7 life lessons inspired by plants

A walk through the woods can do more than just get your heart rate up and fill your lungs with fresh air; it can actually teach you about how to live a happier, simpler, and more fulfilling life. In this blog post, weโ€™re taking a look at seven lessons you can learn from plants. Theyโ€™ve been doing all this learning, growing, and improving thing for a long time, and they have a few helpful tips for us.


Young Living Farms in Croatia

Helichrysum at the Young Living Farms in Split, Croatia

Leave the shadows and look to the light

As the sun moves across the sky during the day, many flowers and plants will turn to face the direction of the sun. Even plants sitting on a windowsill will grow toward the sunlight. Itโ€™s important that you identify and move toward the sunlight in your life. Reach for the people and things that bring you light, even when life feels dark. Itโ€™s challenging but worth it.


Frankincense Resin

Beauty comes in all shapes and sizes

A garden wouldnโ€™t be nearly as lovely if all the plants were the same. The varieties of shapes, colors, sizes, and smells all add to the magic and beauty of it. Just like every flower, tree, and bush, every person is different, and they each have something unique to offer. Embrace your own individual beauty and always remember that the world is a much better place because youโ€™re in it.


Small growth is still growth

Oregano

Most plants grow in tiny increments. If you observe a little seedlingโ€™s progress from one day to the next, itโ€™s hard to notice any difference at all, but if you look at the same plant one year later, the change is clear. Likewise, it can be common to overlook the growth in your life. Itโ€™s hard to see progress over the course of a week or even a month, but if you look back at where you were five years ago, you can see how far youโ€™ve come. Progress is still progress, no matter how long it takes you.


Jasmine Young Living Essential Oils

Jasmine Flowers

Thereโ€™s more than meets the eye

Night-blooming jasmine is a beautiful white flower thatโ€”as the name suggestsโ€”blooms only at night. During the day it hides its petals inside a small green bud. It would be easy to pass over this plant and think of it as plain or even unsightly without ever knowing of the spectacular beauty hidden inside. How often do we do this with people in our lives? Itโ€™s so easy to meet someone and immediately judge them, but the truth is thereโ€™s always much more than meets the eye.


Lavender

Getting cut back can actually make you stronger

Every experienced gardener knows that pruning certain plants is essential for them to reach their fullest potential. At first it may appear to be a step backward, but it will actually help the plant take many steps forward. When you face trials or setbacks in life, remember that they can lead to better things, a better you. Sometimes losing your job or having a difficult conversation is just the thing you need to wake up and take your life in a new and better direction.


Adapt with the seasons

Plants are experts on knowing when to bloom and when to hunker down and protect themselves. In the fall and winter, deciduous plants shed their leaves and petals and hibernate through the dark and cold months. In the spring and summer, they open up and bloom, soaking in as much sunlight and energy as possible. Itโ€™s important to allow ourselves the same care. When life gets hard, itโ€™s okay to protect yourself, regroup, and push through. Likewise, itโ€™s also important to bask in the sun and recharge when the opportunity presents itself.


Take time to nourish yourself

Without the proper balance of sunlight, nutrient-rich soil, and water, a plant will suffer and may even stop growing. Similarly, for you to thrive, you need to make sure that youโ€™re getting the nourishment you need. And that doesnโ€™t just mean eating fruits and vegetables. You need to spend time doing things that feed your soulโ€”reading books, sleeping, listening to music, spending time with people you love, playing outside. If youโ€™re not making time for what you love, youโ€™re limiting your happiness.