
Garlic, with its pungent aroma and robust flavor, has earned its place as a staple in kitchens worldwide. What if you could cultivate this culinary treasure right in your own garden? In this blog post, we’ll take you on a journey through the process of growing and harvesting garlic – from selecting the right cloves to savoring the fruits of your labor in your favorite dishes.
1. Choosing the Right Garlic Varieties:
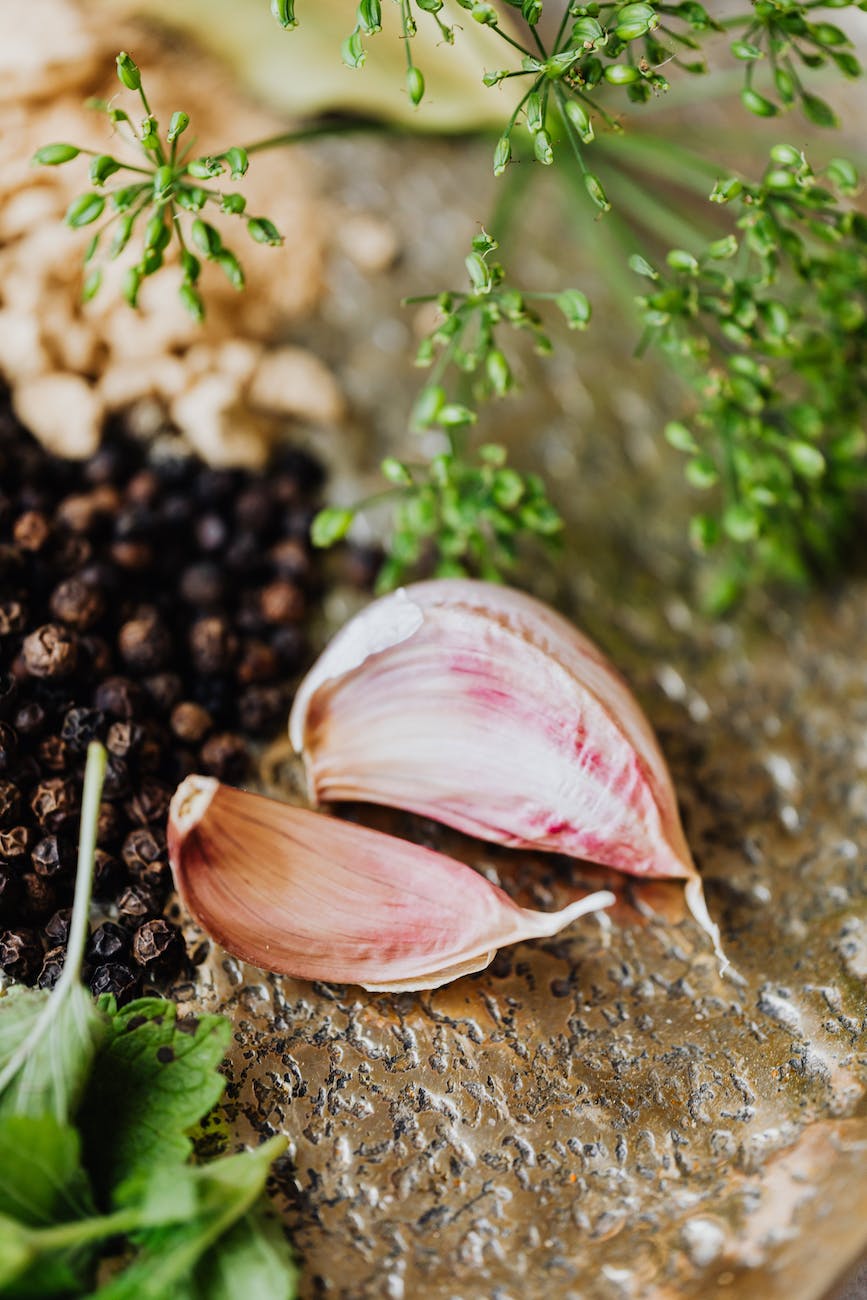
Garlic comes in various types, each with its own distinct flavor and growth characteristics. The two main categories are softneck and hardneck garlic. Some popular varieties include:
- Softneck Garlic: Commonly grown for its adaptability and longer storage life.
- Hardneck Garlic: Known for its complex flavors and the bonus of producing edible scapes.
2. Prepping for Planting:
Growing garlic starts with selecting the right cloves and preparing them for planting:
- Cloves: Gently separate the cloves from the bulb, choosing the largest and healthiest ones for planting.
- Soil: Garlic thrives in well-draining soil rich in organic matter. Amend the soil with compost before planting.
3. Planting Garlic:
The best time to plant garlic is in the fall, a few weeks before the first frost. Follow these steps:
- Spacing: Plant cloves about 6-8 inches apart and ensure they’re about 2 inches deep.
- Orientation: Plant cloves with the pointed end facing up and the flat end down.
- Mulching: Apply a layer of mulch, such as straw, to protect the garlic from extreme temperatures and suppress weeds.
4. Caring for Growing Garlic:
Garlic doesn’t require excessive attention, but a few key steps can enhance its growth:
- Watering: Keep the soil evenly moist but not waterlogged. Reduce watering as the garlic begins to mature.
- Fertilizing: Apply a balanced fertilizer or compost in the spring to promote healthy growth.
- Scaping: If growing hardneck garlic, remove the scapes (flower stalks) when they curl. These are edible and delicious in various dishes.
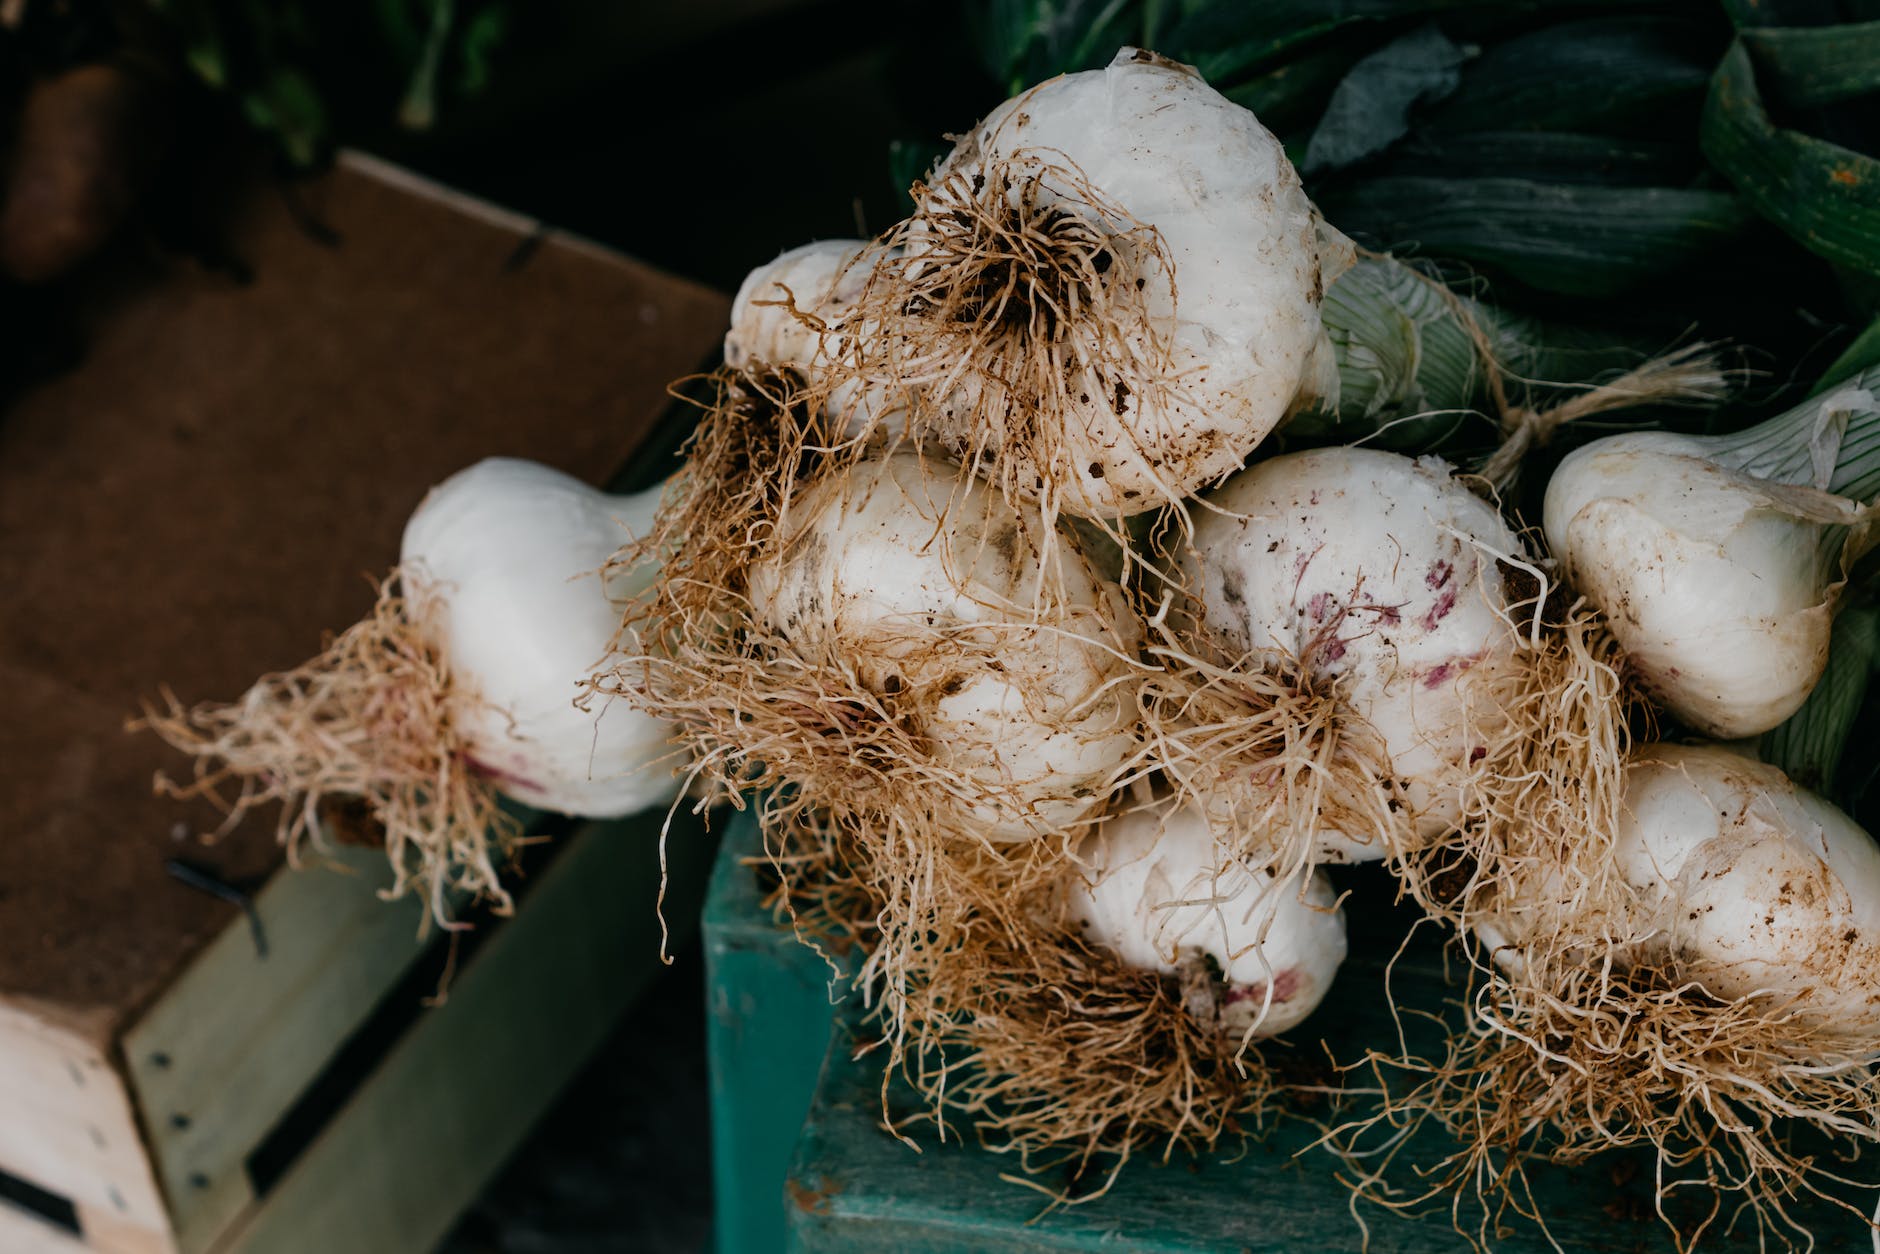
5. Harvesting Garlic:
Harvest time is the culmination of your efforts and anticipation. Here’s how to do it right:
- Signs of Readiness: Garlic is ready to harvest when the lower leaves turn brown and the tops begin to yellow.
- Lifting: Gently loosen the soil around the bulbs with a fork and lift the garlic from the ground.
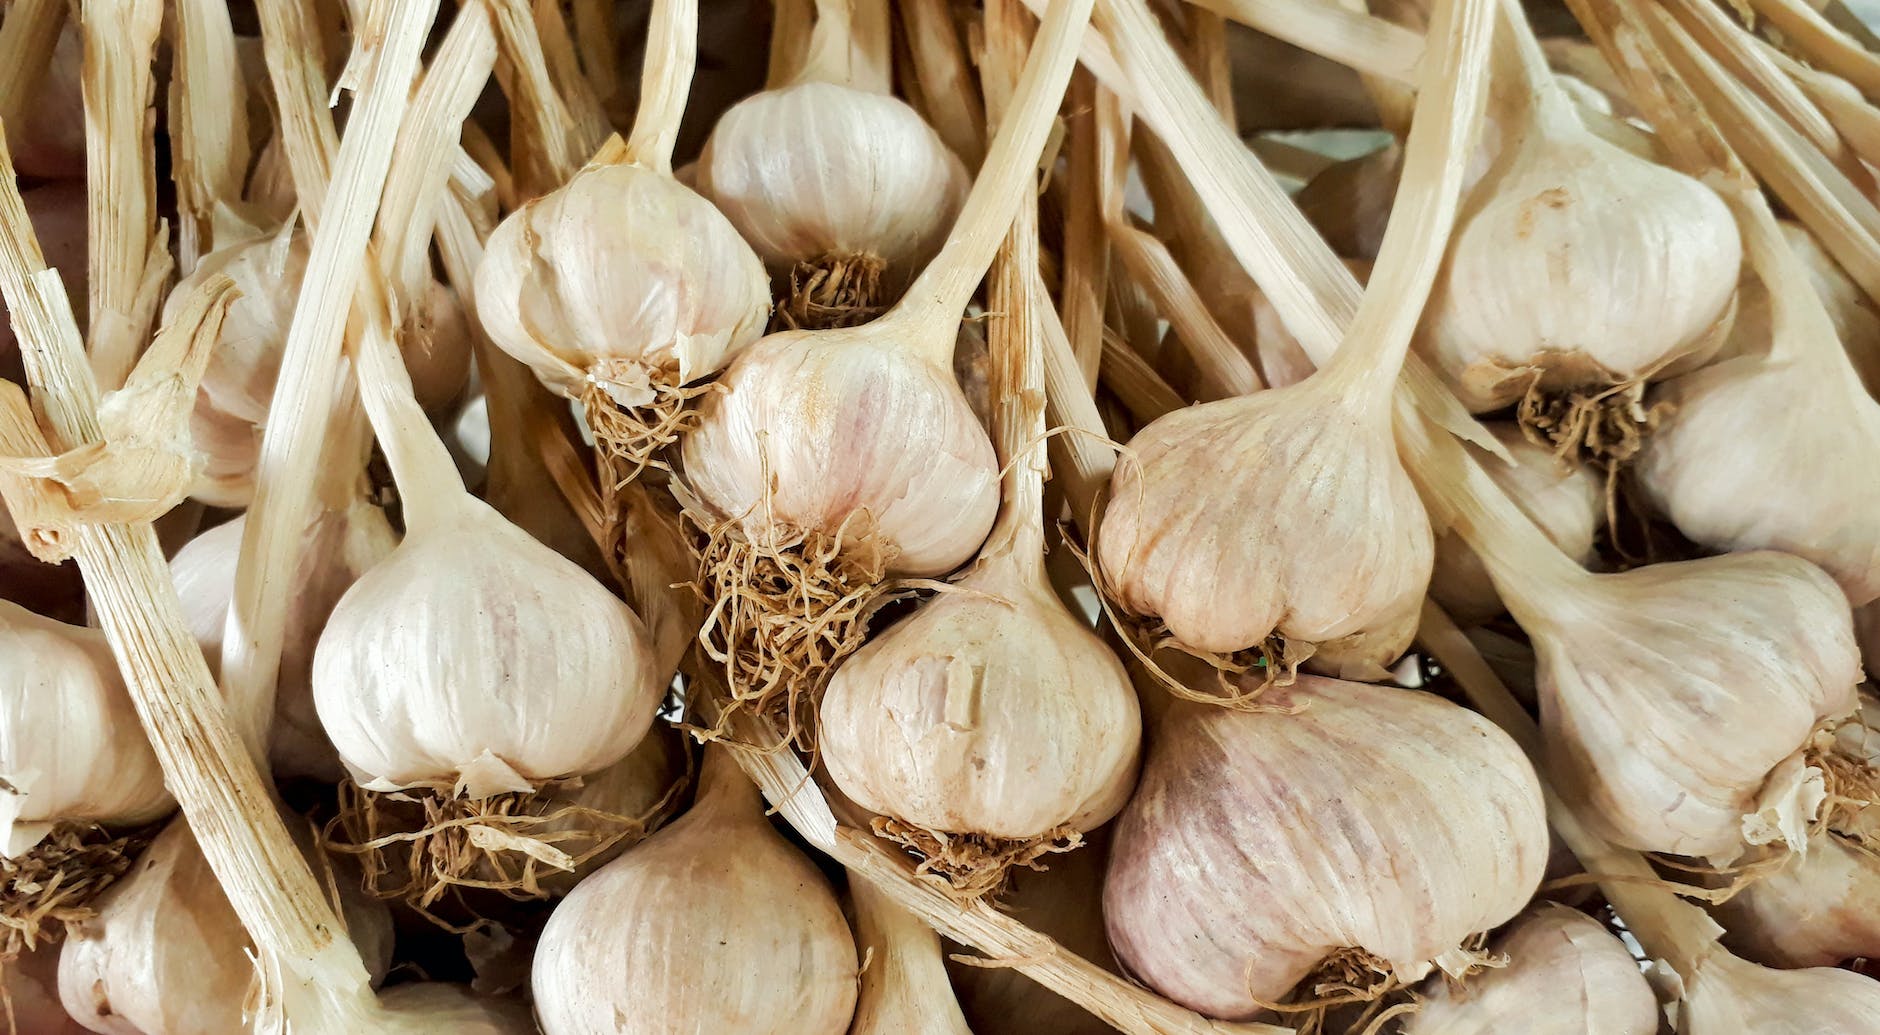
- Curing: Lay the harvested garlic in a dry, well-ventilated area for about 2-3 weeks to allow the outer layers to dry and the flavors to intensify.
6. Storing Your Harvest:
Once cured, it’s time to prepare your garlic for long-term storage:
- Cleaning: Brush off excess dirt and trim the roots and tops.
- Braiding: Softneck garlic can be braided for attractive storage.
- Cool, Dark Place: Store your garlic in a cool, dark, and dry place to prevent sprouting and maintain flavor.
7. Enjoying the Fruits of Your Labor:
Your homegrown garlic is now ready to shine in your culinary creations:
- Cooking: Enhance the flavors of your dishes with the distinctive taste of fresh garlic.
- Flavoring: Infuse oils, vinegars, or sauces with garlic for a burst of aroma and taste.
- Baking: Roasting whole bulbs of garlic creates a creamy, sweet garlic spread.
Growing and harvesting garlic is a rewarding journey that connects you to the earth and the flavors that make food memorable. With a little patience and care, you can enjoy the satisfaction of cultivating this kitchen essential from the ground up. From planting the cloves to savoring the rich flavors, your garden-to-table garlic experience is sure to be a source of culinary delight.
