

There’s something truly satisfying about growing your own herbs and transforming them into culinary delights, soothing teas, or natural remedies. As you tend to your herb garden with care, the time will come when your herbs are ready to be harvested. In this blog post, we’ll delve into the art of harvesting herbs, exploring the best practices, tips, and techniques to ensure you enjoy the full flavor and potency of your homegrown treasures.
1. Timing is Everything:

Knowing when to harvest your herbs is crucial. The best time for harvesting varies based on the type of herb and the specific plant part you’re interested in:
- Leaves: Most herbs are at their flavor peak just before they flower. Harvest leaves in the morning when the essential oils are the most concentrated.
- Flowers: Harvest flowers when they’re fully open but haven’t yet begun to fade.
- Seeds: Allow seeds to fully mature on the plant before harvesting. Seeds should be dry and easily separated from the plant.
2. The Right Tools:
Using the right tools ensures a clean and efficient harvest:
- Pruning Shears: Sharp, clean pruning shears are essential for clean cuts that promote healthy regrowth.
- Scissors: For delicate herbs and smaller stems, scissors are handy for precise cuts.
- Baskets or Buckets: Use these to collect your harvested herbs, preventing bruising or wilting.
3. Harvesting Techniques:
Different herbs have different growth patterns, so adapt your harvesting techniques accordingly:
- Bushy Herbs (e.g., basil, mint): Pinch off the tips of the branches to encourage bushier growth.
- Leafy Herbs (e.g., parsley, cilantro): Harvest outer leaves first, leaving the inner ones to continue growing.
- Stem Herbs (e.g., rosemary, thyme): Cut stems just above a set of leaves to promote new growth.
4. Gentle Handling:
Handle harvested herbs with care to prevent bruising or damage. Avoid crushing leaves until you’re ready to use them to preserve their essential oils.
5. Cleaning and Drying:
Once harvested, gently clean your herbs by rinsing them under cool water and patting them dry with a clean towel or paper towels. To preserve the flavor and potency, consider these drying methods:
- Air Drying: Tie small bundles of herbs together and hang them upside down in a cool, dry place out of direct sunlight.
- Dehydrator: Use a food dehydrator to quickly dry herbs at a low temperature.
- Oven Drying: Place herbs on a baking sheet in an oven set to the lowest possible temperature. Keep the oven door slightly ajar for airflow.
To dry herbs spread them out in a single layer in a cool, dry place away from direct sunlight. Once they’re completely dry, store them in an airtight container in a cool, dark location. Dried herbs can be used for teas, infused oils, and more. I use these mesh drying racks in a cool, dark room (we have a basement pantry that works great for this). Allow them to dry completely.
The other, much quicker way to dry herbs is with a dehydrator. It’s best to dry herbs on a very low temperature setting to retain its beneficial and medicinal compounds. We set our dehydrator to 110°F or below (or use the lowest setting available) for 12-24 hours.
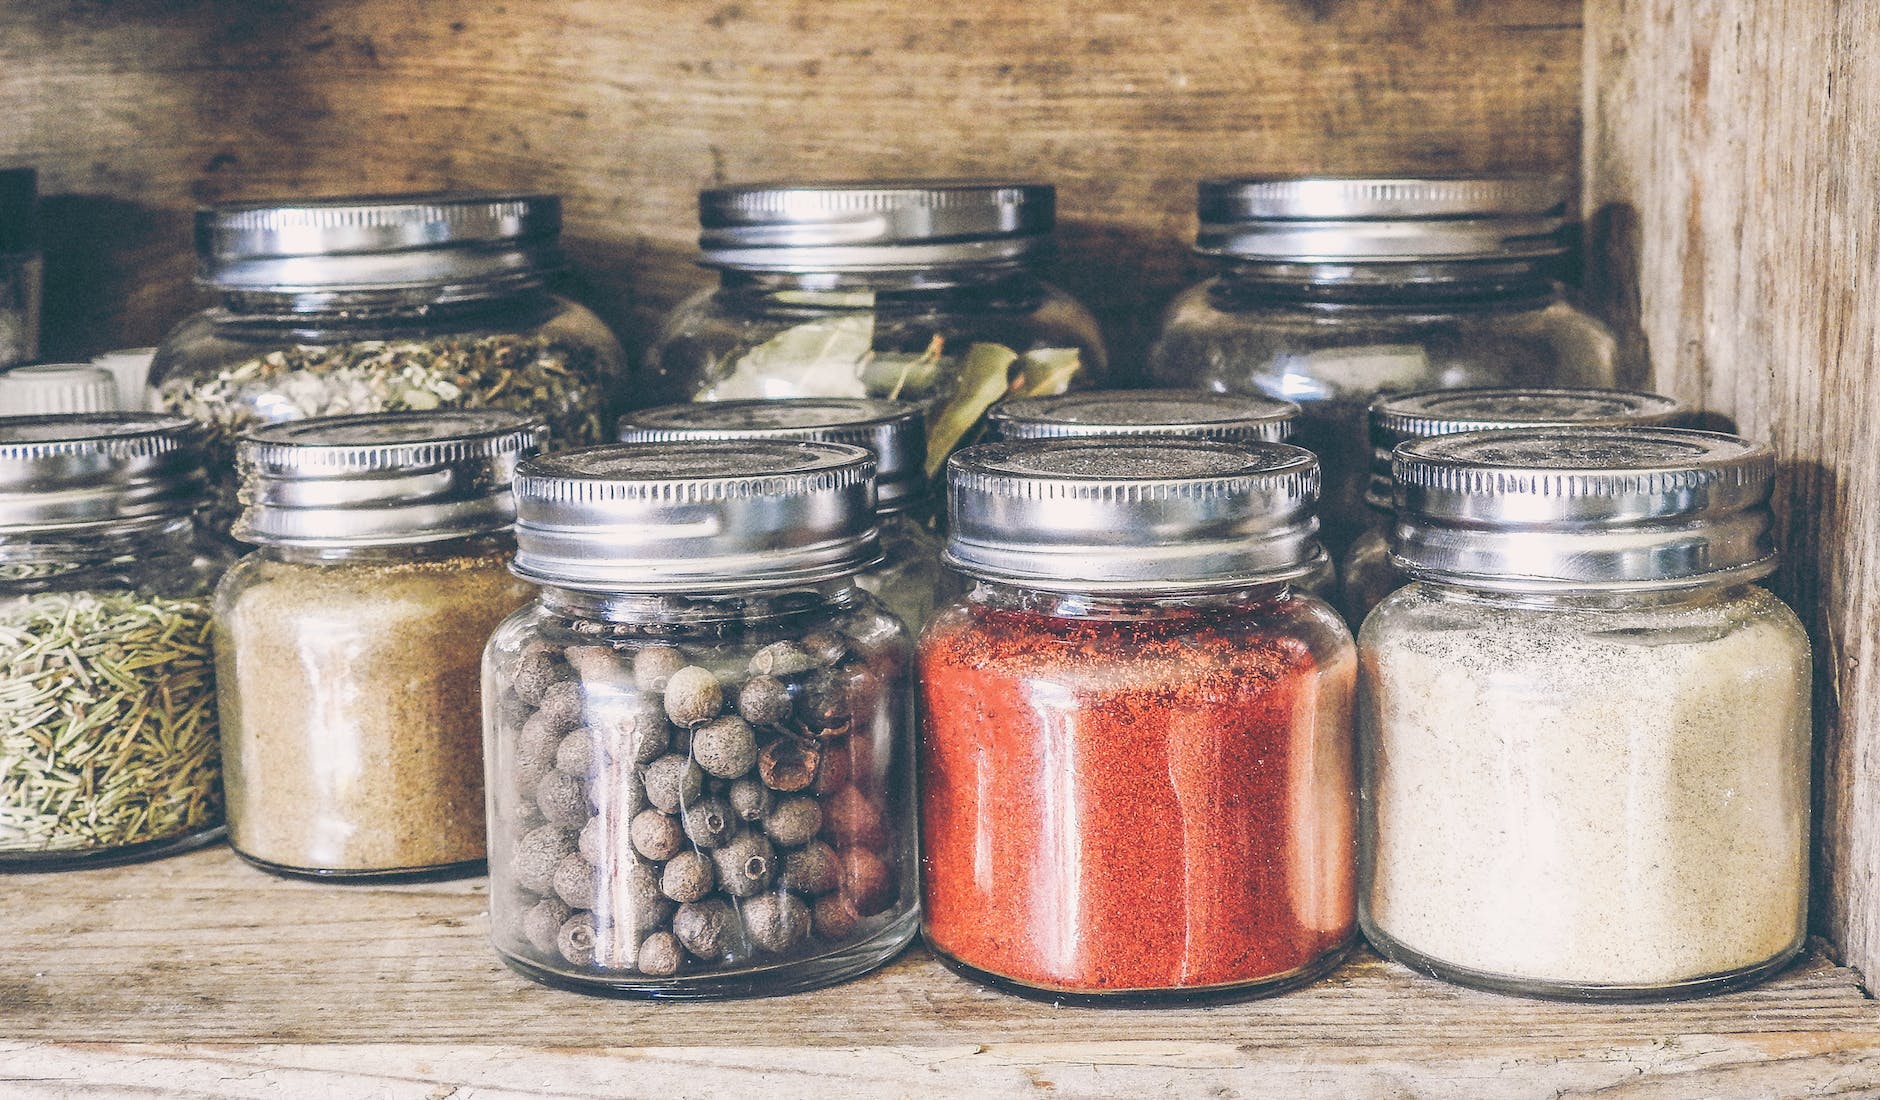
I use these air-tight containers to store my dried herbs.
6. Storing Herbs:
Store dried herbs in airtight containers away from light, heat, and moisture. Label containers with the herb’s name and date of harvest to maintain freshness and potency.
7. Enjoying the Fruits of Your Labor:
Your harvested herbs can be used in a variety of ways:
- Culinary Creations: Add fresh or dried herbs to your favorite recipes for a burst of flavor.
- Aromatic Delights: Create herb-infused oils, vinegars, or butters to elevate your dishes.
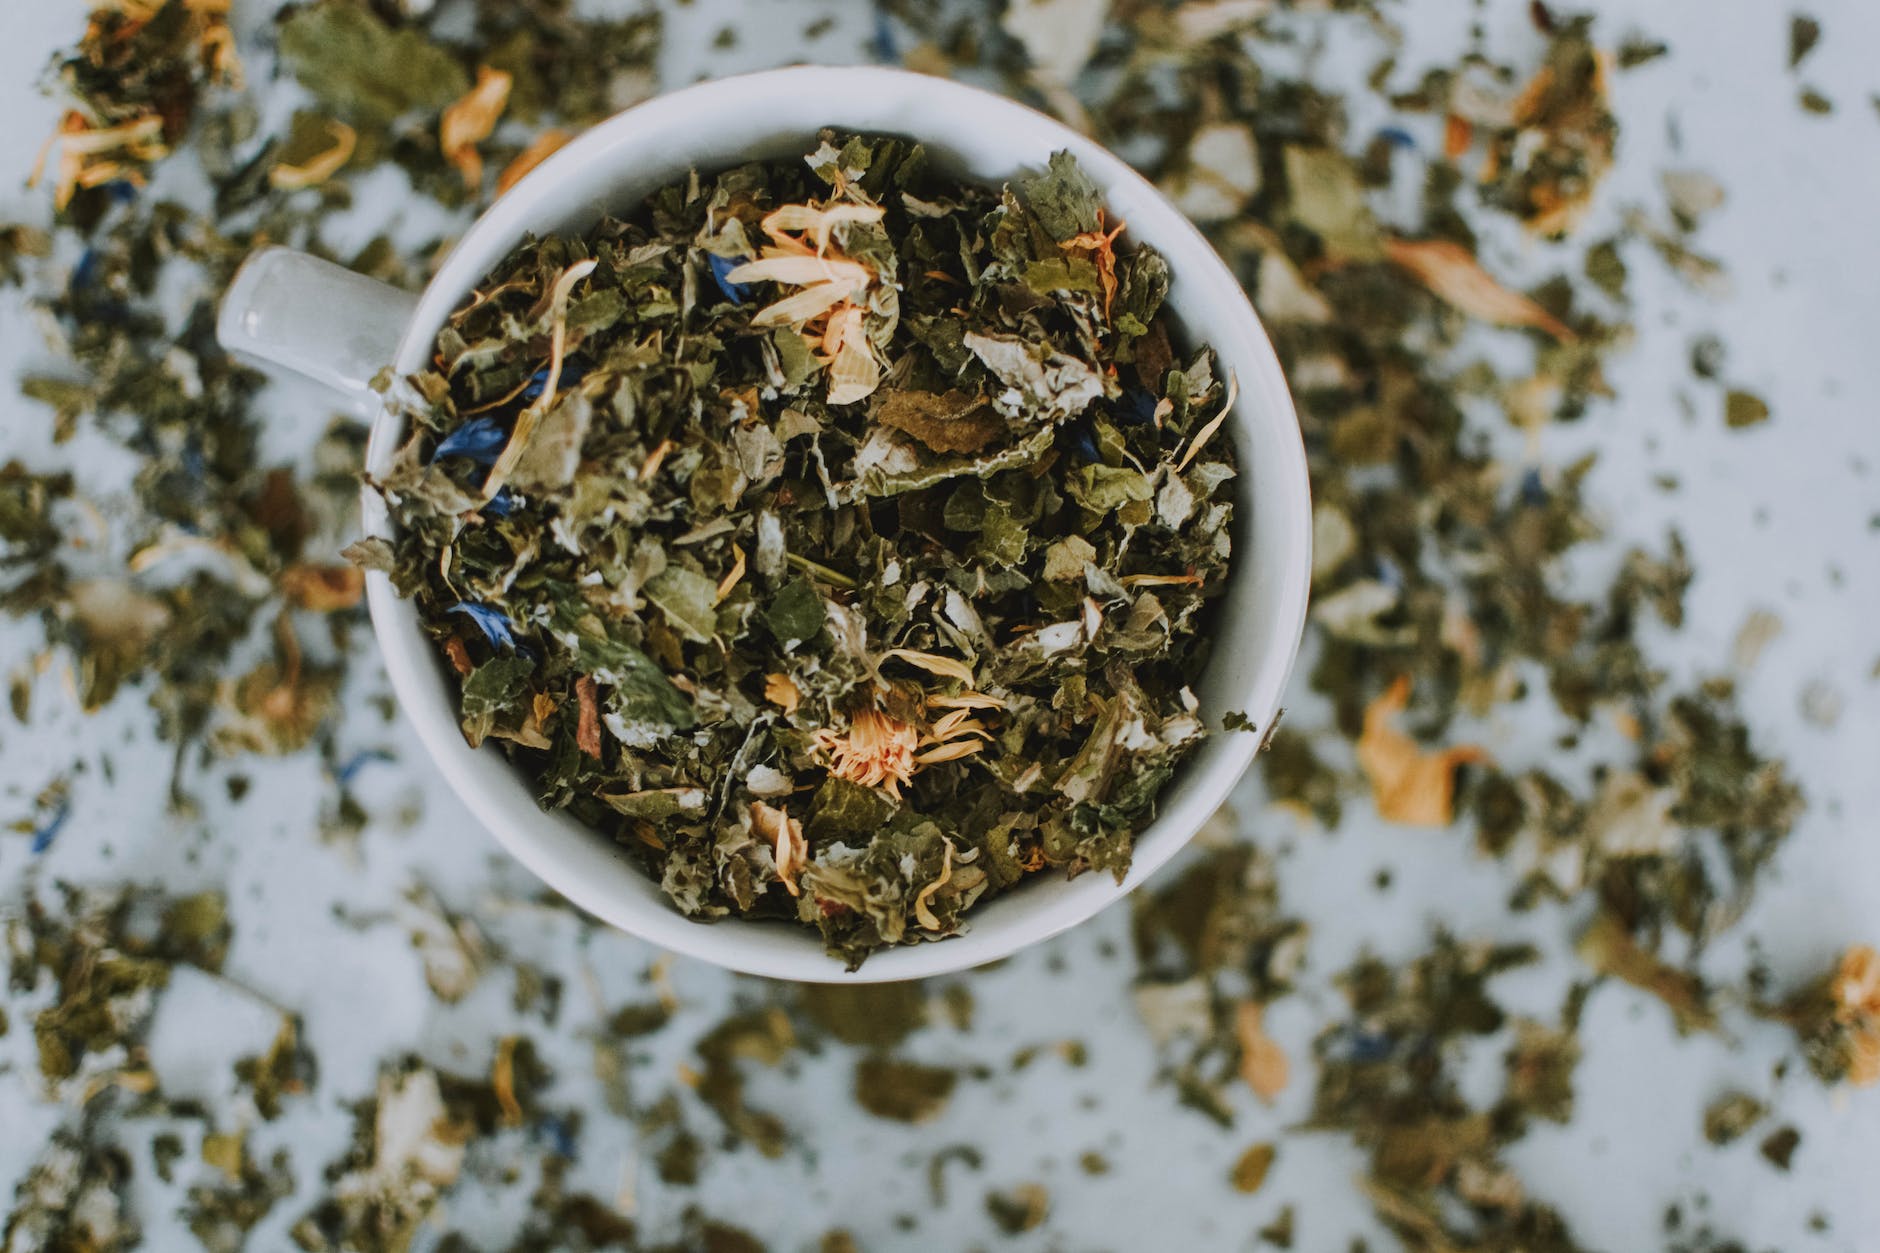
- Soothing Teas: Brew dried herbs into comforting and aromatic herbal teas.
- Natural Remedies: Craft your own herbal remedies and tinctures using homegrown herbs.
Harvesting herbs is a rewarding culmination of your gardening efforts. From understanding the right timing to employing proper techniques, the process enhances your connection with nature and your ability to enjoy the freshest flavors and benefits your garden has to offer. By following these guidelines, you’re well on your way to becoming a skilled herb harvester, ready to embrace the bounty of your herb garden with confidence and joy.
