Gardening, Herbs

The Indoor Herb Party: Growing Your Green Thumb During the Cold Months

Hey there, my fellow plant enthusiasts! As the colder weather is moving in and winter approaches, it’s time to bring the garden party inside. Don’t let Jack Frost dampen your green spirit; instead, let’s embark on a lively adventure into the world of indoor herb gardening. Get ready to flex your green thumb and infuse your home with fresh flavors, aromatic scents, and a whole lot of green goodness!

The Herbal Extravaganza: What Herbs to Grow Indoors

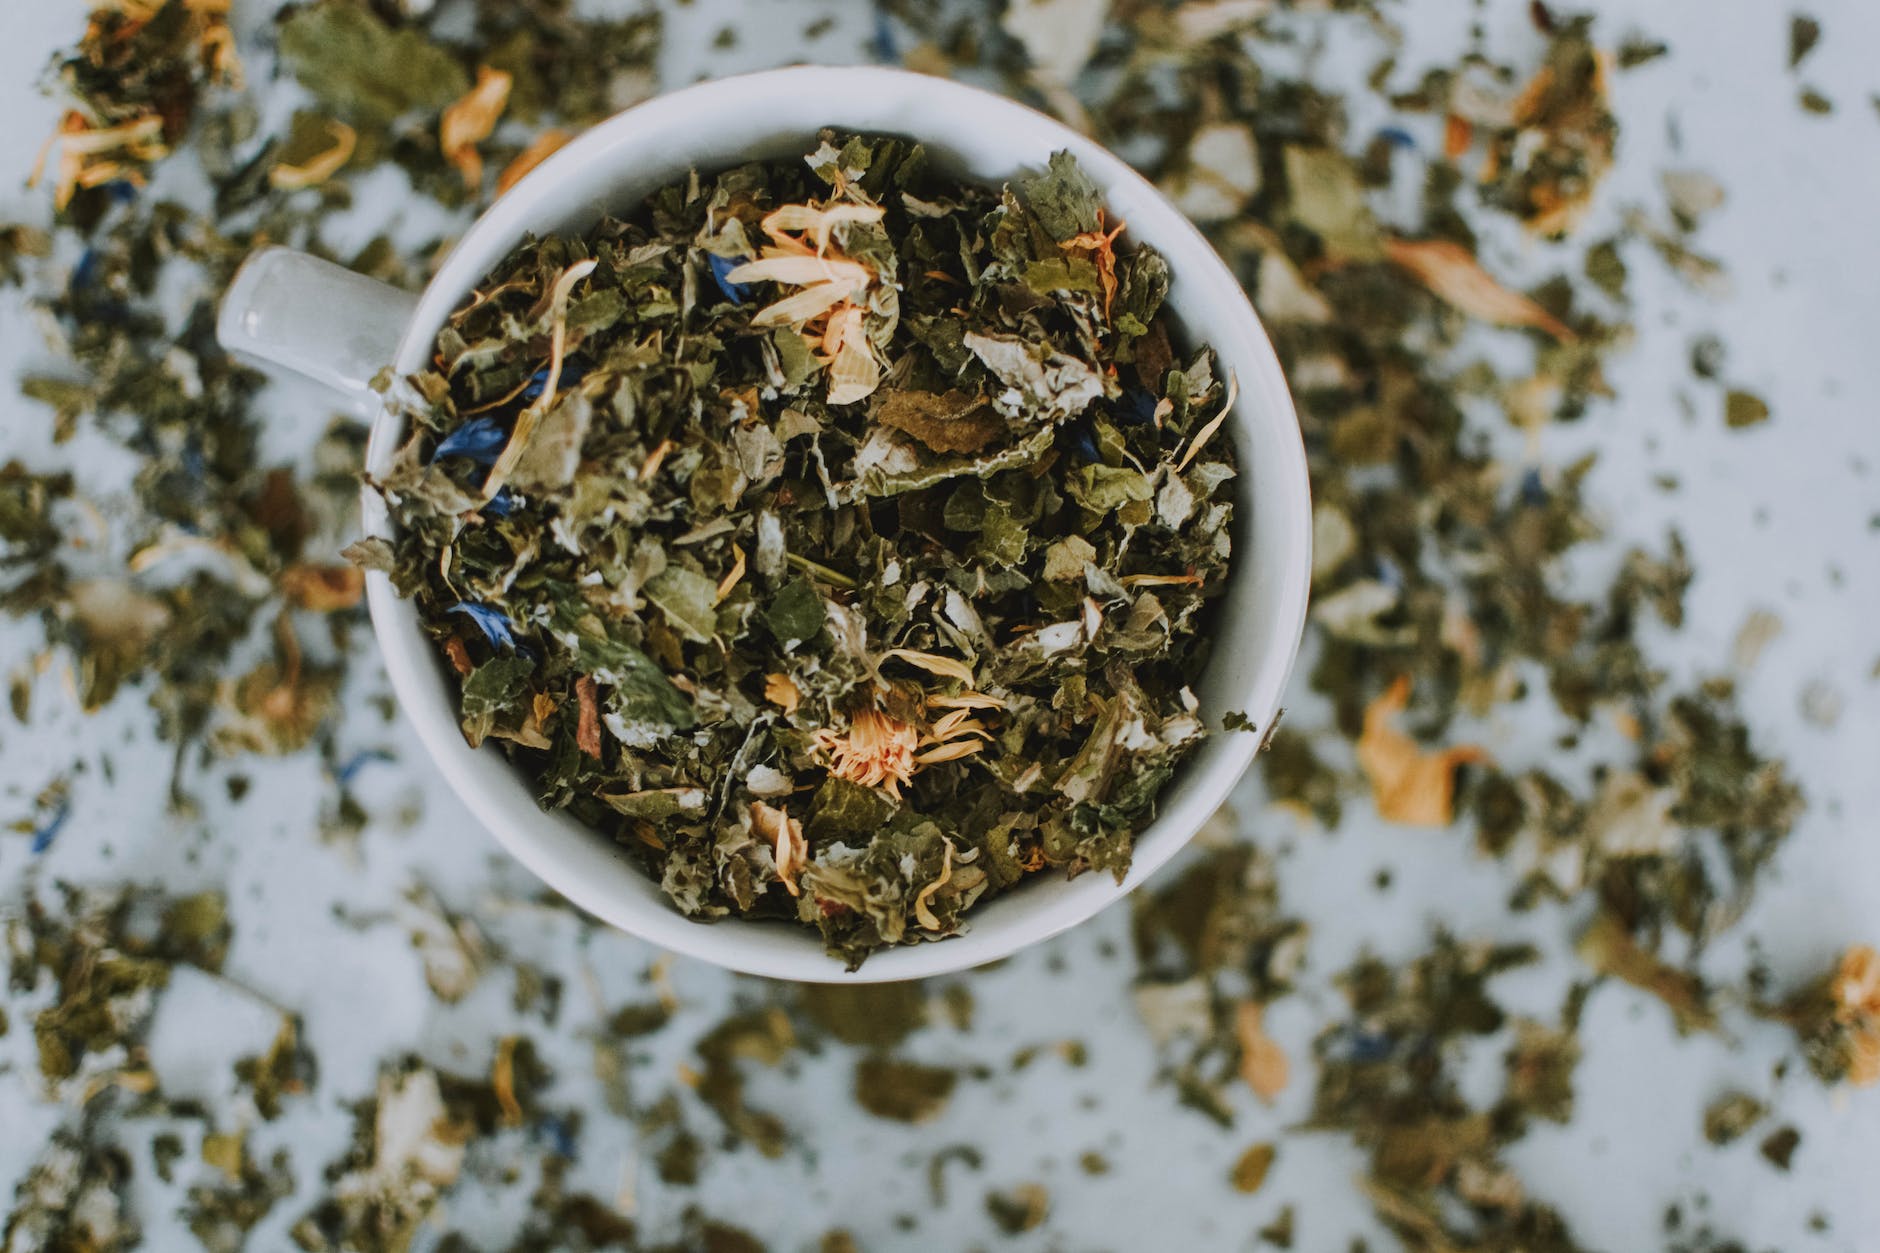
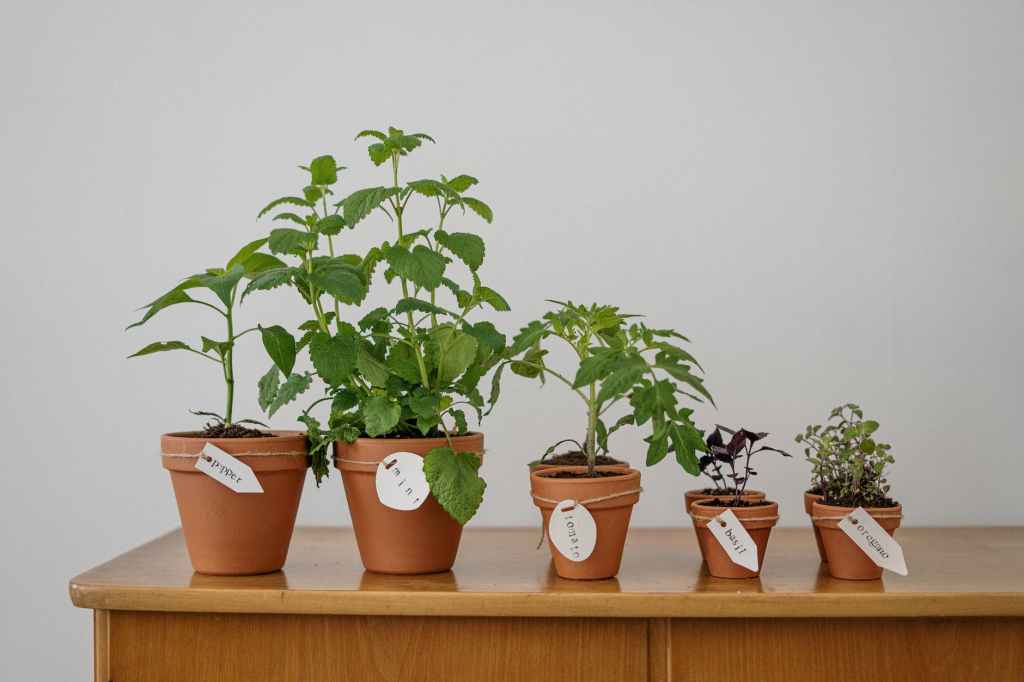
When it’s too chilly to venture outdoors, there’s a plethora of herbs that thrive in the cozy confines of your home. Here are a few stars of the indoor herb garden show:

  1. Basil: The rockstar of the herb world. Basil brings a burst of flavor to pasta, salads, and pizzas, all while looking effortlessly chic on your windowsill.
  2. Mint: Whether you’re sipping on a hot cup of tea or whipping up a mojito, mint has your back. Just be warned: it’s a bit of a garden party animal.
  3. Rosemary: A fragrant herb that pairs perfectly with roasted potatoes and chicken. Plus, it adds a touch of Mediterranean elegance to your indoor garden.
  4. Thyme: Versatile and aromatic, thyme is your culinary secret weapon. It’s like having a Michelin-starred chef at your fingertips.
  5. Chives: These mild, oniony delights are perfect for garnishing your dishes with a burst of fresh flavor.

I love to order my herbs from Baker Creek Seeds. They have a wide variety to choose from and always grow well.

The Indoor Garden Dance Party

Indoor herb gardening isn’t just about growing herbs; it’s about throwing a non-stop dance party for your senses. Here’s how to make your herb garden groove:

  • The Right Location: Herbs love sunshine, so find a sunny spot near a window. It’s like creating a VIP area for your herbs to soak up some rays. I have a window above my kitchen sink that works perfectly.
  • The Hippest Pots: Choose containers that suit your style. Whether it’s elegant clay pots or quirky recycled containers, let your herb garden reflect your personality. I like simple ones like these, but the options are limitless!
  • Soil and Watering: Use well-draining potting soil and water your herbs when the top inch of soil feels dry. Don’t drown the party; herbs like to keep their feet (or roots) dry! I usually layer the bottom of the pot with some natural mulch and then add a good soil like this one.
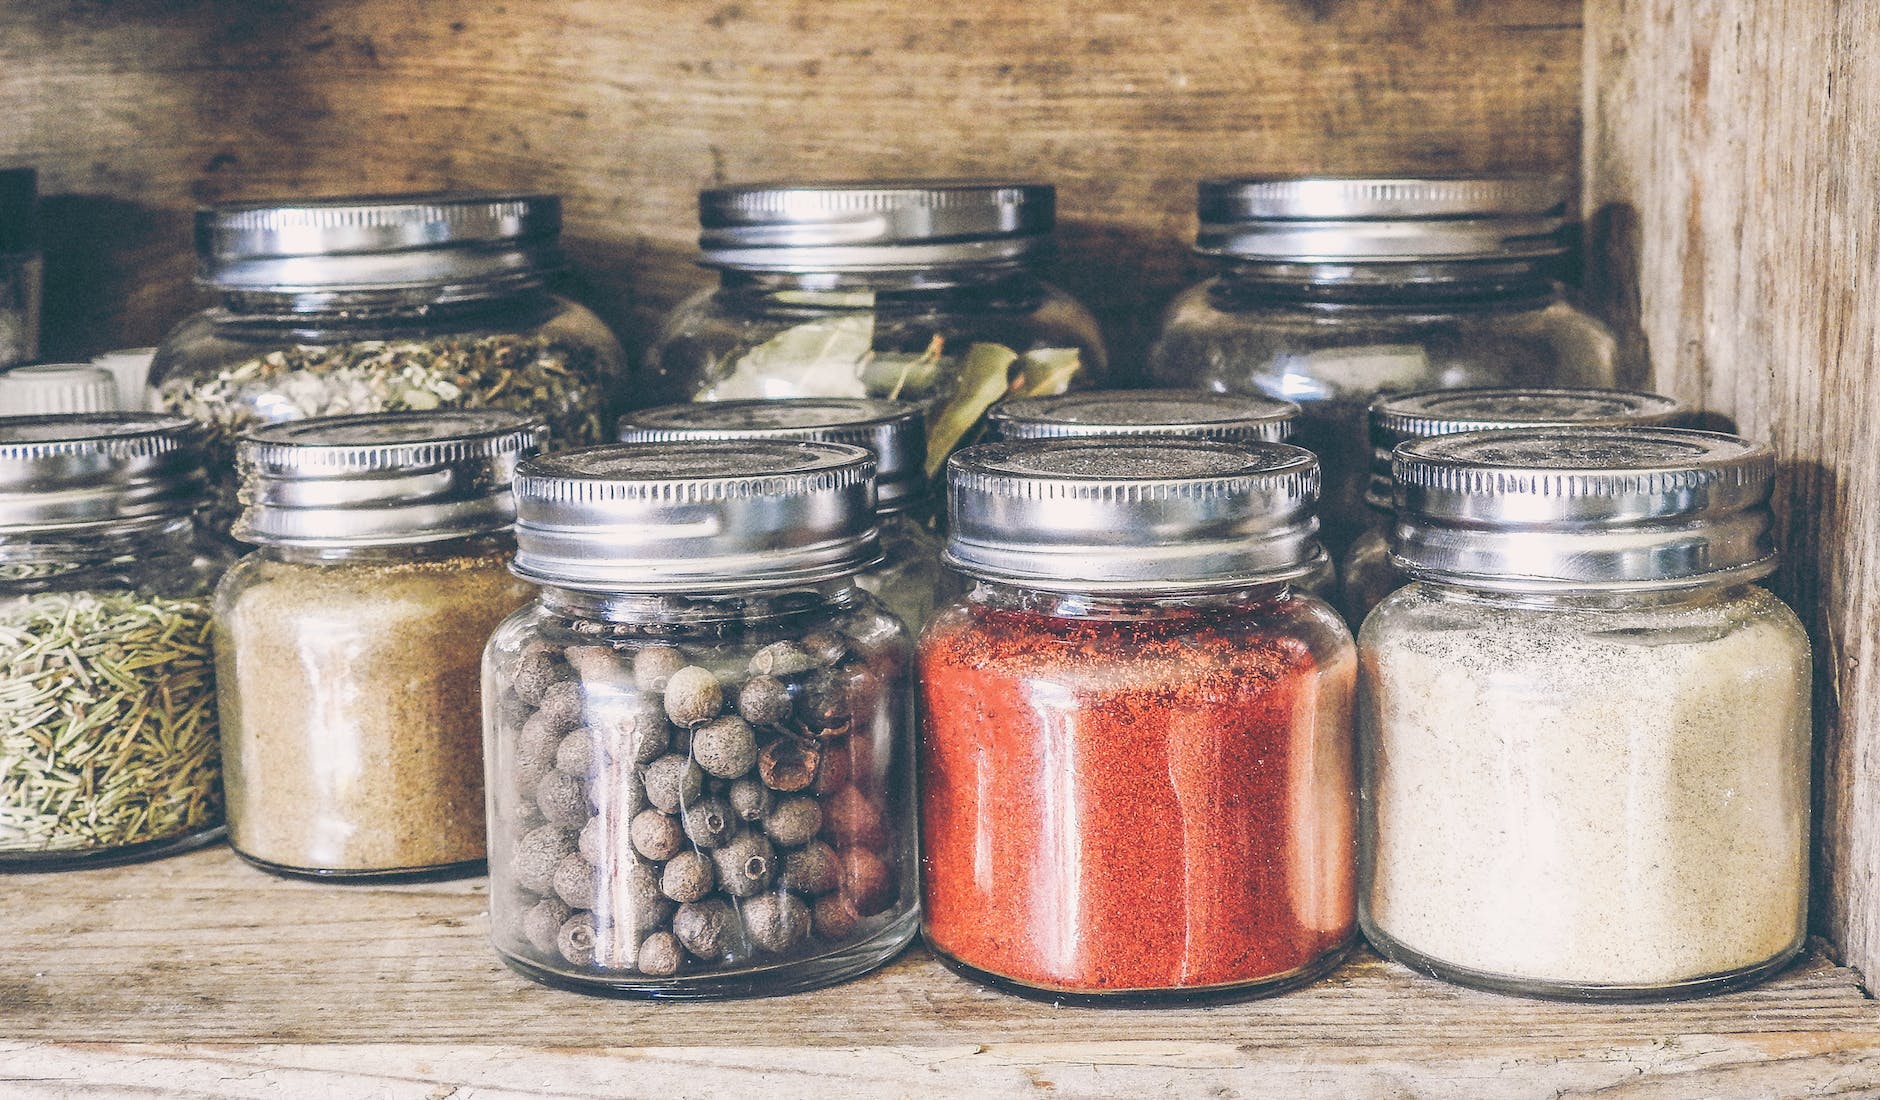
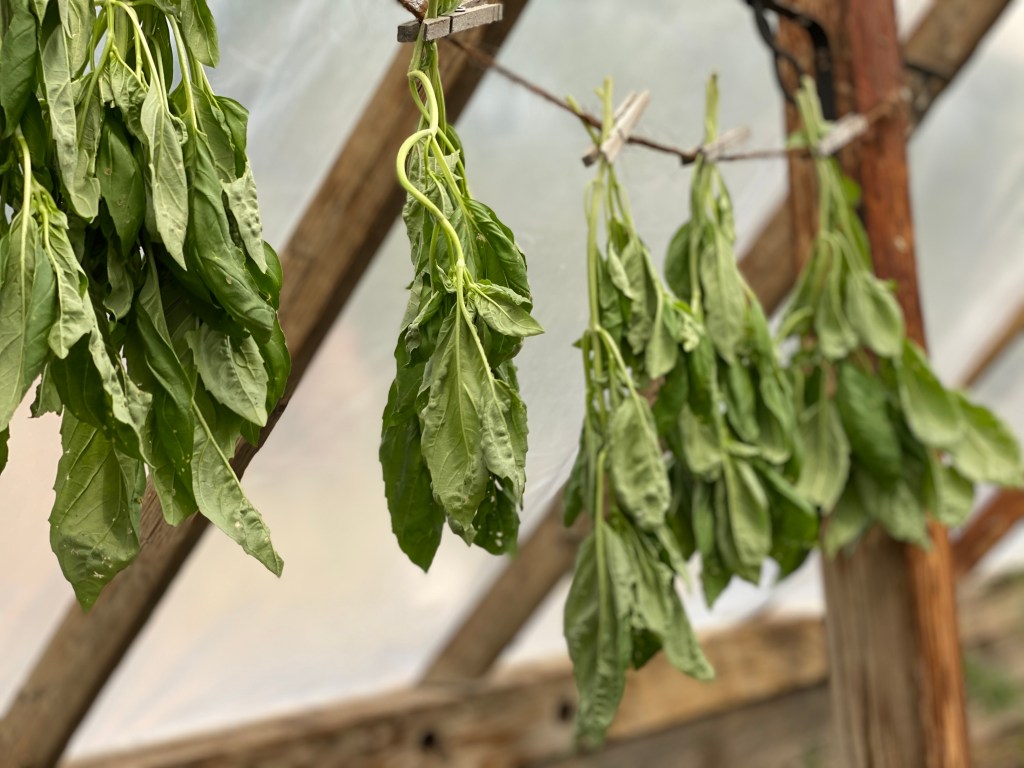
  • Pruning and Harvesting: Don’t be shy about trimming your herbs; they’ll thank you with fresh growth. Plus, you get to enjoy the spoils of your harvest in your dishes. If you have extra you can always dry or dehydrate it for later use.
  • Companionship: Some herbs are social butterflies and love sharing a pot with others. Others prefer their own space. Respect their preferences, and your garden will thrive.

Herb-tastic Recipes for Cold Days

Now that you’ve got your indoor herb garden flourishing, it’s time to put those fresh flavors to work. Here are some herb-tastic recipes to warm your soul during the cold months:

  1. Basil Pesto Pasta: Blend fresh basil, pine nuts, garlic, Parmesan cheese, and olive oil for a fragrant pesto sauce. Toss it with your favorite pasta for a taste of summer in the middle of winter.
  2. Minty Hot Chocolate: Add a sprig of fresh mint to your hot chocolate for a refreshing twist. Top it with whipped cream and a sprinkle of cocoa for pure indulgence.
  3. Rosemary Roasted Vegetables: Toss your winter vegetables in olive oil, minced rosemary, and a pinch of salt before roasting. The aroma alone will transport you to a cozy cabin in the woods.
  4. Thyme-Infused Lemonade: Brew a pot of thyme-infused tea and mix it with freshly squeezed lemon juice and a touch of honey. A soothing winter beverage with a hint of summer.
  5. Chive and Cheese Scones: Add chopped chives and grated cheese to your scone dough for savory delights that pair perfectly with a warm bowl of soup.

Indoor herb gardening during the cold months isn’t just about surviving; it’s about thriving. With a little greenery and a lot of love, you can bring the garden party indoors, tantalizing your senses and warming your heart. So, roll up your sleeves, grab your gardening gloves, and let the indoor herb festivities begin!

Gardening, Herbs

Harvesting Herbs: A Guide to Cultivating and Collecting Nature’s Bounty

There’s something truly satisfying about growing your own herbs and transforming them into culinary delights, soothing teas, or natural remedies. As you tend to your herb garden with care, the time will come when your herbs are ready to be harvested. In this blog post, we’ll delve into the art of harvesting herbs, exploring the best practices, tips, and techniques to ensure you enjoy the full flavor and potency of your homegrown treasures.

1. Timing is Everything:

Knowing when to harvest your herbs is crucial. The best time for harvesting varies based on the type of herb and the specific plant part you’re interested in:

  • Leaves: Most herbs are at their flavor peak just before they flower. Harvest leaves in the morning when the essential oils are the most concentrated.
  • Flowers: Harvest flowers when they’re fully open but haven’t yet begun to fade.
  • Seeds: Allow seeds to fully mature on the plant before harvesting. Seeds should be dry and easily separated from the plant.

2. The Right Tools:

Using the right tools ensures a clean and efficient harvest:

  • Pruning Shears: Sharp, clean pruning shears are essential for clean cuts that promote healthy regrowth.
  • Scissors: For delicate herbs and smaller stems, scissors are handy for precise cuts.
  • Baskets or Buckets: Use these to collect your harvested herbs, preventing bruising or wilting.

3. Harvesting Techniques:

Different herbs have different growth patterns, so adapt your harvesting techniques accordingly:

  • Bushy Herbs (e.g., basil, mint): Pinch off the tips of the branches to encourage bushier growth.
  • Leafy Herbs (e.g., parsley, cilantro): Harvest outer leaves first, leaving the inner ones to continue growing.
  • Stem Herbs (e.g., rosemary, thyme): Cut stems just above a set of leaves to promote new growth.

4. Gentle Handling:

Handle harvested herbs with care to prevent bruising or damage. Avoid crushing leaves until you’re ready to use them to preserve their essential oils.

5. Cleaning and Drying:

Once harvested, gently clean your herbs by rinsing them under cool water and patting them dry with a clean towel or paper towels. To preserve the flavor and potency, consider these drying methods:

  • Air Drying: Tie small bundles of herbs together and hang them upside down in a cool, dry place out of direct sunlight.
  • Dehydrator: Use a food dehydrator to quickly dry herbs at a low temperature.
  • Oven Drying: Place herbs on a baking sheet in an oven set to the lowest possible temperature. Keep the oven door slightly ajar for airflow.

    To dry herbs spread them out in a single layer in a cool, dry place away from direct sunlight. Once they’re completely dry, store them in an airtight container in a cool, dark location. Dried herbs can be used for teas, infused oils, and more. I use these mesh drying racks in a cool, dark room (we have a basement pantry that works great for this). Allow them to dry completely.

    The other, much quicker way to dry herbs is with a dehydrator. It’s best to dry herbs on a very low temperature setting to retain its beneficial and medicinal compounds. We set our dehydrator to 110°F or below (or use the lowest setting available) for 12-24 hours.

    I use these air-tight containers to store my dried herbs.

6. Storing Herbs:

Store dried herbs in airtight containers away from light, heat, and moisture. Label containers with the herb’s name and date of harvest to maintain freshness and potency.

7. Enjoying the Fruits of Your Labor:

Your harvested herbs can be used in a variety of ways:

  • Culinary Creations: Add fresh or dried herbs to your favorite recipes for a burst of flavor.
  • Aromatic Delights: Create herb-infused oils, vinegars, or butters to elevate your dishes.
  • Soothing Teas: Brew dried herbs into comforting and aromatic herbal teas.
  • Natural Remedies: Craft your own herbal remedies and tinctures using homegrown herbs.

Harvesting herbs is a rewarding culmination of your gardening efforts. From understanding the right timing to employing proper techniques, the process enhances your connection with nature and your ability to enjoy the freshest flavors and benefits your garden has to offer. By following these guidelines, you’re well on your way to becoming a skilled herb harvester, ready to embrace the bounty of your herb garden with confidence and joy.