
Recommended tools and ingredients to have ready:
- Kitchen Scale
- Quart Sized Mason Jar
- Cheesecloth or fabric (optional)
- Filtered, Room-temperature water
- Finely Ground Brown Rice Flour
- 40g Dehydrated Gluten- Free Starter
Instructions to reactivate your sourdough starter
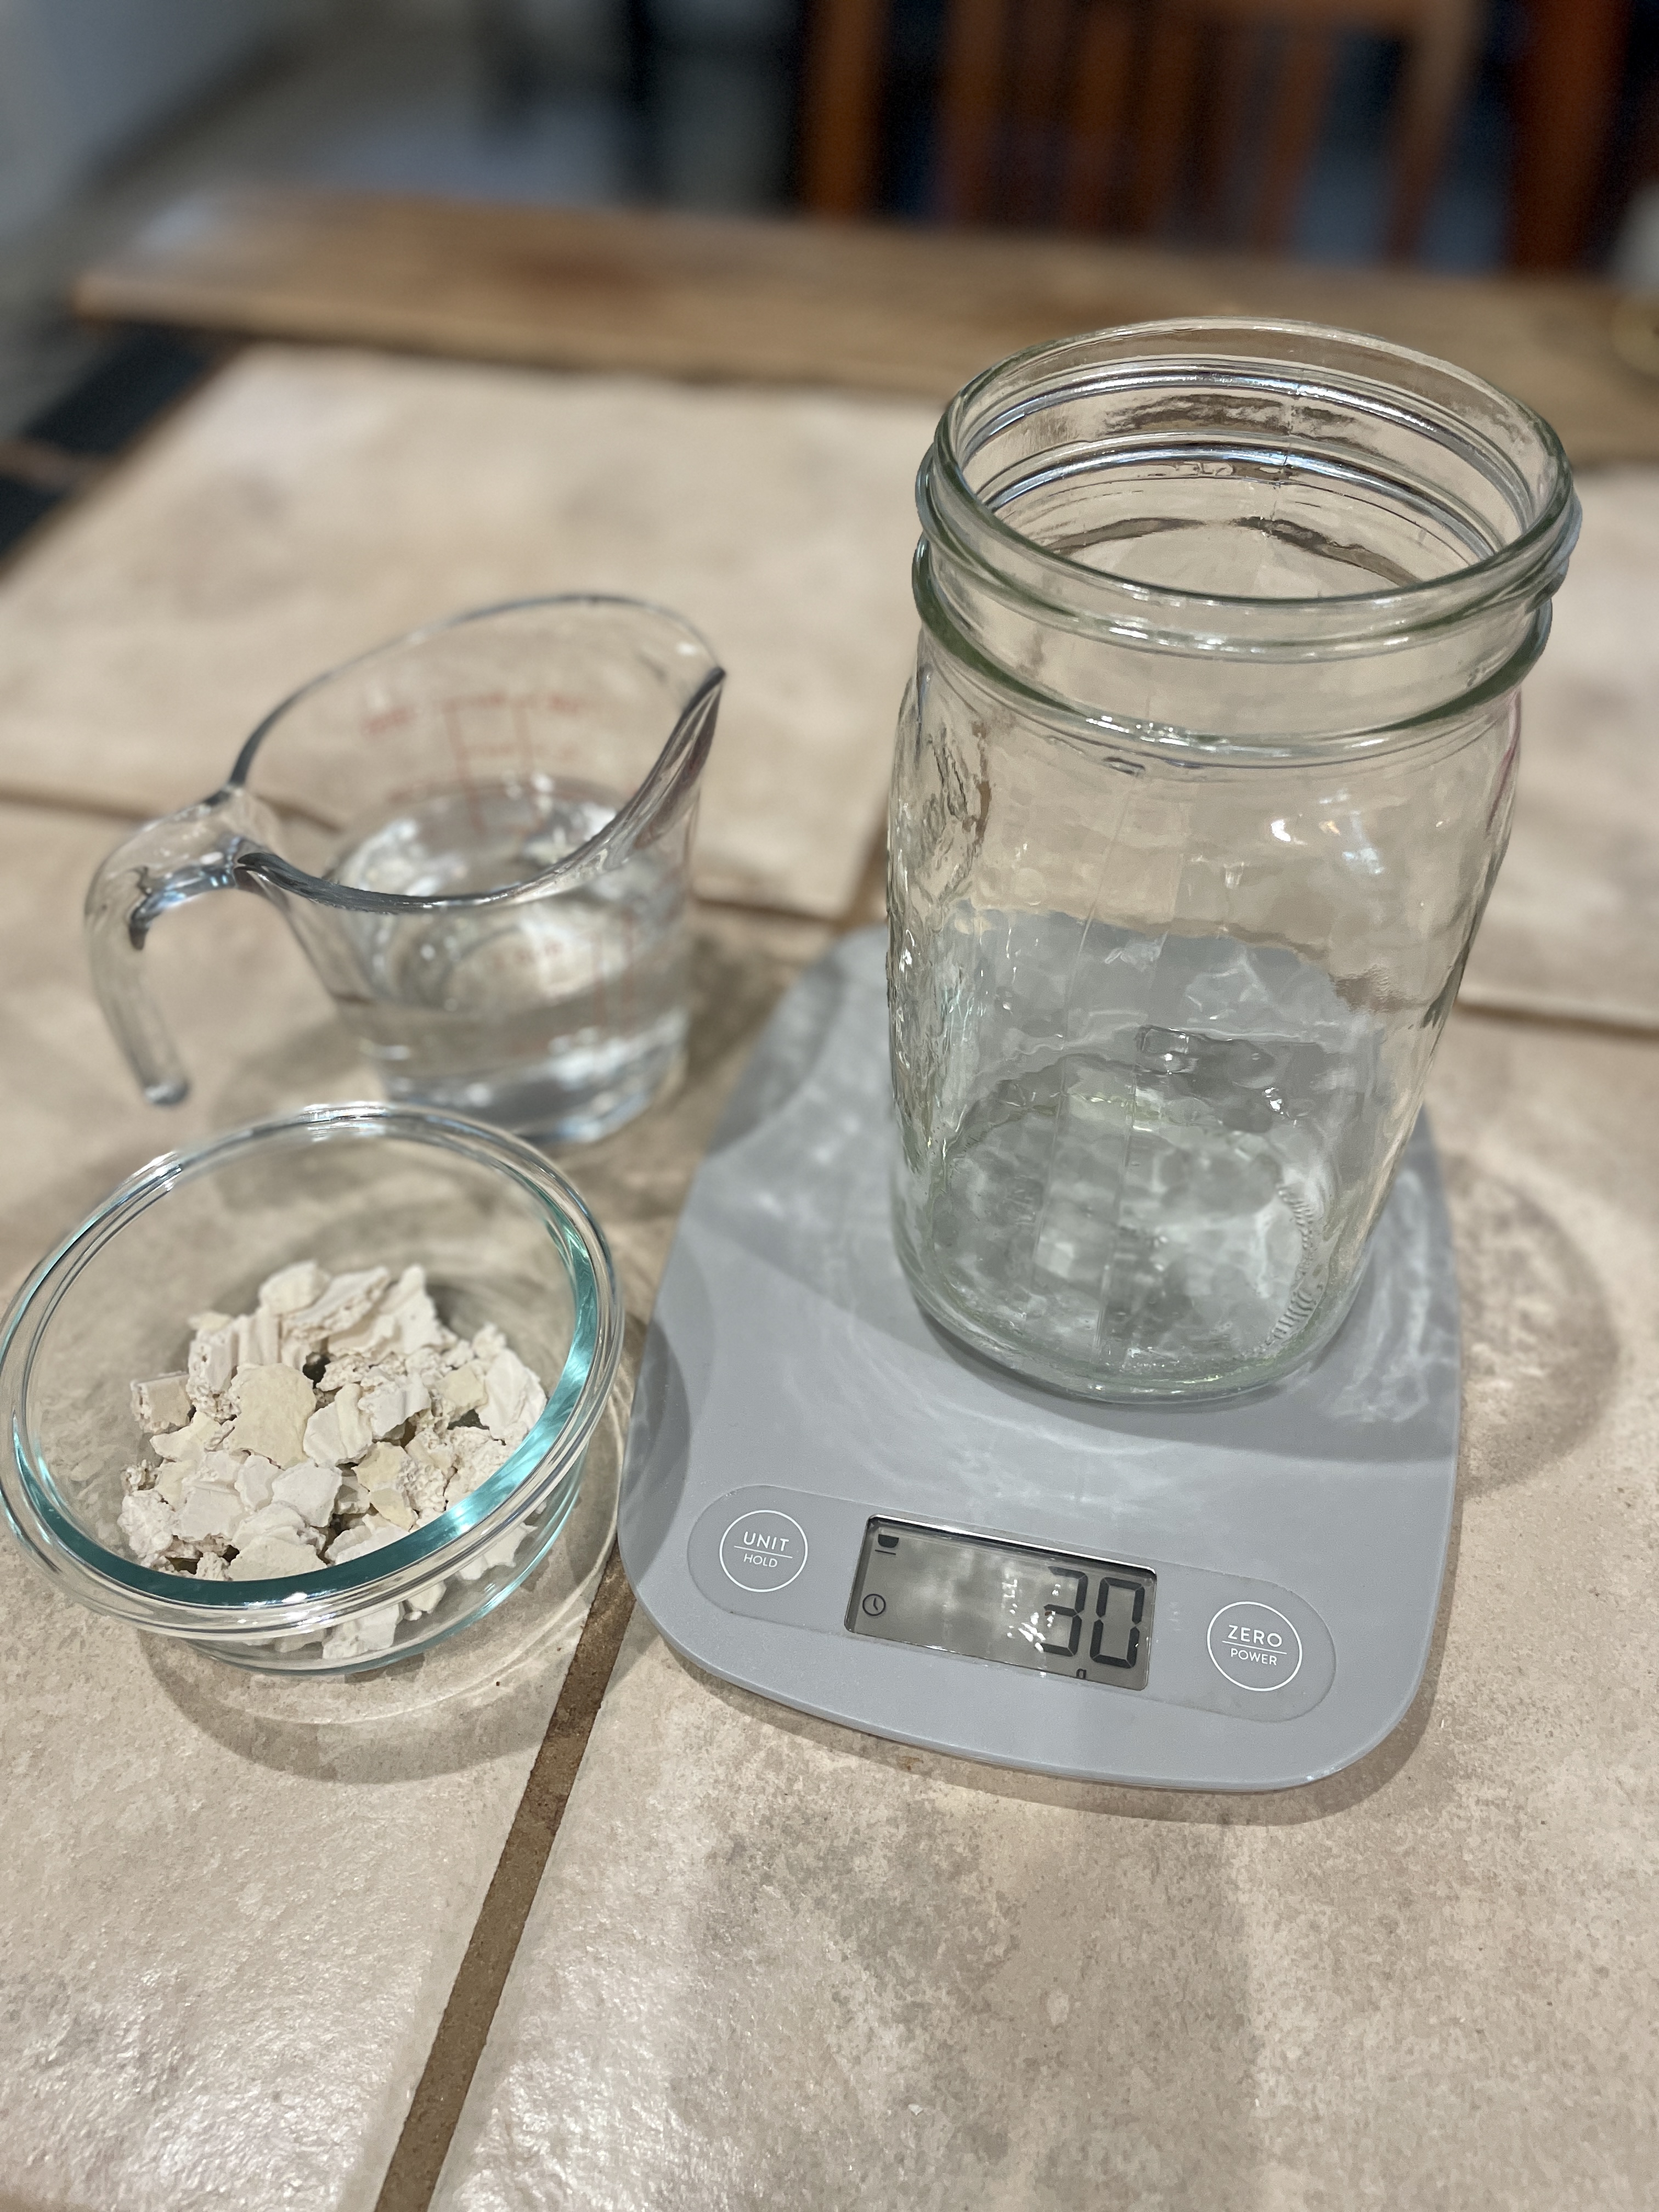
Step 1 – Rehydration
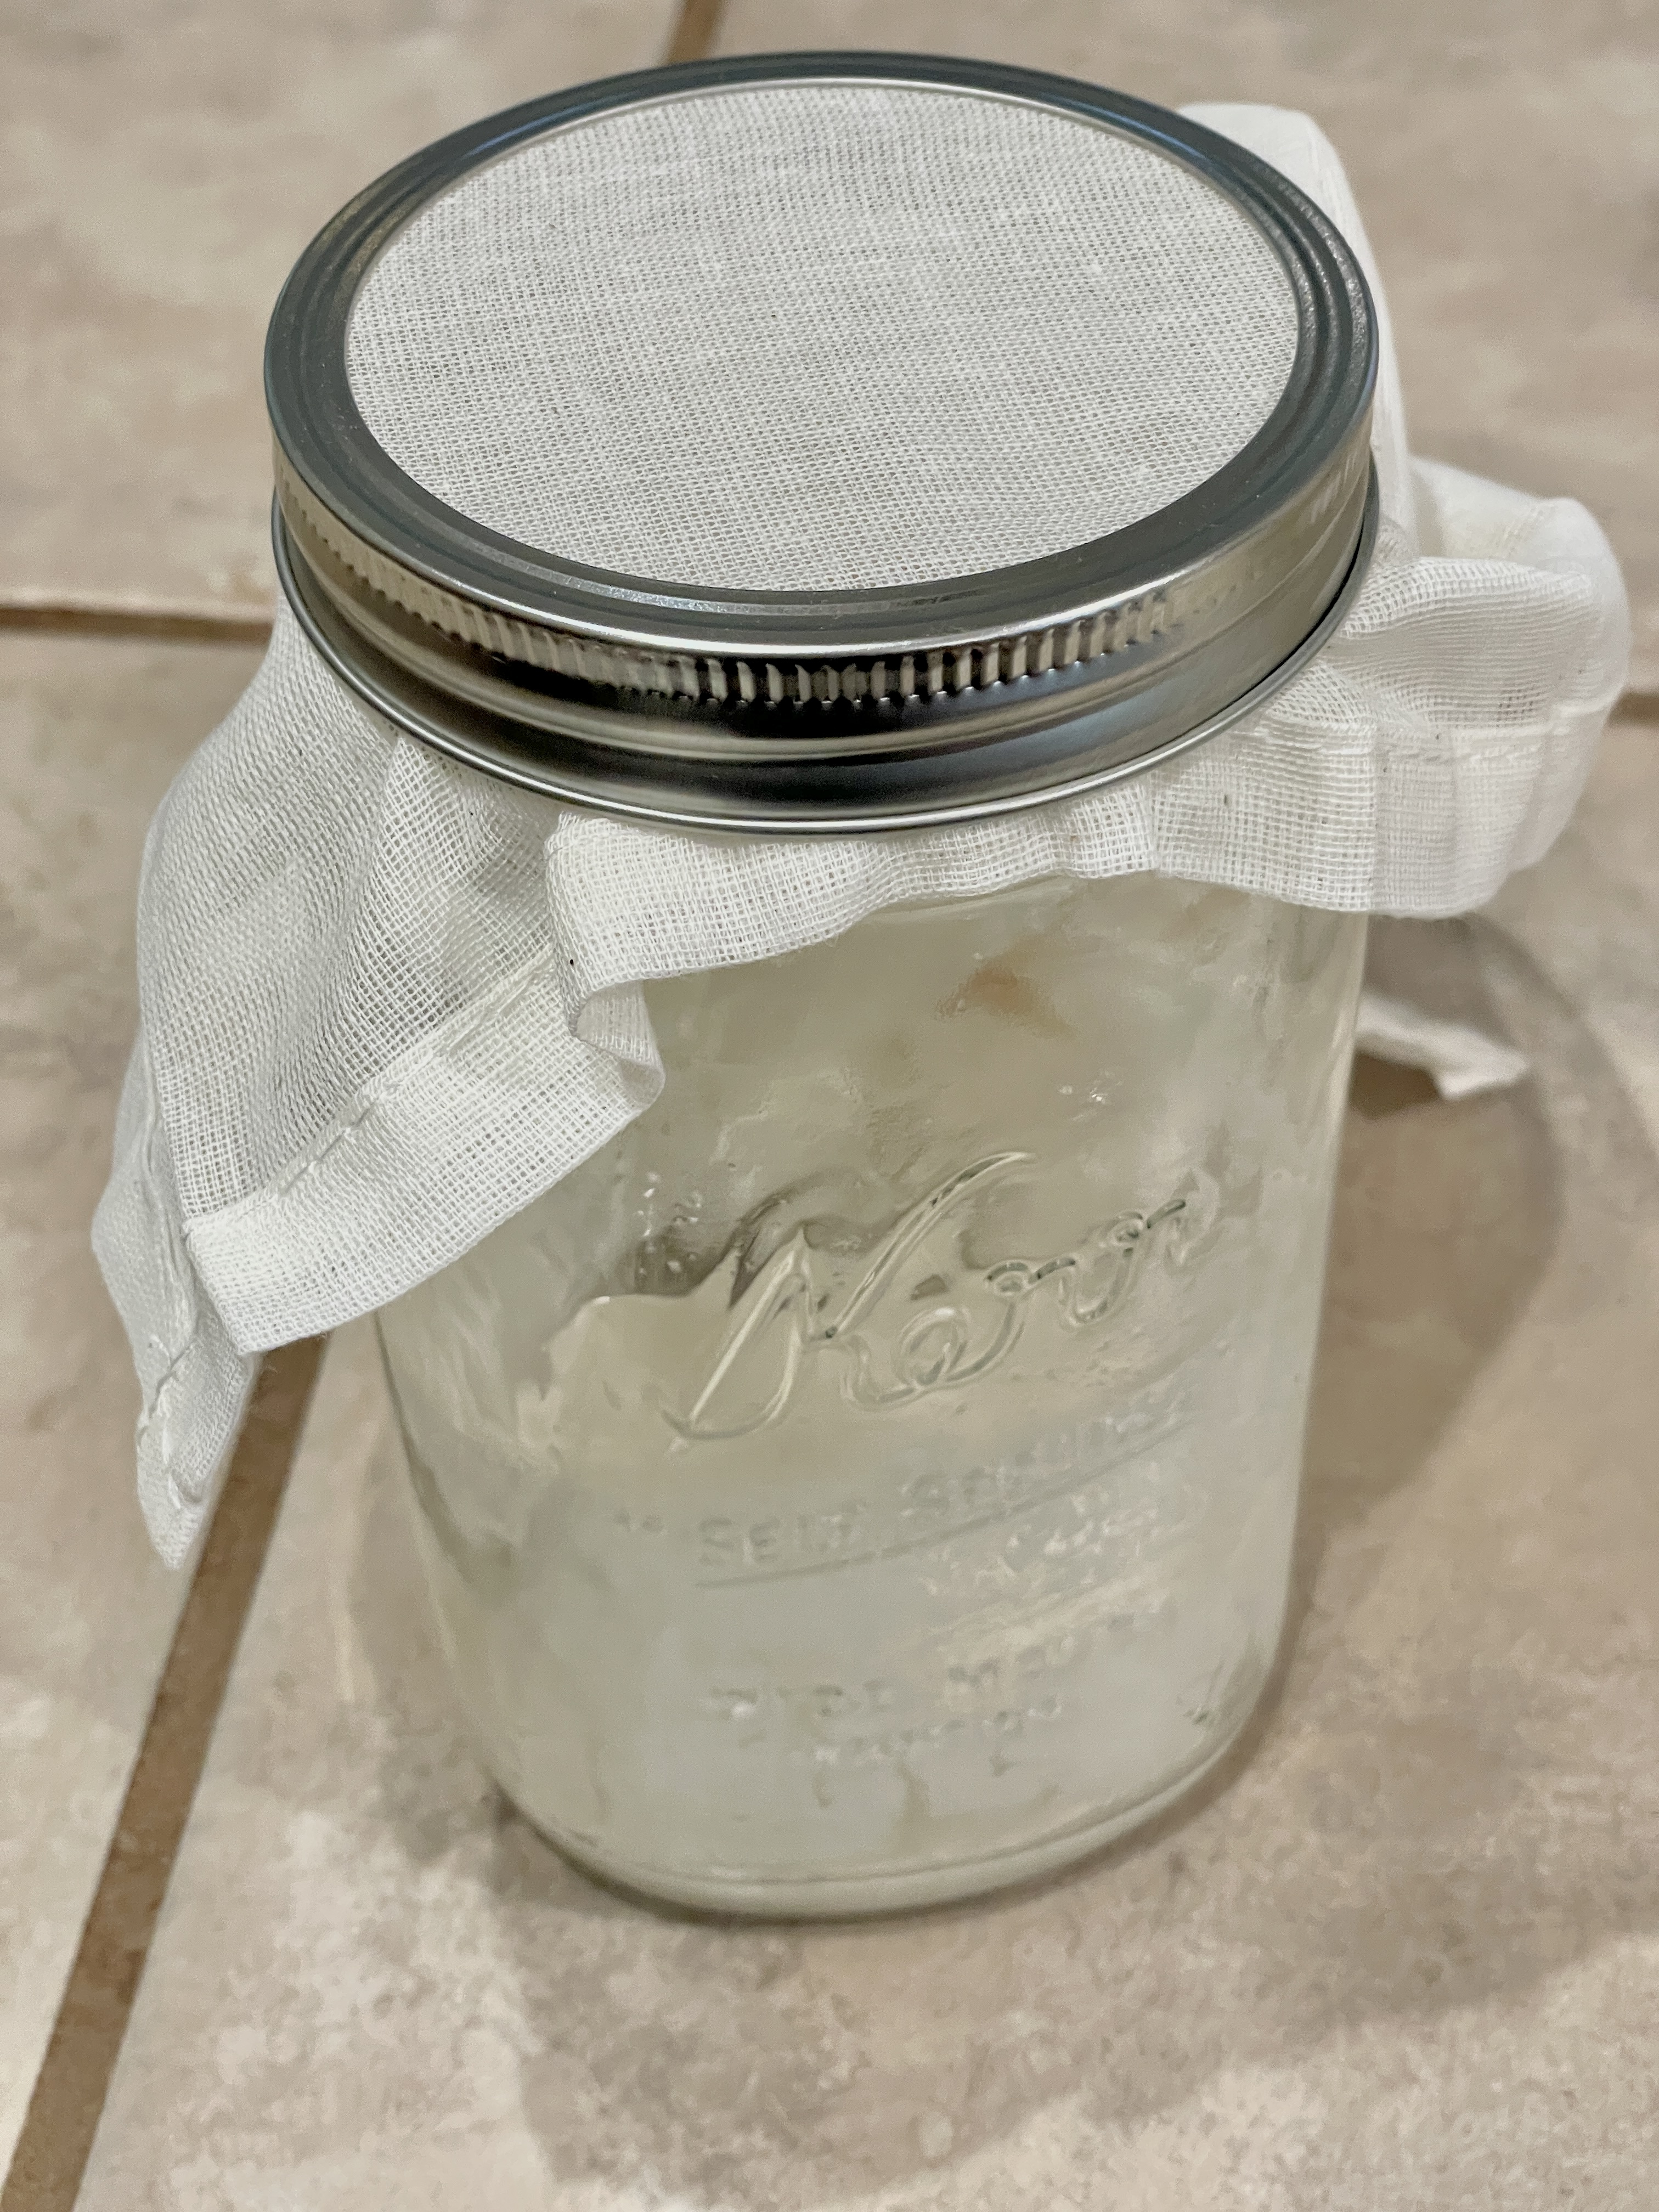
In a clean quart-sized mason jar, combine 40 grams of dried sourdough starter with 60 grams of filtered room temperature water. Mix vigorously. This will be a wet, initial mix. Cover with cheesecloth or a clean kitchen towel. The goal is to allow some air but keep any bugs out.
Keep the mixture in a warm place for 2-3 hours. The optimal temperature is 78-80F / 25.5-27C.
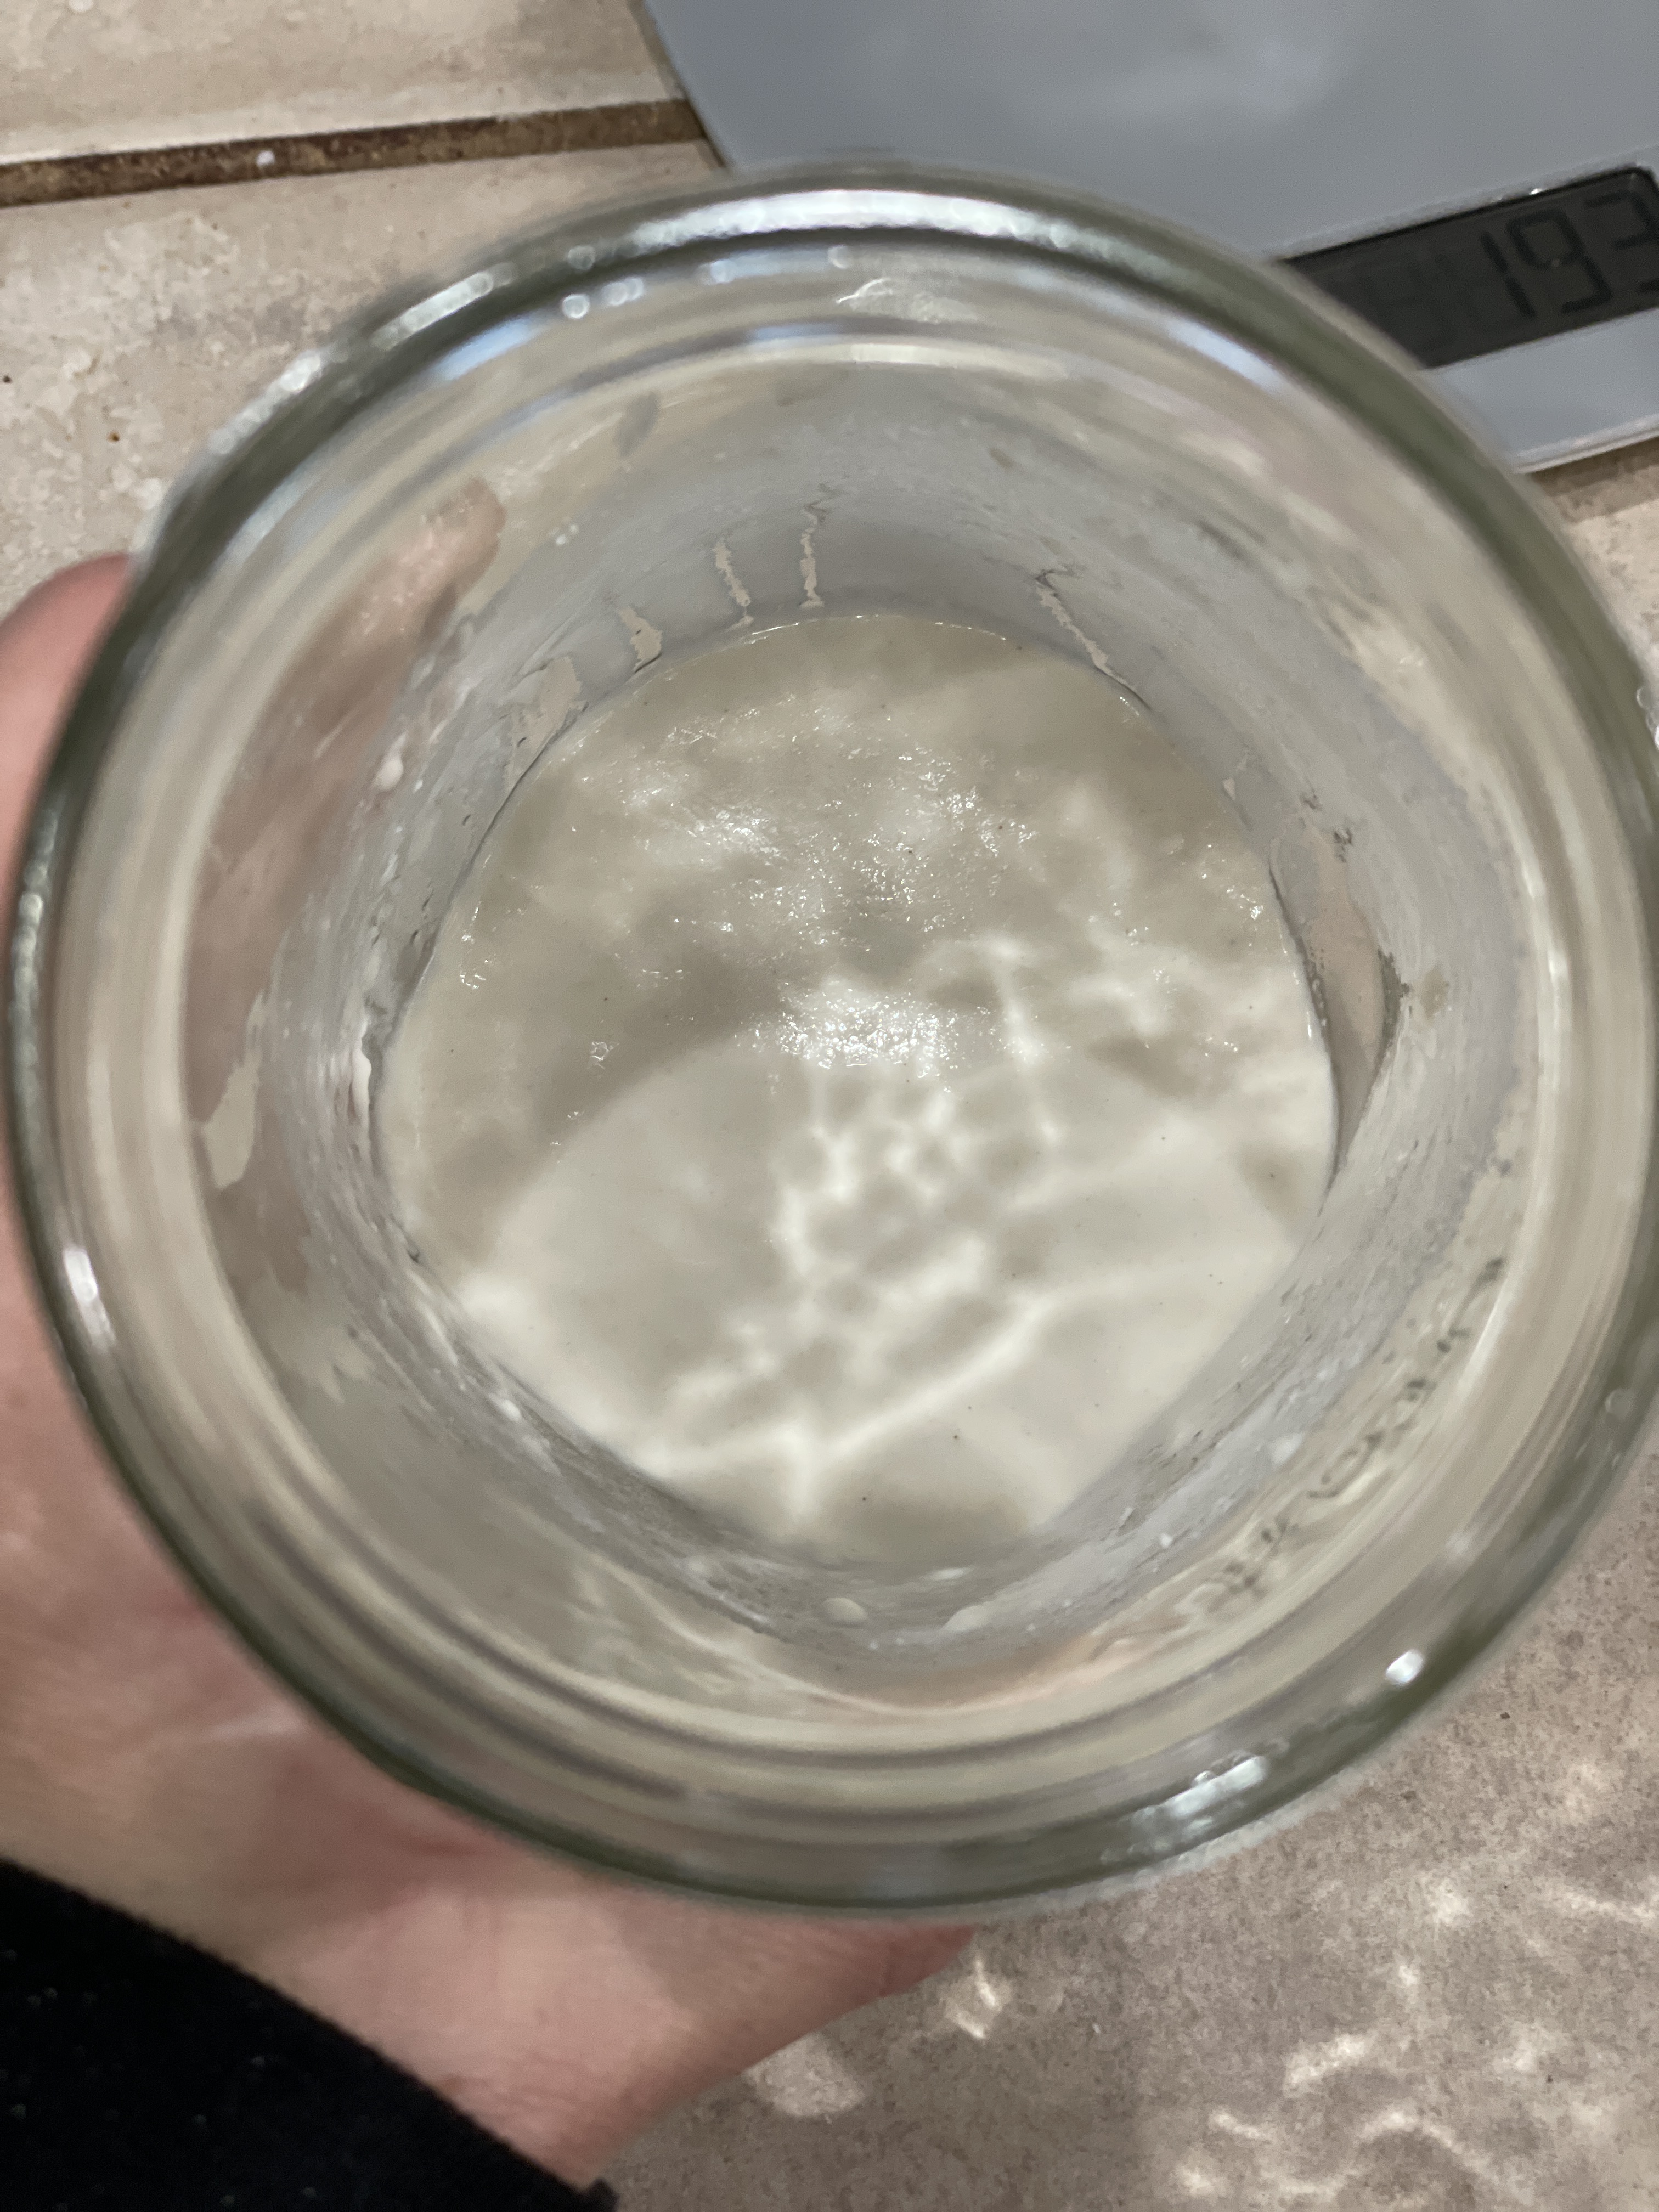
Step 2 – First Feeding
Add 20g of brown rice flour and 20g of filtered room-temperature water to your starter. Do not discard any of the original mix.
Keep the mixture in a warm place until you start to see bubbles in the mixture. This can take about 24 hours. You can keep it at room temperature, but keep in mind that the process will take longer if it is cooler.
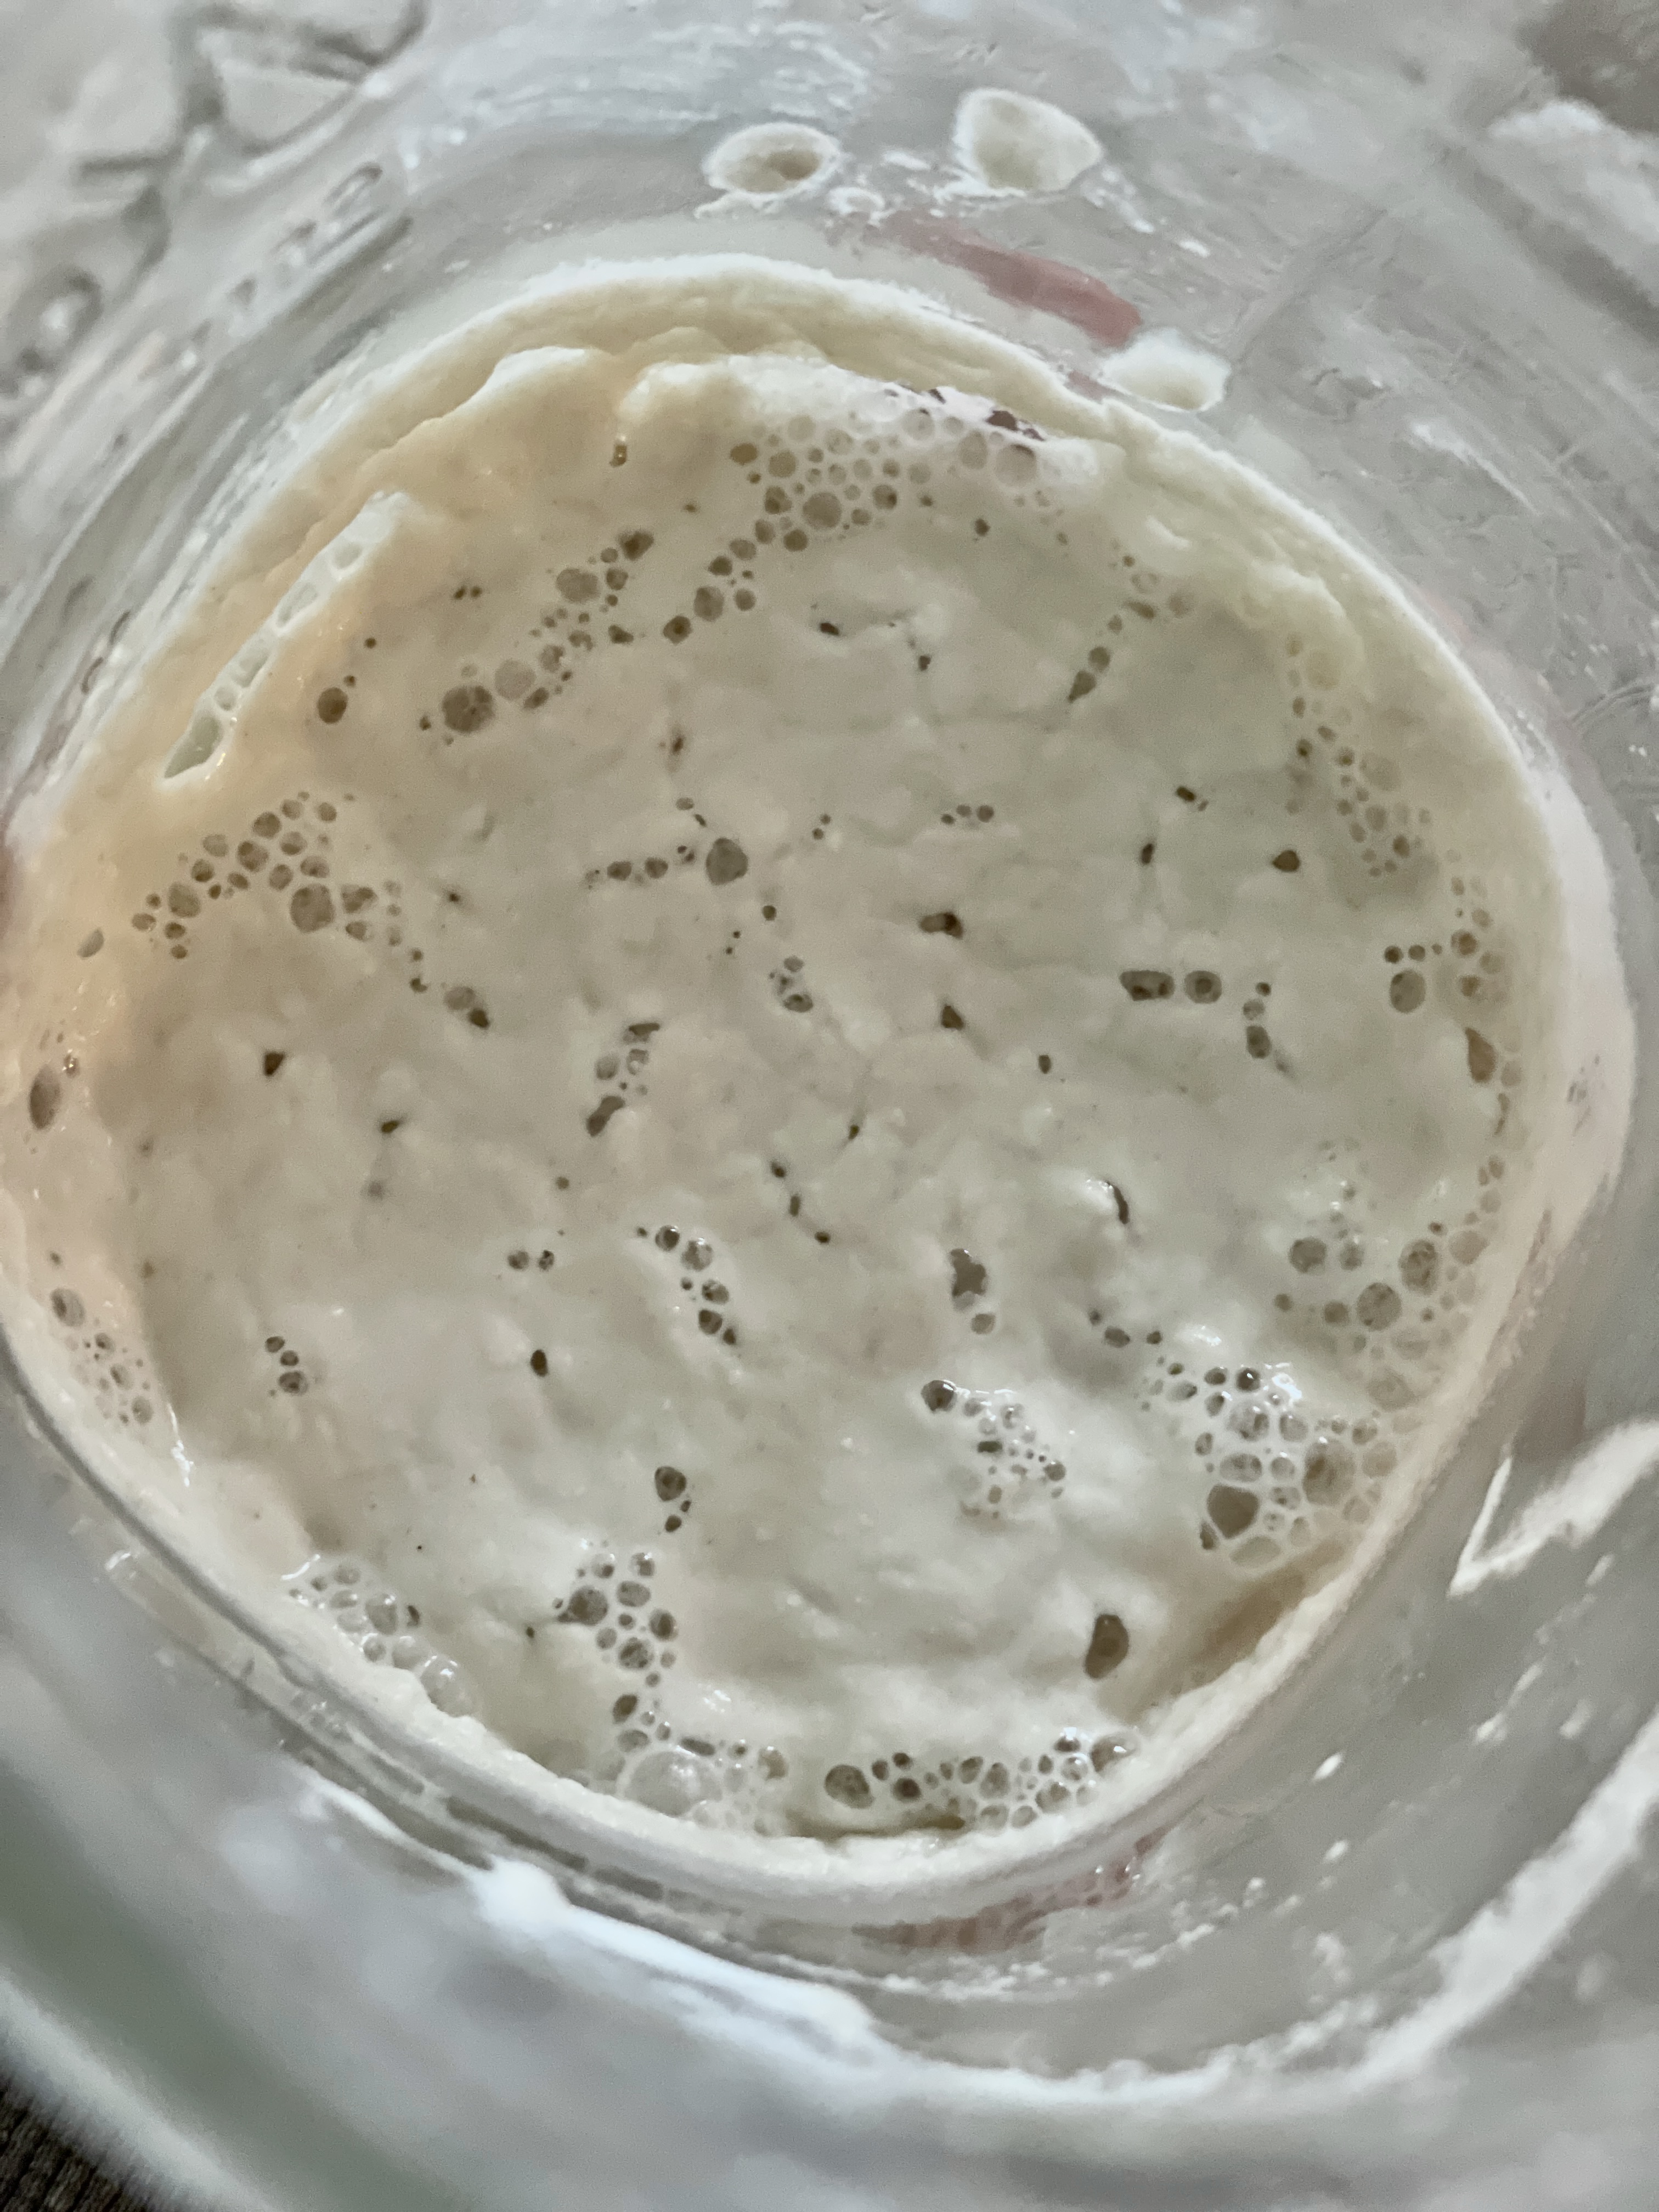
Step 3 – Watch & Wait
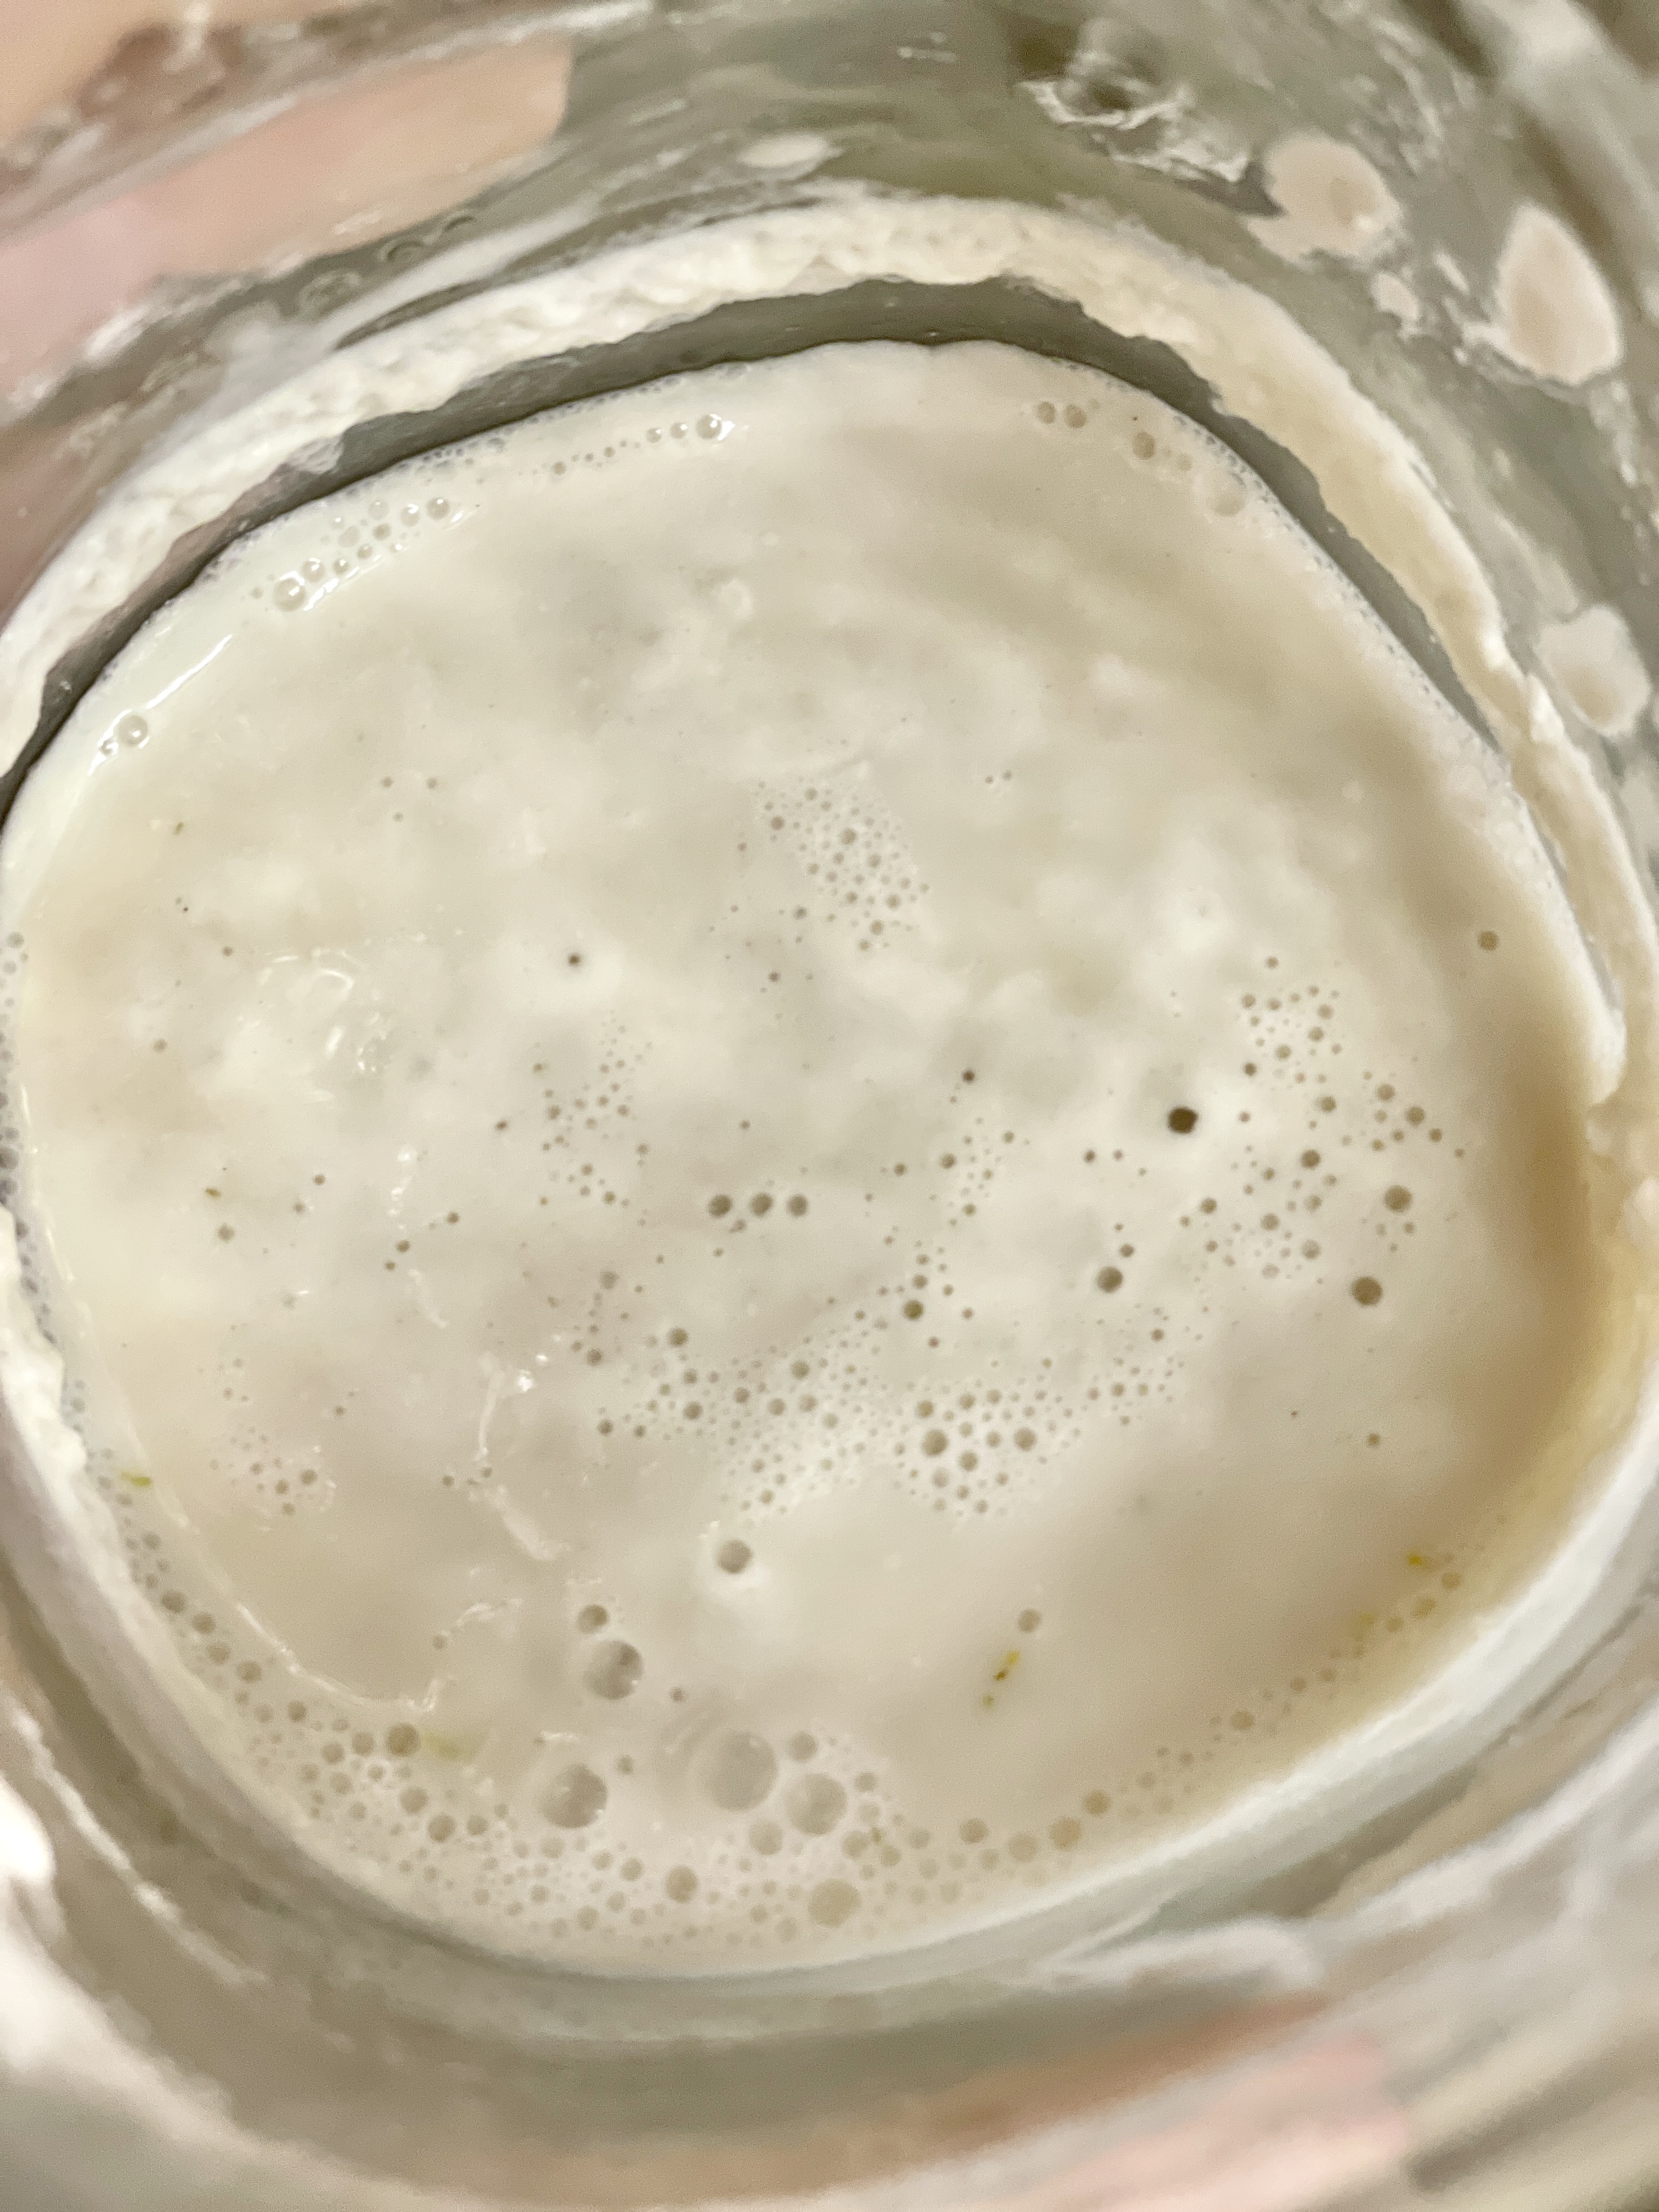
You should start to see bubbles forming on top of the starter on Day 2. This is the yeast re-activating, which is good.
Monitor the starter throughout the day, you should see small bubbles completely covering the top of starter.
Wait until these bubbles start shrinking in size and/or number. This indicates that the starter has reactivated and has consumed the first feeding of flour.
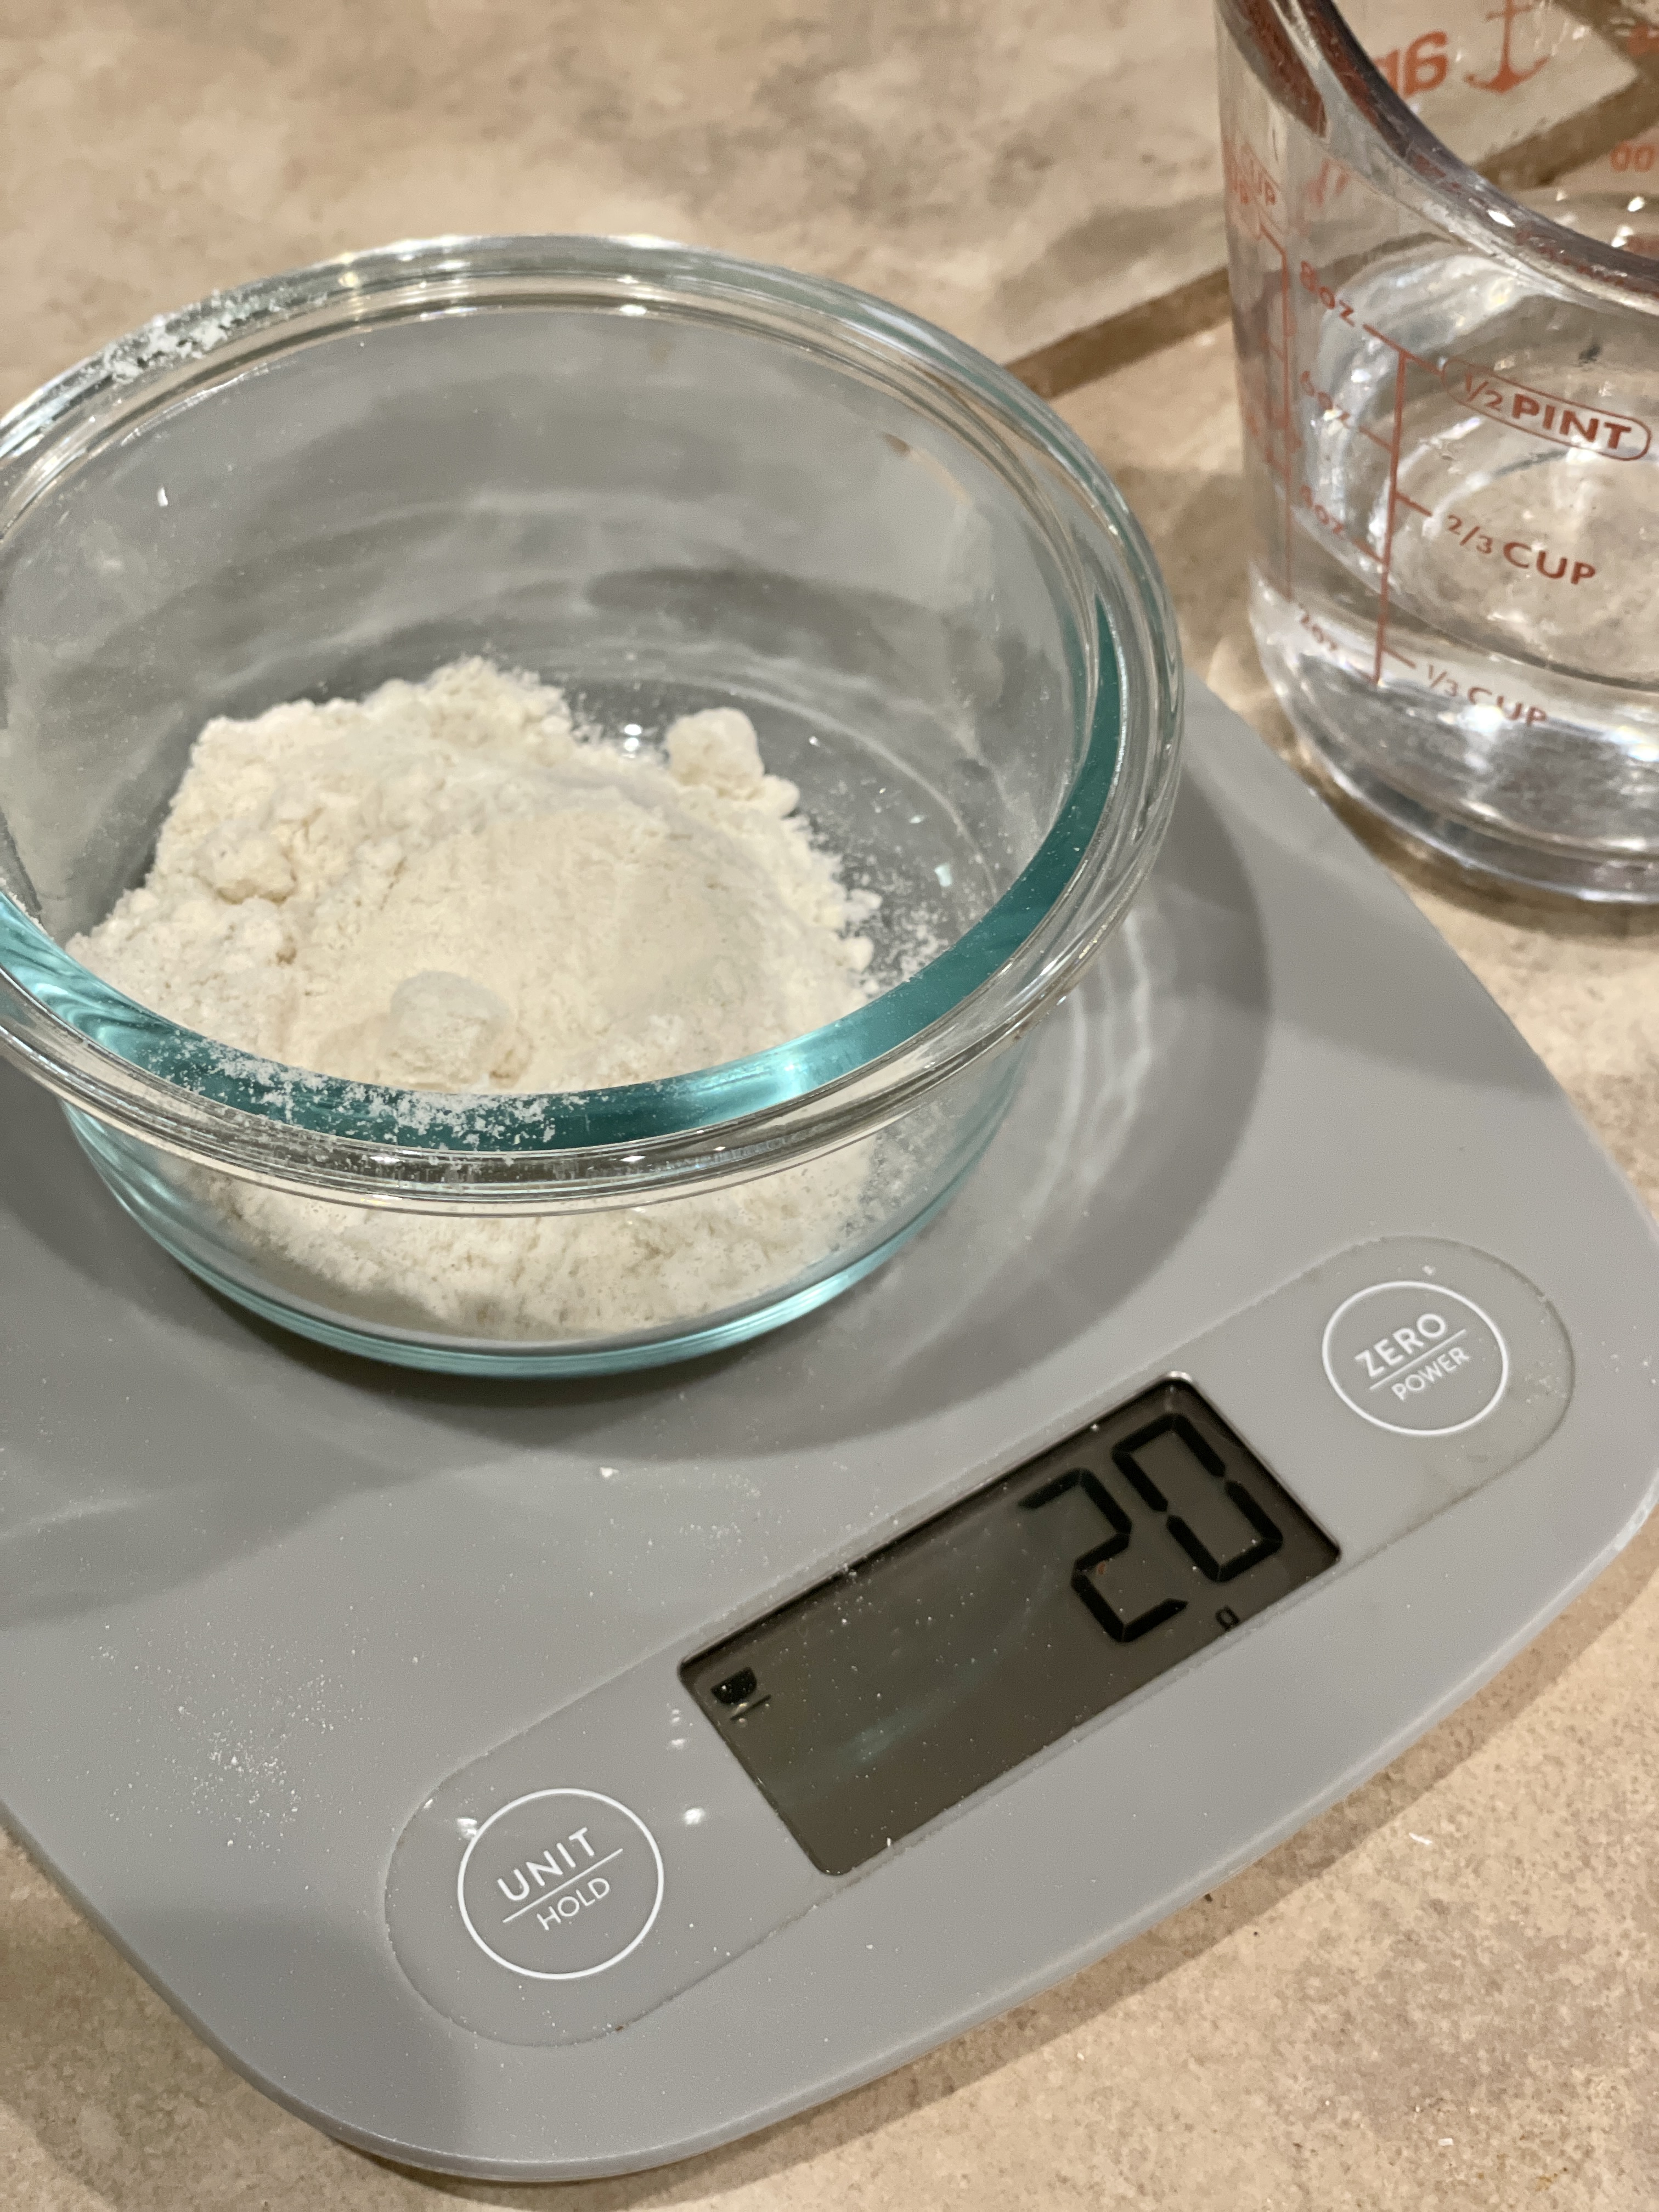
Step 4 – Second Feeding
When the bubbles have subsided, this indicates the initial feeding has been fully consumed. The starter should begin to smell vinegary.
Feed the starter 40g brown rice flour and 60g water. Do not discard any of the original starter mixture!
Step 5 – Third Feeding
Watch the starter after the second feeding. The starter should be completely covered with bubbles. It may not rise because it is still a fairly wet mixture.
When the bubbles have mostly subsided, feed the starter with 60g of brown rice flour and 60g of water. Do not discard any of the original starter!

Step 5 – Discard & Feed
By Day 4, the starter should be thickening and should be rising after the third feeding. Wait for the starter to rise and peak. You can tell it has peaked when starter begins falling. This is when the yeast is at its optimal strength.
When the starter is indicating that it has peaked and is beginning to fall, discard about 1/3 of the mixture and then feed with 100 grams of brown rice flour and 120 grams of filtered water.
Step 6 – Discard & Feed
Continue daily 1/3 discard and 1:1 feeding of the starter until you see it consistently rising and peaking about 4-6 hours after feeding (at 78F/25.5C) At this point your starter should be back to normal strength and can be used for baking. Store in the fridge covered at this point.
The consistency should be of a thick pancake batter.
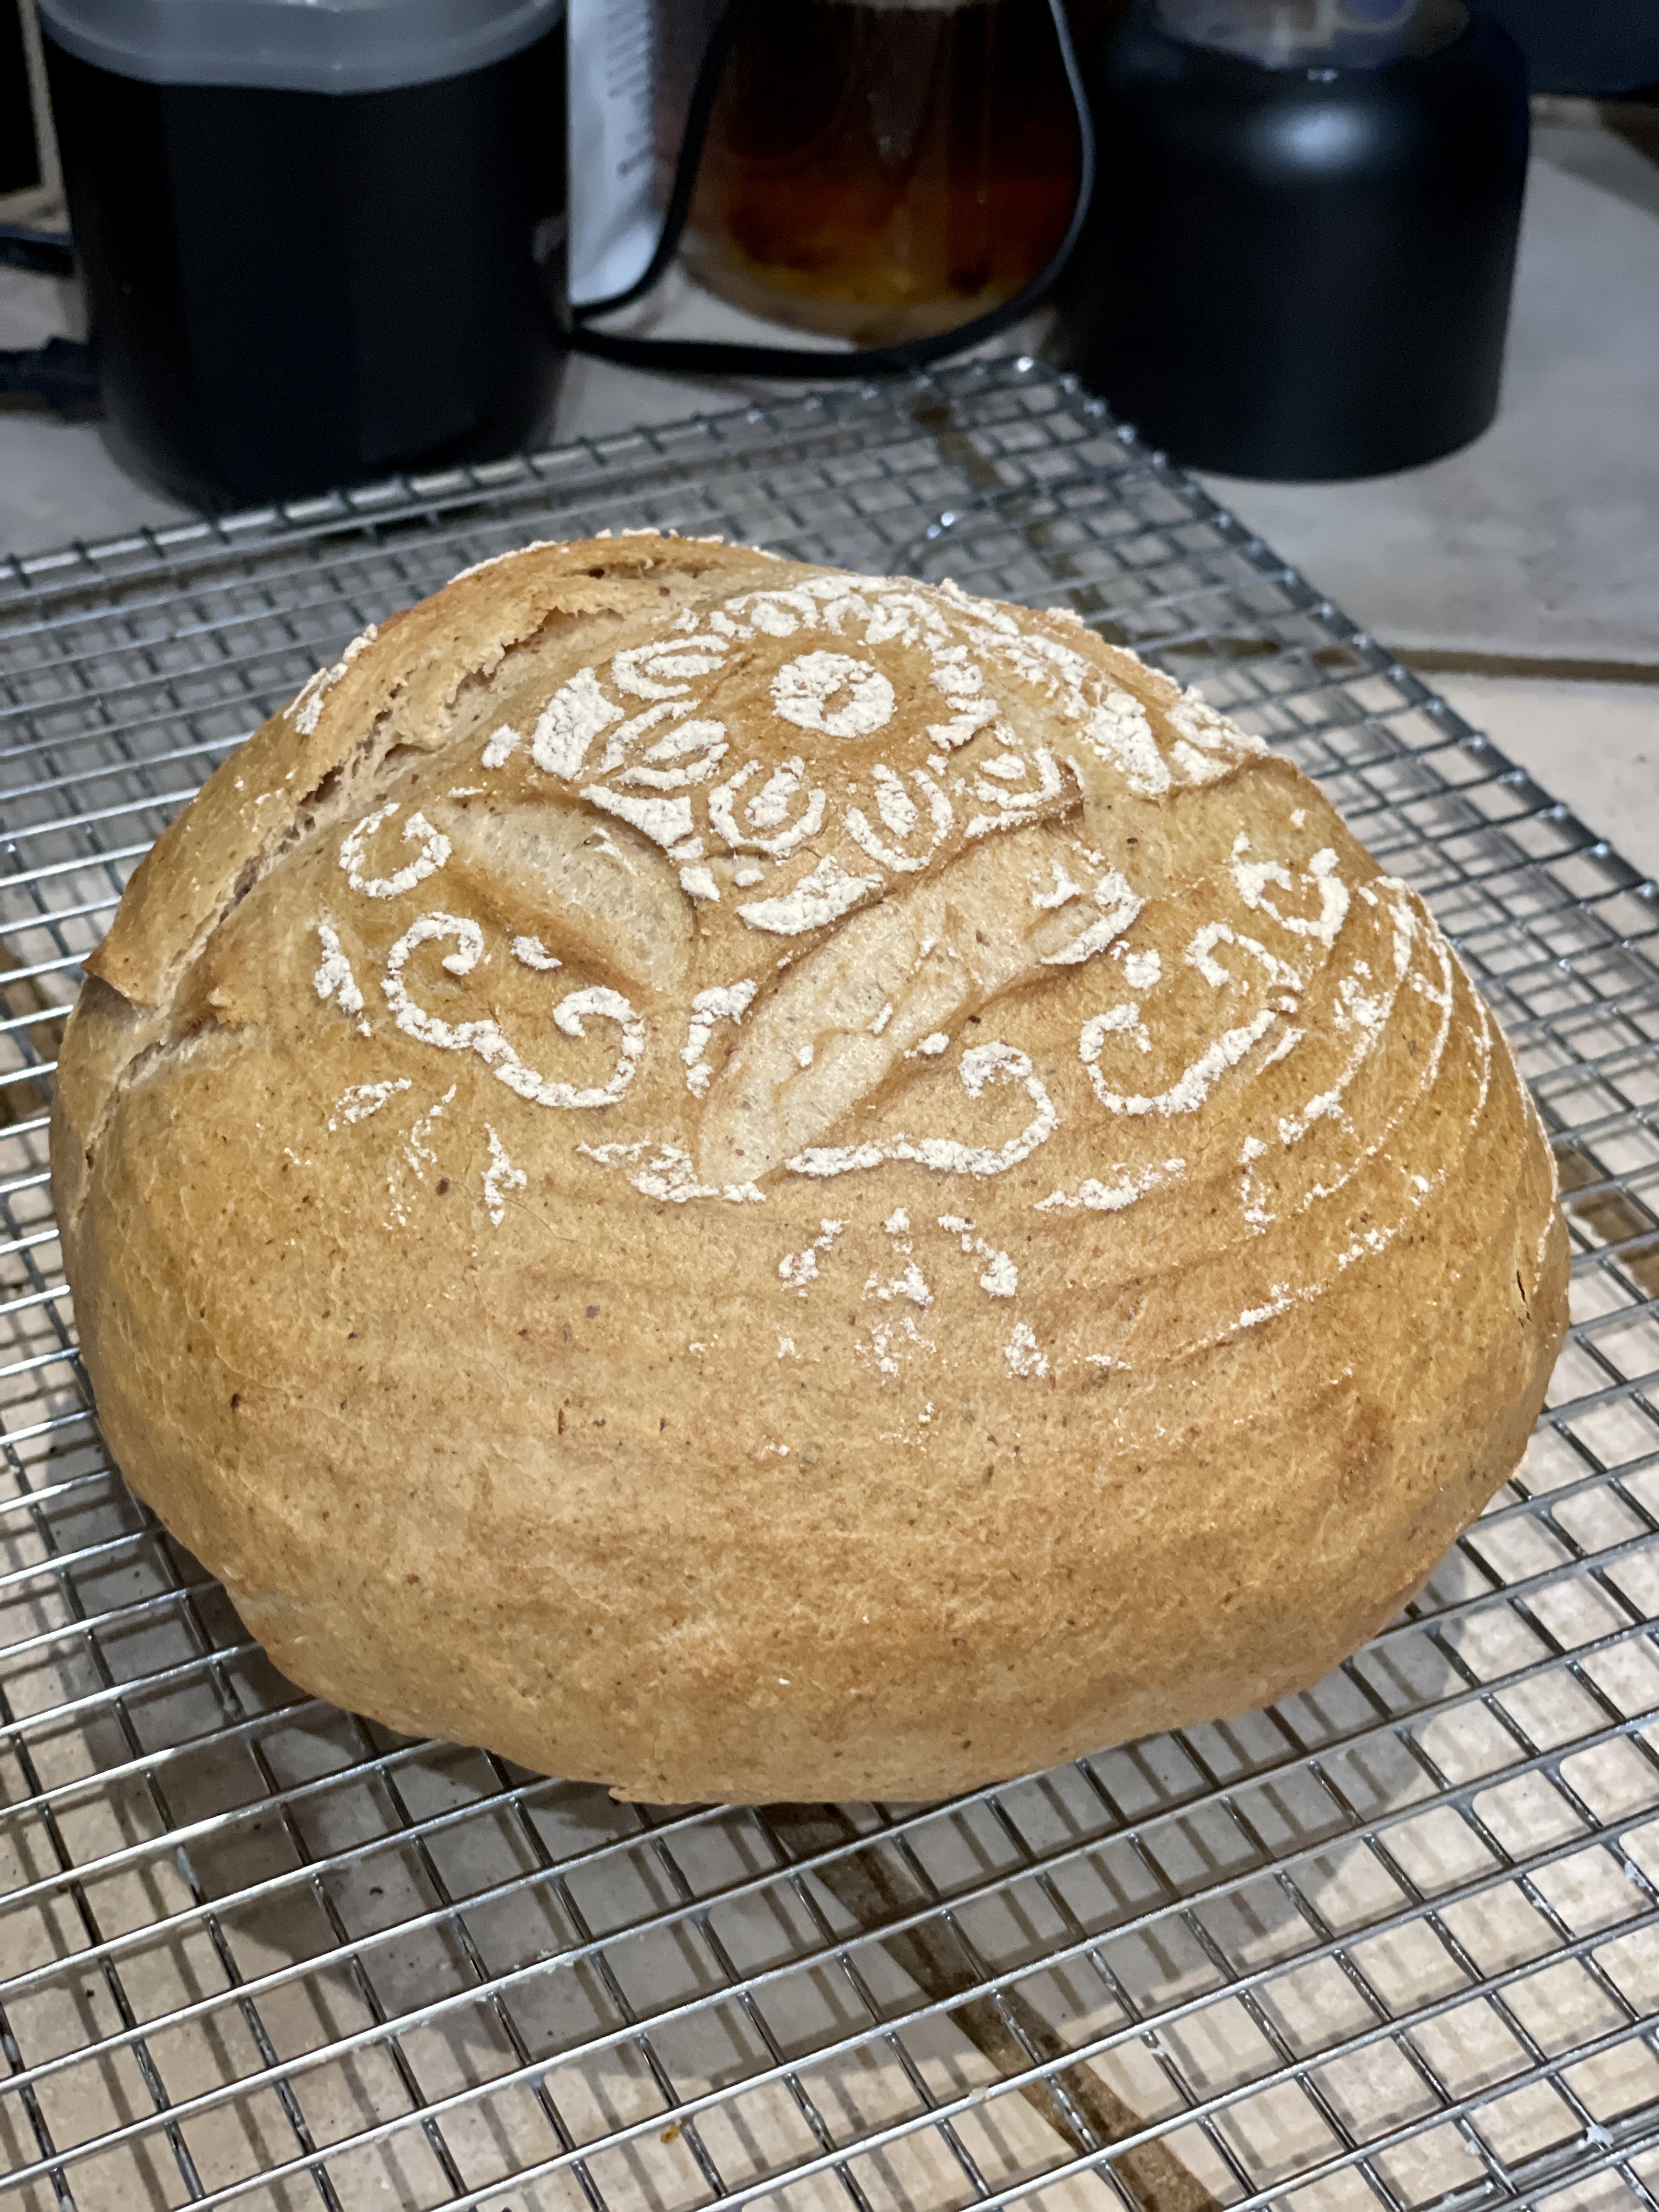
Step 7 – Baking
Once your starter has been reactivated you are ready to bake. Replenish your starter with the same amount you use for your recipe. You can use a 1:1 ratio or a slightly higher hydration ratio. I find close to a 120% hydration works well for me. This would be about 1 cup of brown rice flour (140 grams) and 3/4 cup water (165 grams) because I use about 300 grams of starter at a time. Allow to rise again uncovered at room temperature until it bubbles (4-12hours), then return to fridge.
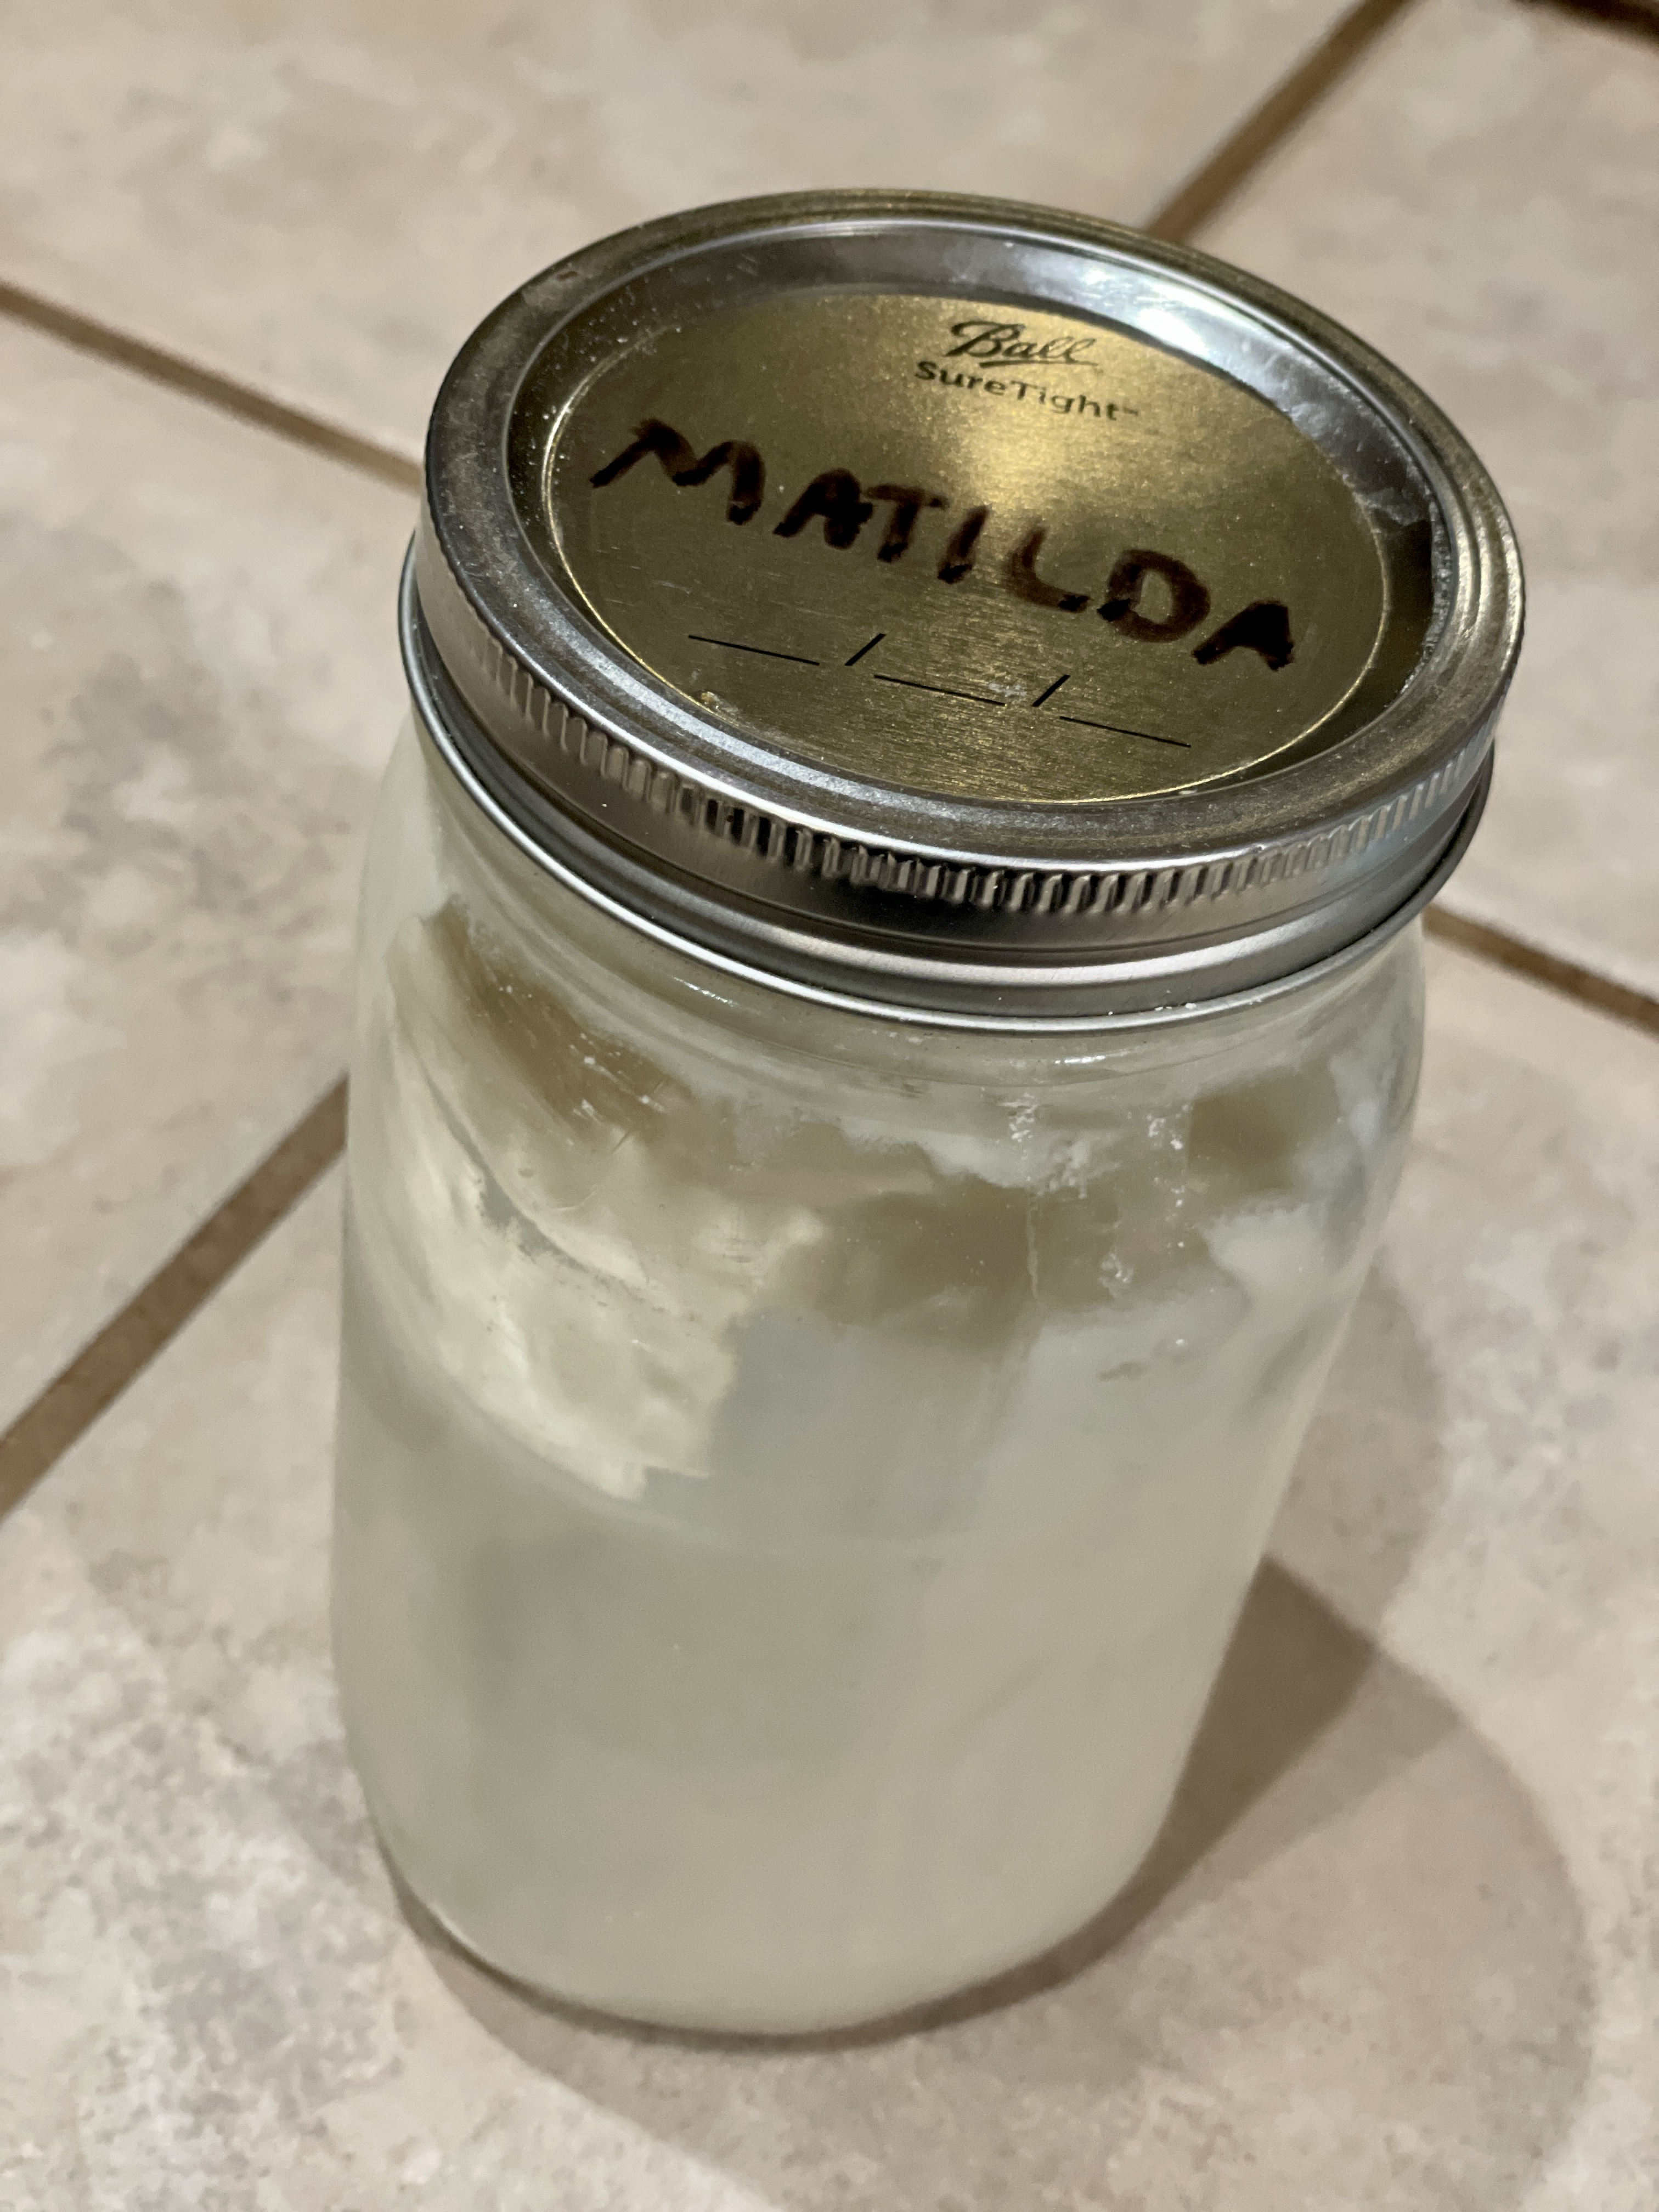
Step 8 – Maintenance
Ideally you would use your starter weekly. If it falls flat or has not been used in more than 3 weeks, discard 1/3 of the mixture and feed again. Be sure to look up recipes for what you can do with your discard. Don’t forget to give your starter a name – this will help you remember to feed it!
