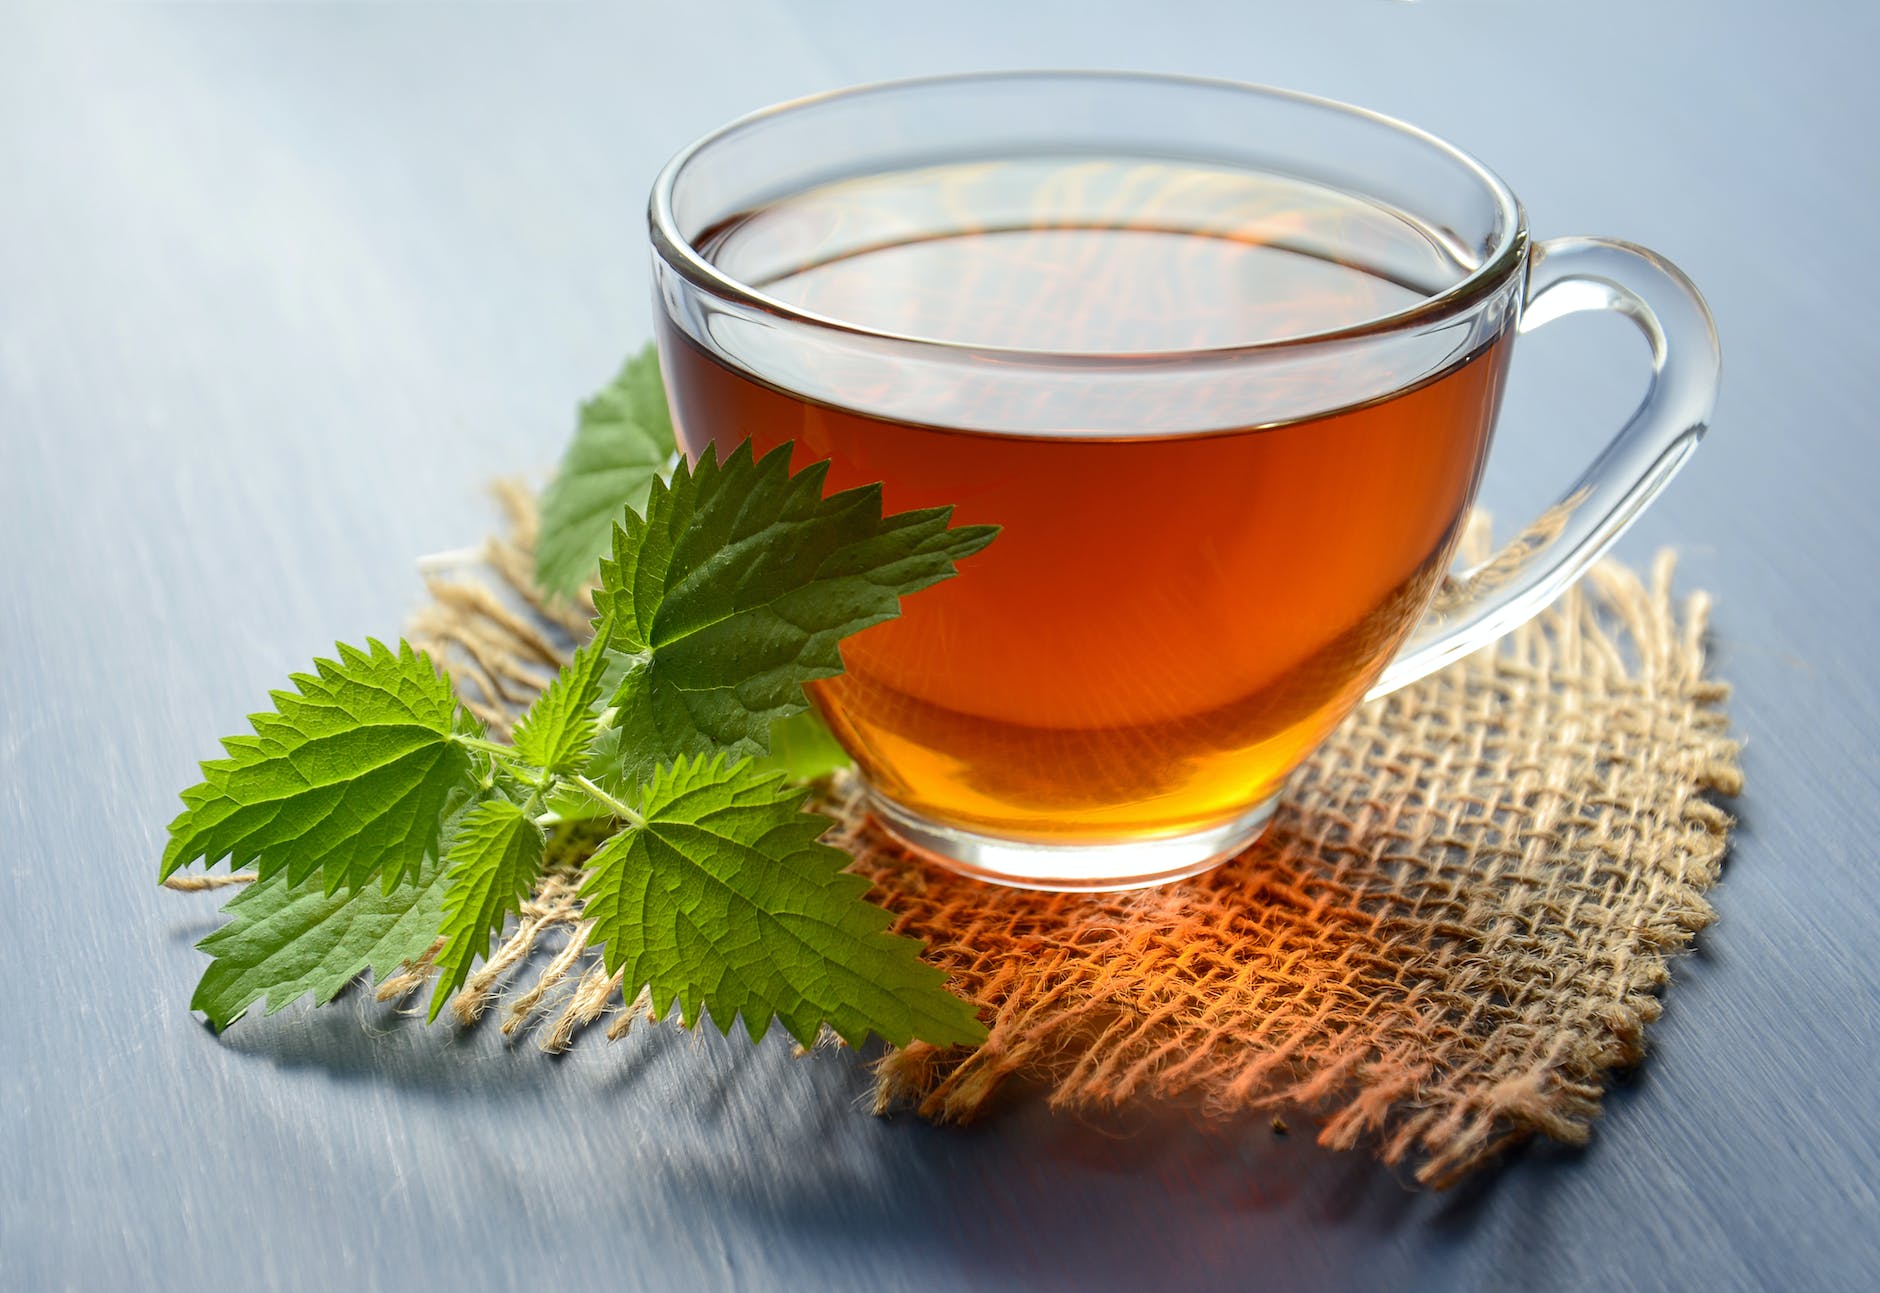
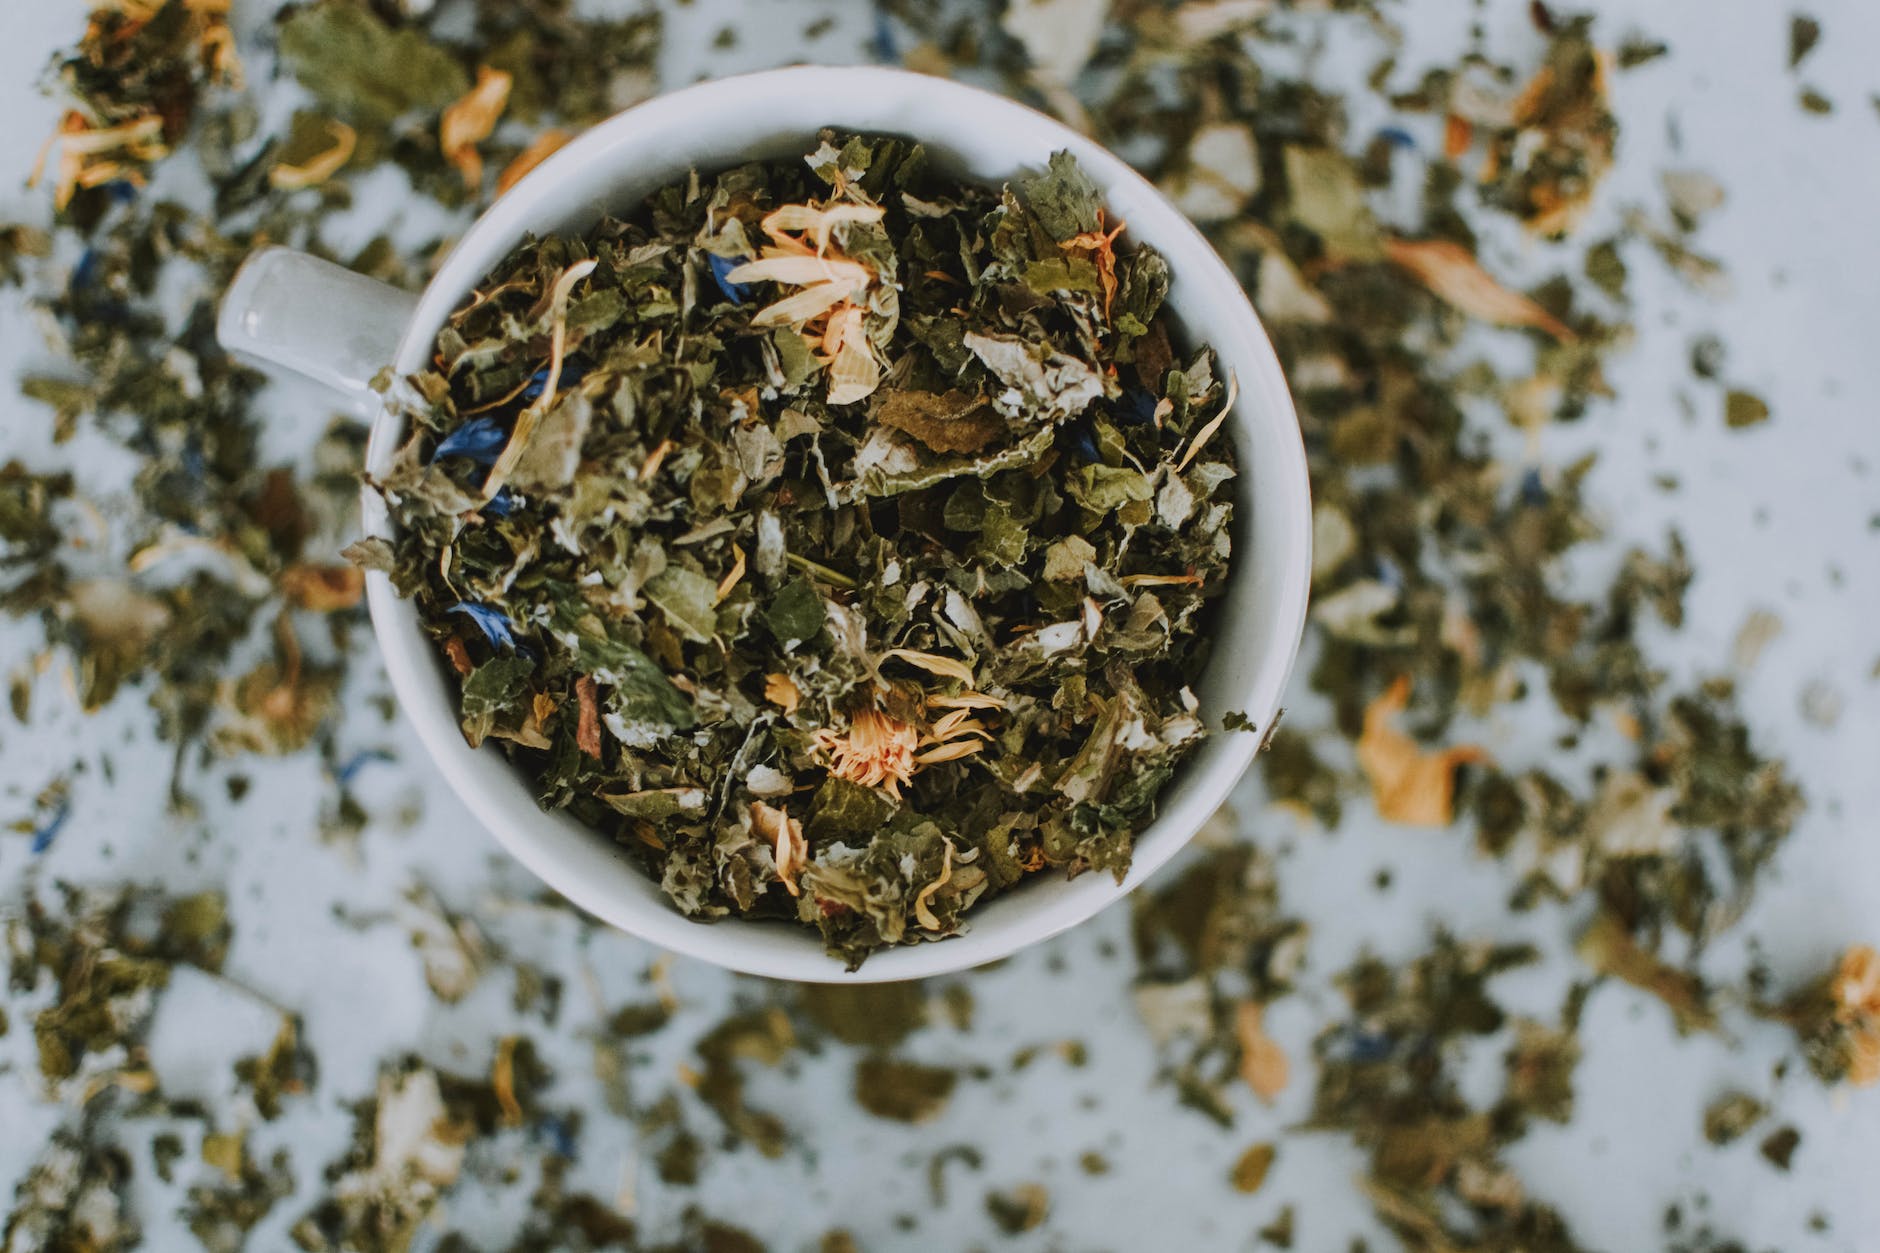
In a world where staying healthy is more important than ever, our immune systems deserve all the support they can get. While a well-balanced diet and regular exercise play crucial roles in maintaining good health, sometimes a comforting cup of herbal tea can be just the thing to give your immune system a little extra love. Join us on a flavorful journey as we explore some delightful, immunity-boosting herbal tea recipes that not only taste amazing but also provide a much-needed dose of wellness.
1. Ginger-Lemon Zest Tea: The Wake-Up Call Your Immune System Needs
Ingredients:
1-inch piece of fresh ginger, sliced
1 lemon, sliced
1 teaspoon honey (optional)
2 cups of water
Instructions:
Boil 2 cups of water and add the ginger and lemon slices.
Let it simmer for 5-7 minutes.
Strain the tea into your favorite mug, and sweeten with honey if desired.
Sip and enjoy the zesty goodness!
2. Turmeric Gold Elixir: The Warrior of Immunity
Ingredients:
1 teaspoon turmeric powder
1/2 teaspoon ground cinnamon
A pinch of black pepper
1 teaspoon honey
2 cups of almond milk (or any milk of your choice)
Instructions:
In a saucepan, gently heat the almond milk.
Add the turmeric, cinnamon, and a pinch of black pepper.
Stir well and let it simmer for 5 minutes.
Sweeten with honey and savor the golden goodness.
3. Minty Fresh Immune Tea: Cool and Calm Your Way to Wellness
Ingredients:
A handful of fresh mint leaves
1 green tea bag (or 1 teaspoon loose green tea leaves)
1 teaspoon honey (optional)
2 cups of hot water
Instructions:
Place the green tea bag (or loose leaves) and mint leaves in a teapot.
Pour hot water over them and steep for 3-4 minutes.
Remove the tea bag or strain the tea if using loose leaves.
Sweeten with honey, if desired, and enjoy the refreshing minty flavor.
4. Elderberry Delight: Berry Blast for Immunity
Ingredients:
2 tablespoons dried elderberries
1 cinnamon stick
1 teaspoon honey (optional)
2 cups of water
Instructions:
In a saucepan, combine the dried elderberries and cinnamon stick with water.
Bring to a boil, then reduce heat and simmer for 15-20 minutes.
Remove from heat, strain into a cup, and sweeten with honey if desired.
Sip this berry-infused delight to boost your immune system.
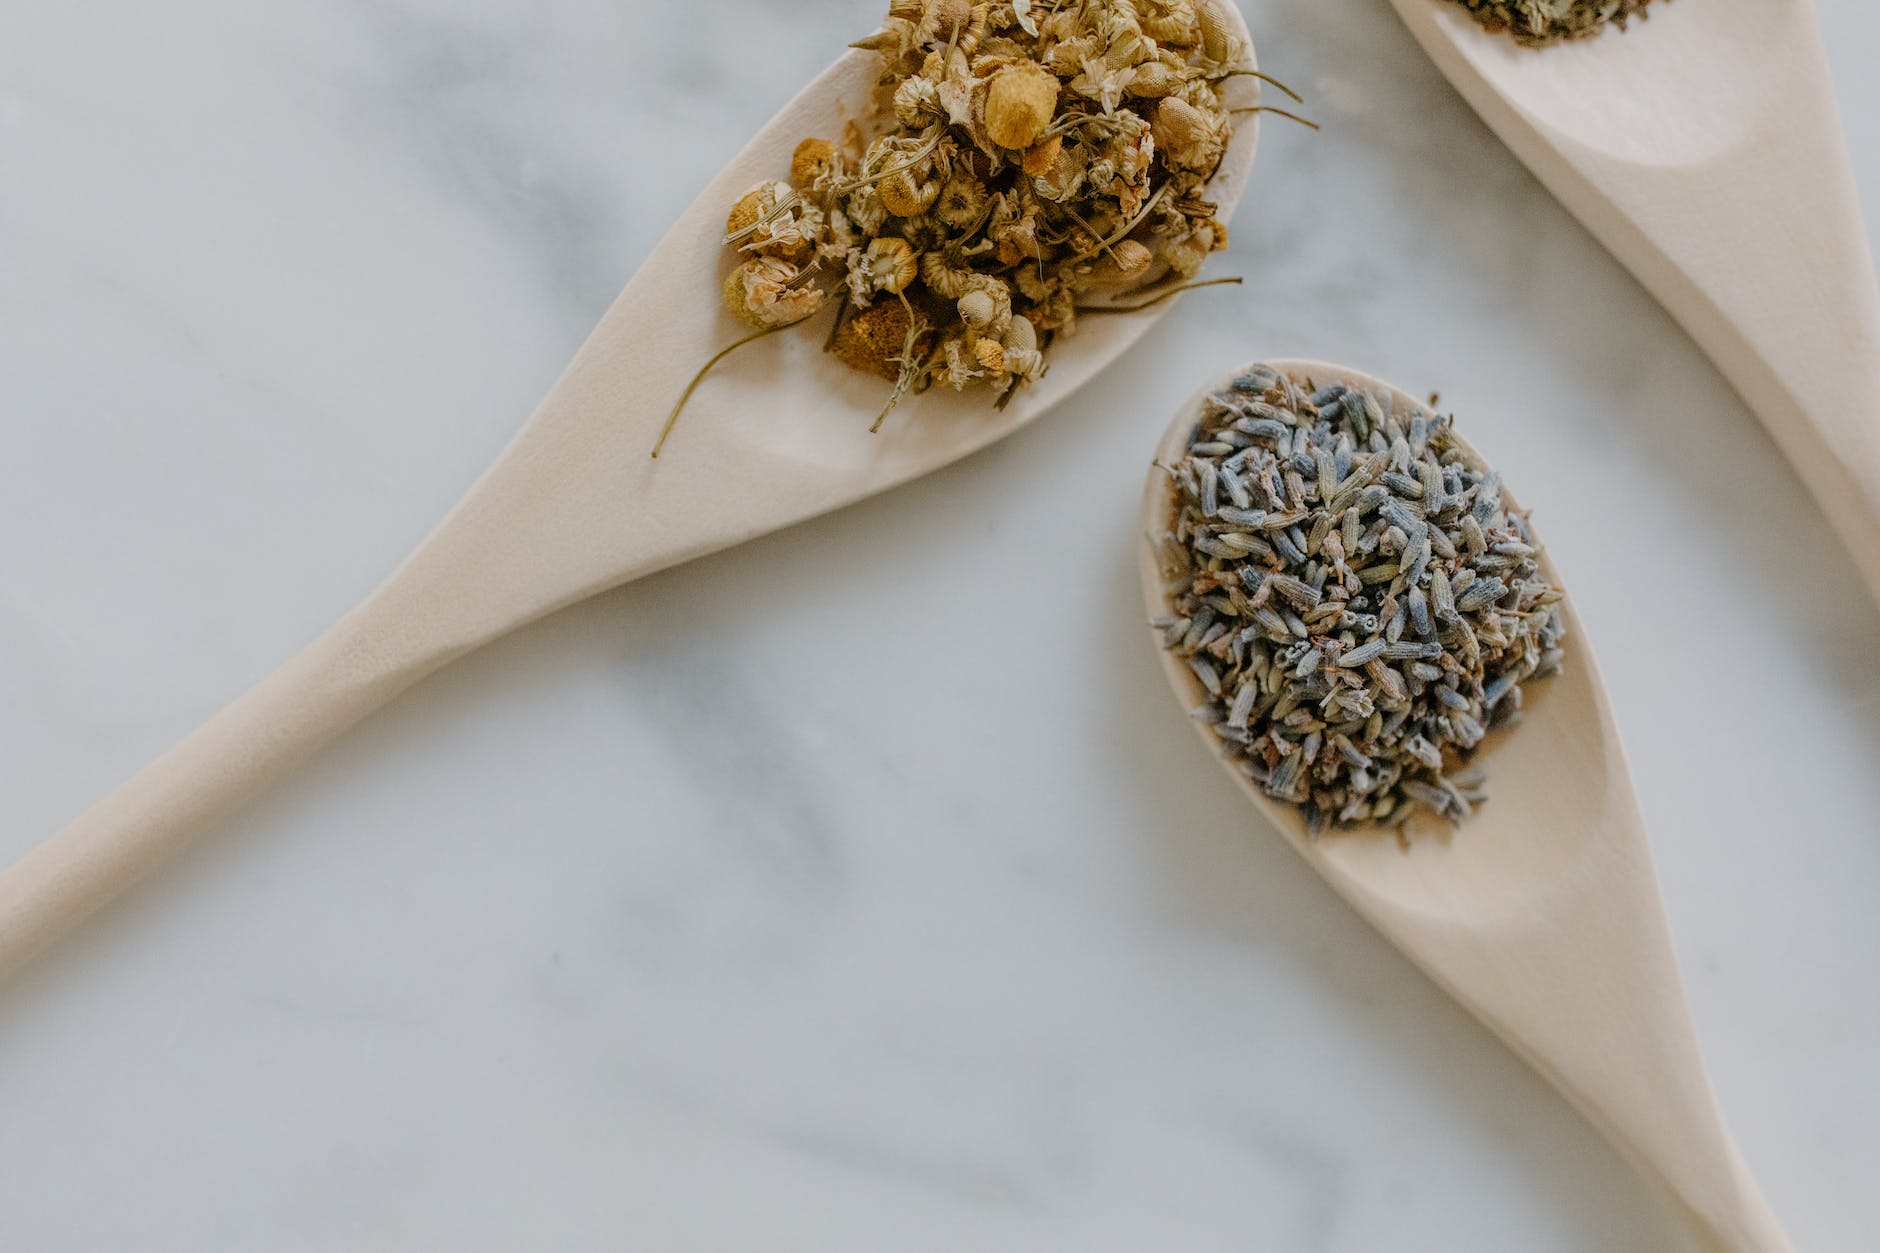
5. Chamomile-Lavender Dream Tea: Sweet Dreams and Strong Immunity
Ingredients:
1 chamomile tea bag (or 1 teaspoon dried chamomile flowers)
1/2 teaspoon dried lavender buds
1 teaspoon honey (optional)
2 cups of hot water
Instructions:
Place the chamomile tea bag (or chamomile flowers) and dried lavender buds in a teapot.
Pour hot water over them and steep for 5-7 minutes.
Remove the tea bag or strain the tea if using loose flowers.
Sweeten with honey if desired, and sip your way to relaxation and immunity.
These delightful herbal teas not only tantalize your taste buds but also provide a comforting boost to your immune system. Incorporating these recipes into your daily routine can be a flavorful and enjoyable way to stay healthy. If you like to use dried herbs and prepare these ingredients ahead of time, I recommend tea bags like these or reusable ones otherwise a tea strainer like this works great. I also like adding my ingredients to a tea pot with the infuser in it. So, brew a cup, cozy up with a blanket, and let these immune-supporting herbal teas become your wellness companions in every season. Cheers to health and happiness!
Hey there, my fellow plant enthusiasts! As the colder weather is moving in and winter approaches, it’s time to bring the garden party inside. Don’t let Jack Frost dampen your green spirit; instead, let’s embark on a lively adventure into the world of indoor herb gardening. Get ready to flex your green thumb and infuse your home with fresh flavors, aromatic scents, and a whole lot of green goodness!
The Herbal Extravaganza: What Herbs to Grow Indoors
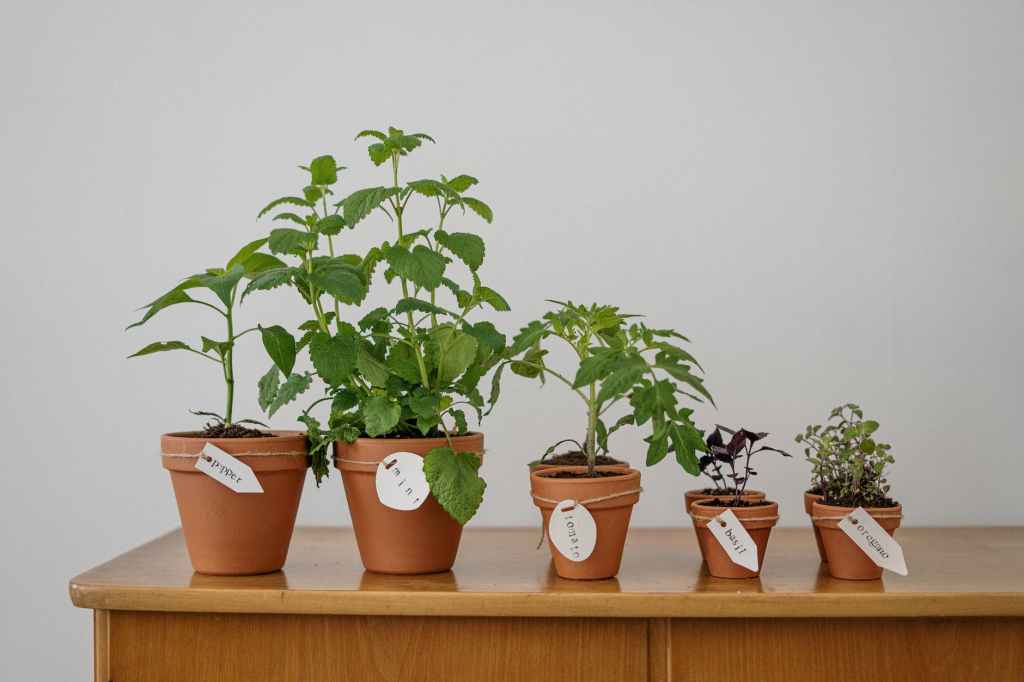
When it’s too chilly to venture outdoors, there’s a plethora of herbs that thrive in the cozy confines of your home. Here are a few stars of the indoor herb garden show:
Basil: The rockstar of the herb world. Basil brings a burst of flavor to pasta, salads, and pizzas, all while looking effortlessly chic on your windowsill.
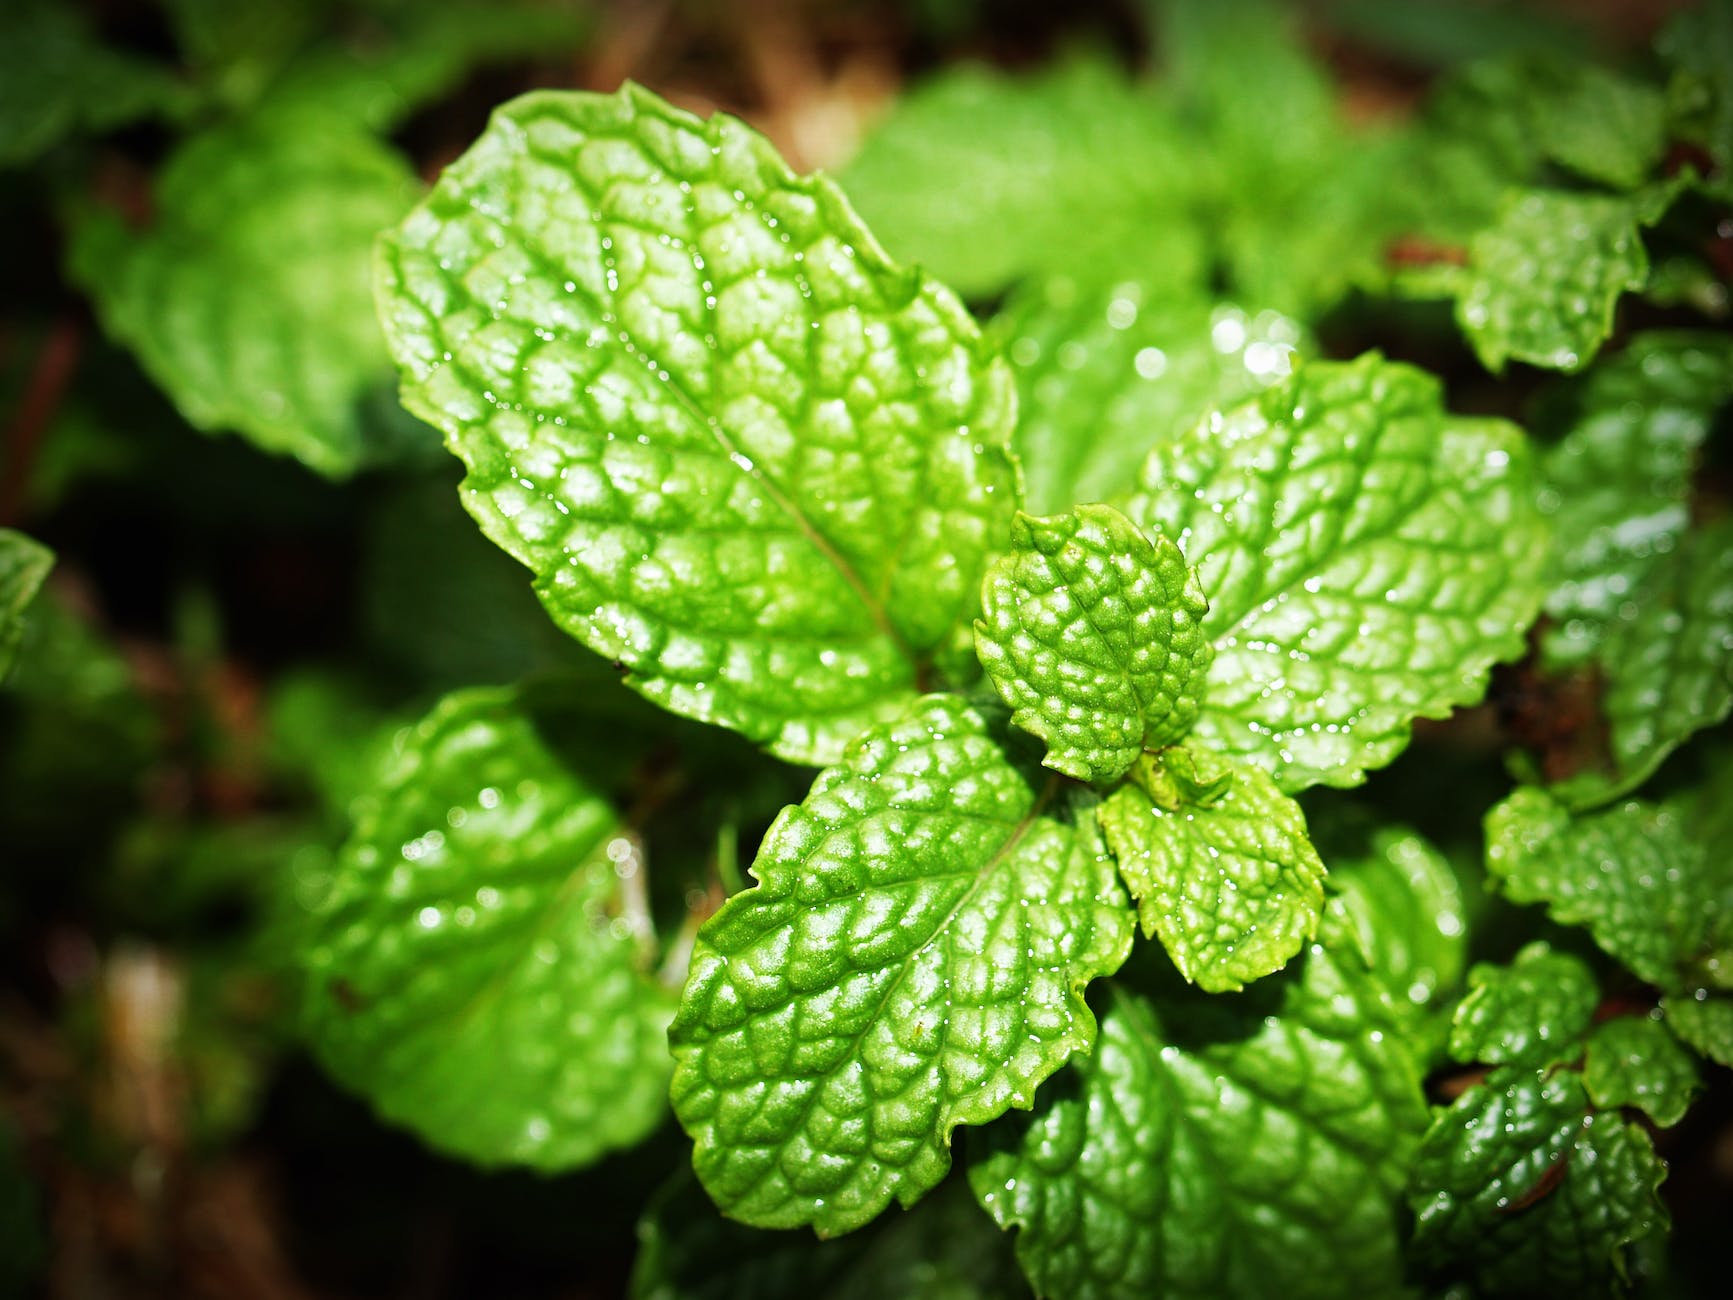
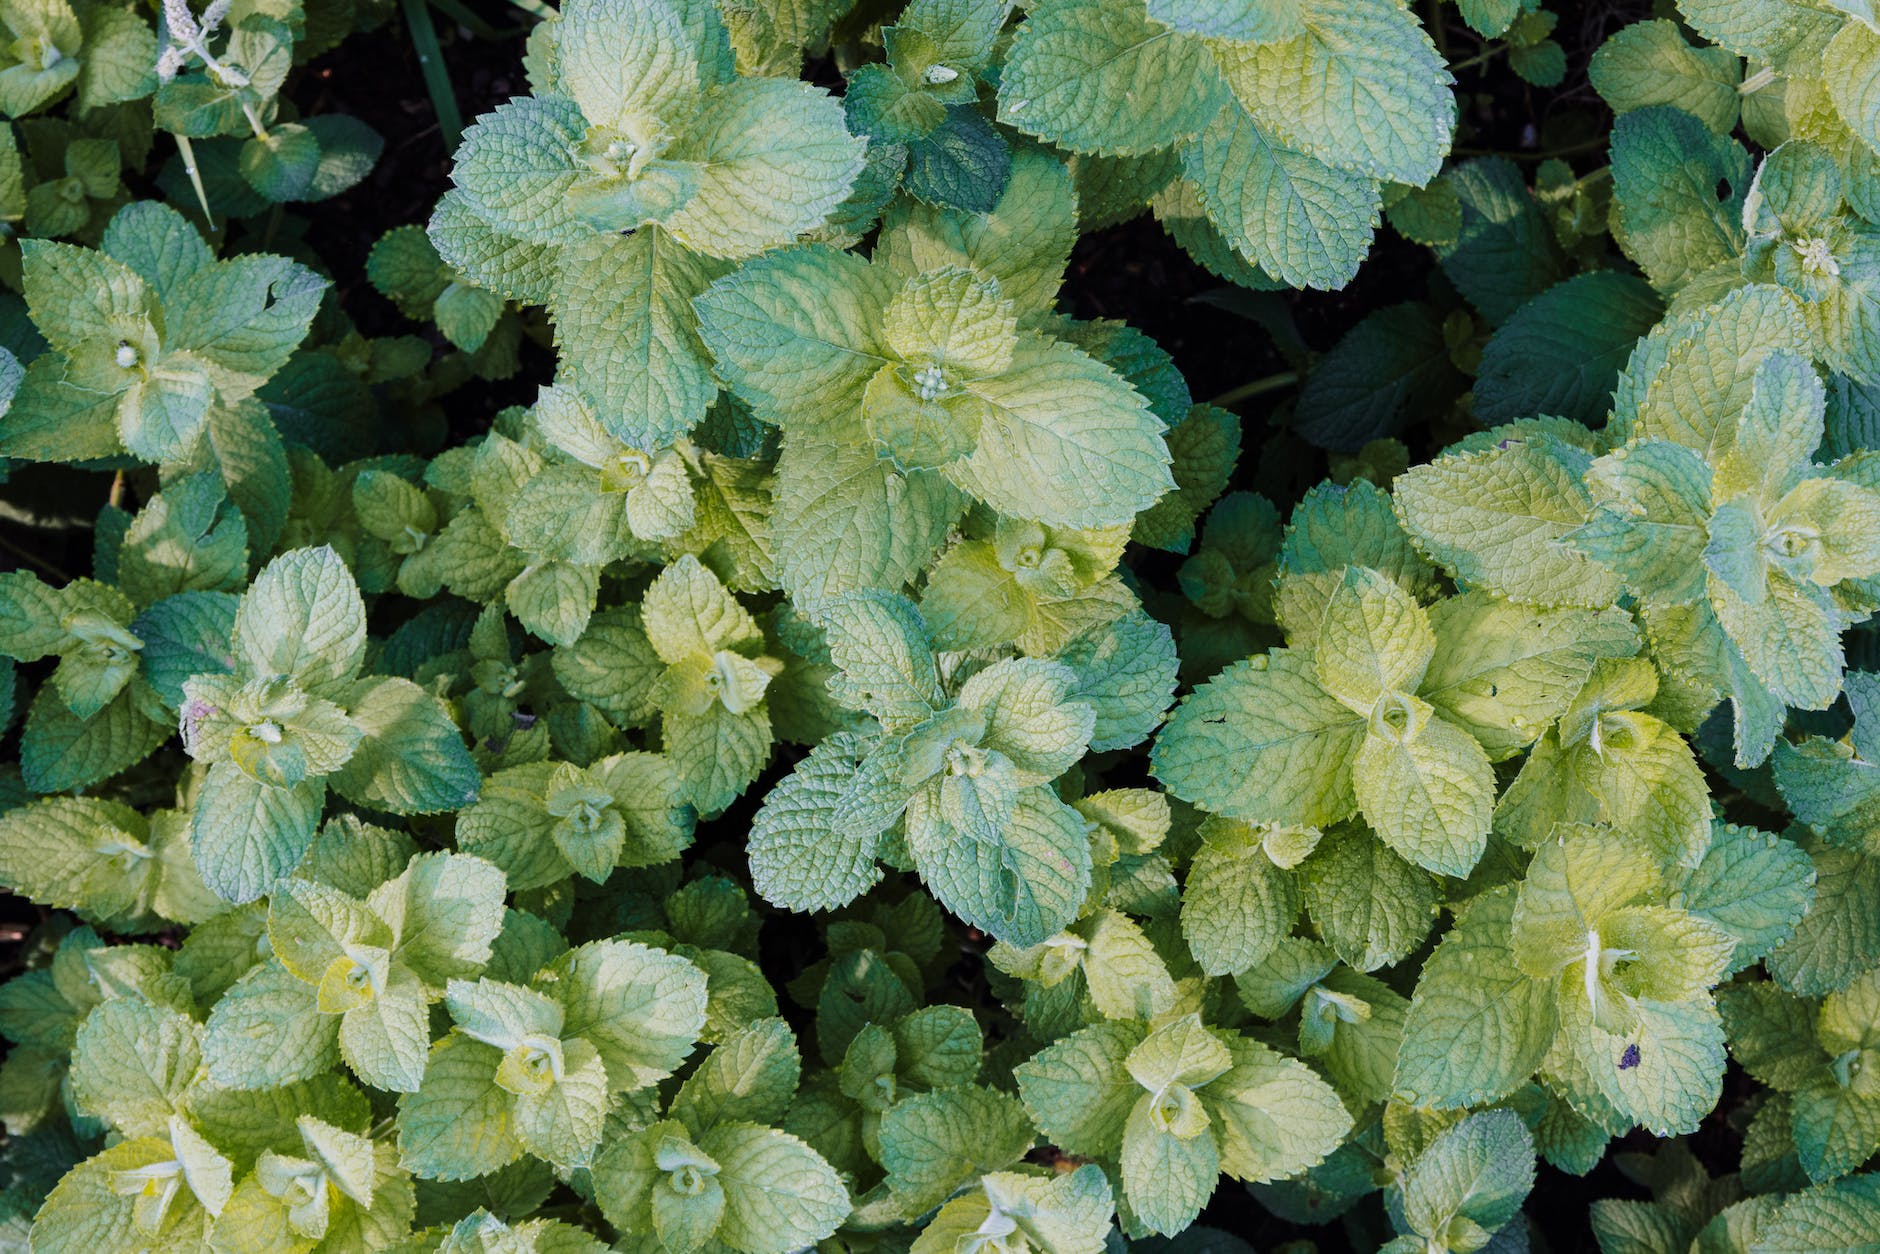
Mint: Whether you’re sipping on a hot cup of tea or whipping up a mojito, mint has your back. Just be warned: it’s a bit of a garden party animal.
Rosemary: A fragrant herb that pairs perfectly with roasted potatoes and chicken. Plus, it adds a touch of Mediterranean elegance to your indoor garden.
Thyme: Versatile and aromatic, thyme is your culinary secret weapon. It’s like having a Michelin-starred chef at your fingertips.
Chives: These mild, oniony delights are perfect for garnishing your dishes with a burst of fresh flavor.
I love to order my herbs from Baker Creek Seeds. They have a wide variety to choose from and always grow well.
The Indoor Garden Dance Party
Indoor herb gardening isn’t just about growing herbs; it’s about throwing a non-stop dance party for your senses. Here’s how to make your herb garden groove:
The Right Location: Herbs love sunshine, so find a sunny spot near a window. It’s like creating a VIP area for your herbs to soak up some rays. I have a window above my kitchen sink that works perfectly.
The Hippest Pots: Choose containers that suit your style. Whether it’s elegant clay pots or quirky recycled containers, let your herb garden reflect your personality. I like simple ones like these, but the options are limitless!
Soil and Watering: Use well-draining potting soil and water your herbs when the top inch of soil feels dry. Don’t drown the party; herbs like to keep their feet (or roots) dry! I usually layer the bottom of the pot with some natural mulch and then add a good soil like this one.
Pruning and Harvesting: Don’t be shy about trimming your herbs; they’ll thank you with fresh growth. Plus, you get to enjoy the spoils of your harvest in your dishes. If you have extra you can always dry or dehydrate it for later use.
Companionship: Some herbs are social butterflies and love sharing a pot with others. Others prefer their own space. Respect their preferences, and your garden will thrive.
Herb-tastic Recipes for Cold Days
Now that you’ve got your indoor herb garden flourishing, it’s time to put those fresh flavors to work. Here are some herb-tastic recipes to warm your soul during the cold months:
Basil Pesto Pasta: Blend fresh basil, pine nuts, garlic, Parmesan cheese, and olive oil for a fragrant pesto sauce. Toss it with your favorite pasta for a taste of summer in the middle of winter.
Minty Hot Chocolate: Add a sprig of fresh mint to your hot chocolate for a refreshing twist. Top it with whipped cream and a sprinkle of cocoa for pure indulgence.
Rosemary Roasted Vegetables: Toss your winter vegetables in olive oil, minced rosemary, and a pinch of salt before roasting. The aroma alone will transport you to a cozy cabin in the woods.
Thyme-Infused Lemonade: Brew a pot of thyme-infused tea and mix it with freshly squeezed lemon juice and a touch of honey. A soothing winter beverage with a hint of summer.
Chive and Cheese Scones: Add chopped chives and grated cheese to your scone dough for savory delights that pair perfectly with a warm bowl of soup.
Indoor herb gardening during the cold months isn’t just about surviving; it’s about thriving. With a little greenery and a lot of love, you can bring the garden party indoors, tantalizing your senses and warming your heart. So, roll up your sleeves, grab your gardening gloves, and let the indoor herb festivities begin!
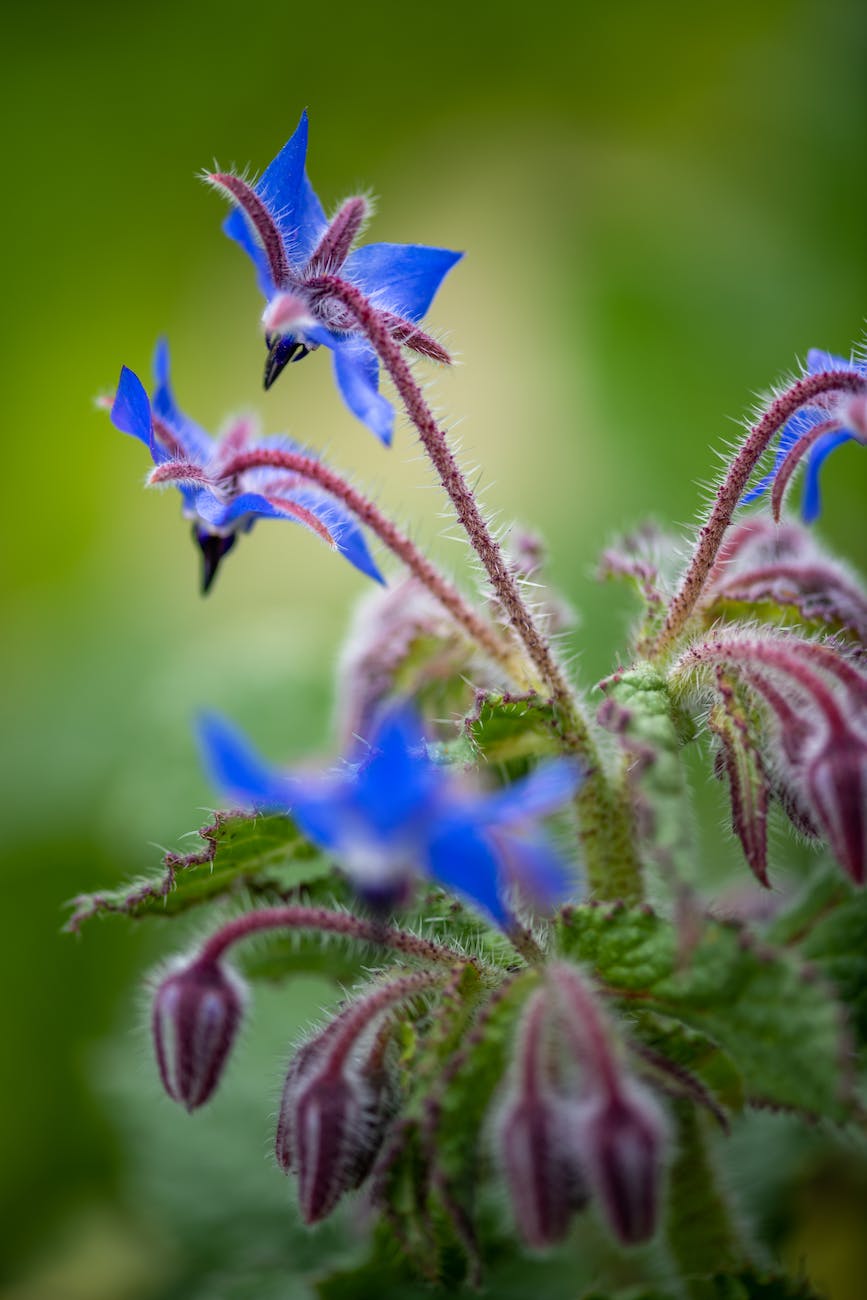
In the realm of herbs, there’s one often overlooked gem that deserves the spotlight: borage. With its striking blue flowers, cucumber-like flavor, and an array of health benefits, borage is a remarkable addition to both your garden and your culinary repertoire. Join us as we dive into the world of borage, uncovering its unique attributes and the hidden treasures it brings to your table and wellness routine.
Borage (Borago officinalis) is an herbaceous plant that boasts vibrant blue star-shaped flowers. These blossoms are not only visually stunning but are also edible, making them a delightful addition to salads, desserts, and beverages.
Borage leaves and flowers are renowned for their mild, cucumber-like flavor. The delicate taste makes borage a versatile ingredient in the kitchen. From adding blooms to cocktails for a splash of color to tossing young leaves into salads, this herb invites creativity in the culinary realm.
Nourishment for Health:
Beyond its culinary charm, borage offers a host of health benefits:
Rich in Nutrients: Borage leaves are a source of important nutrients such as vitamins A and C, calcium, potassium, and more.
Anti-Inflammatory Power: Borage contains gamma-linolenic acid (GLA), an omega-6 fatty acid known for its anti-inflammatory properties.
Skin Health: Borage oil, extracted from the plant’s seeds, is used in skincare products for its potential to nourish and hydrate the skin.
Supports Heart Health: The GLA content in borage oil may contribute to cardiovascular health by helping to regulate inflammation and cholesterol levels.
Elevating Your Garden:
Borage isn’t just a feast for the palate; it’s also a boon to your garden ecosystem:
Pollinator Attraction: Borage flowers are a magnet for pollinators, particularly bees. Planting borage can support local pollinator populations and enhance overall garden health.
Natural Pest Control: Borage has a reputation for deterring certain pests, making it a beneficial companion plant in vegetable gardens.
Growing Borage:
Borage is relatively easy to grow, making it a great choice for both novice and experienced gardeners:
Sunlight: Borage thrives in full sun but can tolerate partial shade.
Soil: Well-draining soil is essential for borage. It prefers moderately fertile soil with a slightly acidic to neutral pH.
Planting: Directly sow borage seeds in the spring or fall. Space plants about 18 to 24 inches apart.
Watering: Borage appreciates regular watering but is relatively drought-tolerant once established.
Harvesting and Using Borage:
Harvest borage leaves and flowers when they’re young and vibrant. The flowers are particularly delicate, so handle them gently. Use them as garnishes, in salads, or to infuse beverages with their subtle flavor.
Precautions:
While borage offers numerous benefits, its GLA content can interact with certain medications and may not be suitable for everyone. Consult a healthcare professional before incorporating borage supplements or oil into your routine.
Borage, with its enchanting blooms and multifaceted contributions to health and cuisine, is a treasure trove waiting to be explored. From brightening your garden with pollinator activity to enriching your dishes with a hint of freshness, borage offers a myriad of ways to infuse your life with its unique charm. So, whether you’re sipping on a borage-infused drink or admiring its azure blooms in your garden, let this unheralded beauty inspire you to explore its many wonders.
Mint, with its invigorating aroma and refreshing flavor, is a versatile herb that has been celebrated for its multitude of benefits for centuries. From soothing stomach troubles to spicing up culinary creations, mint’s role in promoting both health and taste is truly remarkable. In this blog post, we’ll delve into the enchanting world of mint and uncover the diverse benefits it brings to our lives.
1. Aids Digestion and Relieves Indigestion:
Mint has been traditionally used to alleviate digestive discomfort. Its natural compounds, including menthol, can relax muscles in the gastrointestinal tract, making it an excellent choice for soothing indigestion, bloating, and gas. Sipping on a cup of mint tea after a meal can provide much-needed relief.
2. Sensational Stress Relief:
Inhaling the soothing aroma of mint can have a calming effect on the mind and body. The scent of mint essential oil has been linked to reducing stress and anxiety, making it a popular choice for aromatherapy and relaxation rituals.
3. Respiratory Refreshment:
Mint’s menthol content can help open up airways and ease breathing. This is why mint is often found in cough drops, throat lozenges, and inhalers. Adding a few drops of mint oil to hot water for steam inhalation can provide quick relief from congestion.
4. Cooling and Refreshing:
Mint’s natural cooling properties make it a popular ingredient in summer beverages and dishes. Mint-infused water, lemonades, and iced teas can help beat the heat and refresh your senses.
5. Skin Soothing Superstar:
Mint’s anti-inflammatory and antimicrobial properties make it beneficial for skin health. It can help soothe skin irritations, reduce redness, and even provide relief from itching caused by insect bites.
6. Enhances Focus and Cognitive Function:
The invigorating scent of mint has been shown to stimulate cognitive function and improve focus. Diffusing mint oil or using mint-infused products in your workspace can boost alertness and mental clarity.
7. Oral Health Ally:
Mint’s antibacterial properties can help combat bacteria in the mouth, making it a natural breath freshener. Chewing on mint leaves or using mint-infused mouthwash can contribute to improved oral hygiene.
8. Nausea Relief:
Mint has a long history of use for alleviating nausea. Whether due to motion sickness, morning sickness during pregnancy, or other causes, the aroma of mint and its ability to calm the stomach can provide relief.
9. Culinary Magic:
Beyond its health benefits, mint’s culinary uses are endless. It adds a burst of flavor to both sweet and savory dishes. From salads and sauces to desserts and beverages, mint’s vibrant taste can elevate a wide range of recipes.
10. Antioxidant Power:
Mint is rich in antioxidants, including vitamin A and various phytonutrients. These antioxidants help combat oxidative stress and may contribute to overall well-being.
As we’ve explored, mint is much more than just a fragrant herb. Its array of benefits, from digestive support to mental clarity, make it a valuable addition to both our wellness routines and culinary endeavors. Whether you’re savoring a cup of mint tea, indulging in a mint-infused dessert, or using mint oil for relaxation, this versatile herb has something delightful and beneficial for everyone. So, go ahead and embrace the marvelous world of mint to enhance your health and your palate.
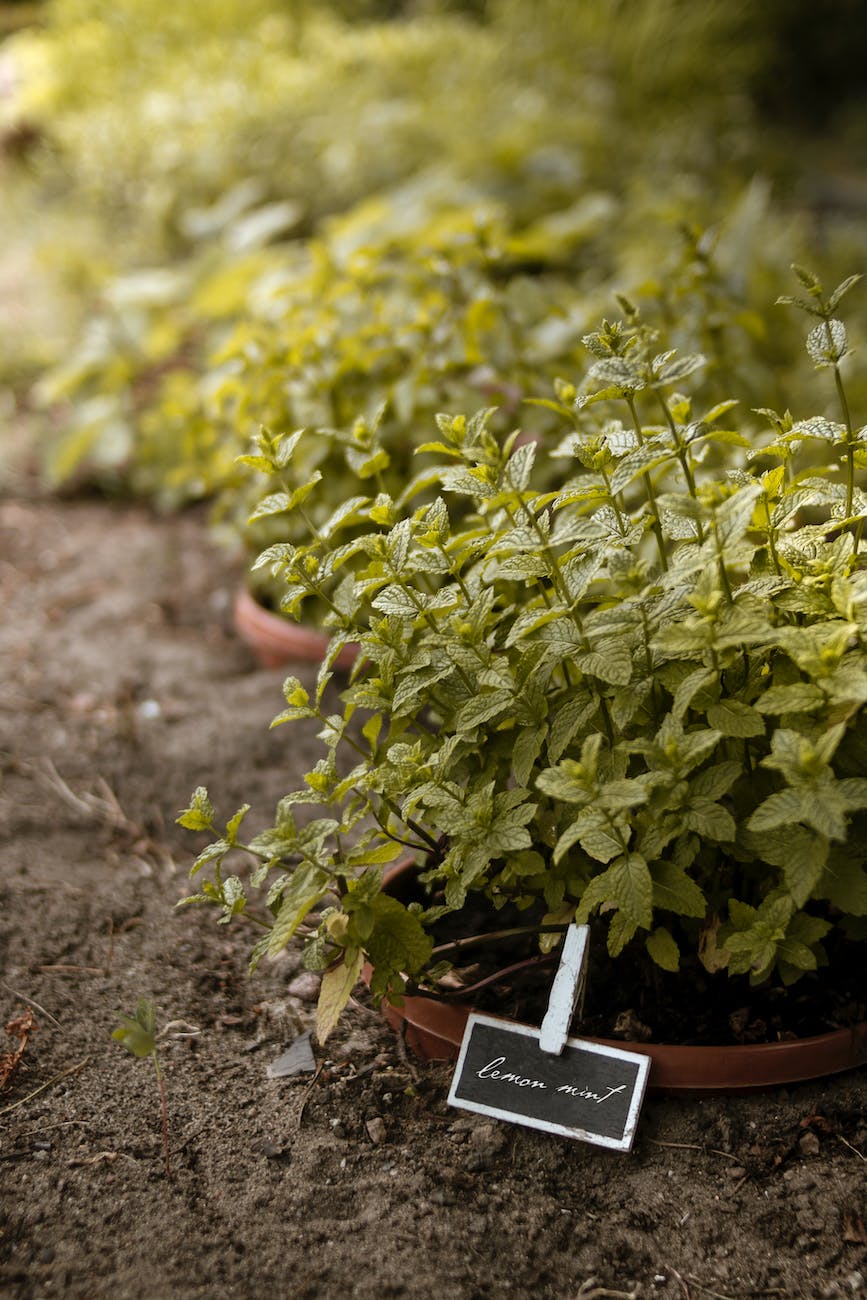
Growing Mint
Growing mint can be a rewarding and relatively easy endeavor. Mint is a hardy herb that thrives in various growing conditions, making it suitable for both garden beds and containers. Here’s a step-by-step guide on how to grow mint:
1. Choose a Growing Location: Mint prefers partial to full sunlight. It can tolerate some shade, but it will grow more vigorously with more sun. Select a location with well-draining soil to prevent waterlogging, as mint does not thrive in overly wet conditions.
2. Decide on Container vs. Garden Bed: Mint has a tendency to spread rapidly, so many gardeners prefer to grow it in containers to contain its growth. If planting in a garden bed, consider using barriers like plastic edging or planting mint in a container buried in the ground to prevent it from spreading too much.
3. Prepare the Soil: If planting in a garden bed, prepare the soil by loosening it and incorporating compost for improved drainage and fertility. If growing in a container, use a well-draining potting mix.
4. Choose Mint Varieties: There are several mint varieties available, each with its own unique flavor profile. Common varieties include spearmint, peppermint, chocolate mint, and pineapple mint. Choose the variety that suits your taste preferences and intended uses.
5. Planting Mint: If planting from seeds, sow them in shallow rows and lightly cover with soil. If using established mint plants, you can either propagate from cuttings or purchase young plants from a nursery. Plant mint cuttings or young plants at the same depth they were growing in their original container.
6. Spacing: If planting in a garden bed, space mint plants about 18 to 24 inches apart to allow for their spreading growth habit. In containers, one plant per 12-inch diameter pot is generally sufficient.
7. Watering: Keep the soil consistently moist, but not soggy. Mint prefers slightly damp soil. Water at the base of the plant to avoid wetting the leaves, which can make the plant susceptible to diseases.
8. Fertilization: Mint is a relatively low-maintenance herb and doesn’t require heavy fertilization. You can apply a balanced, slow-release fertilizer in the spring to provide nutrients for the growing season.
9. Pruning: Regular pruning is essential to keep mint from becoming too invasive. Pinch back the tips of the stems to encourage bushier growth and prevent the plant from becoming leggy.
10. Harvesting Mint: You can start harvesting mint leaves once the plant is established and has enough foliage. Harvest by snipping the leaves just above a set of leaves to encourage new growth. Regular harvesting will also help control the plant’s growth.
To dry mint, spread them out in a single layer in a cool, dry place away from direct sunlight. Once they’re completely dry, store them in an airtight container in a cool, dark location. Dried mint can be used for teas, infused oils, and more. I use these mesh drying racks in a cool, dark room (we have a basement pantry that works great for this). Allow them to dry completely.
The other, much quicker way to dry herbs is with a dehydrator. It’s best to dry herbs on a very low temperature setting to retain its beneficial and medicinal compounds. We set our dehydrator to 110°F or below (or use the lowest setting available) for 12-24 hours.
11. Preventing Overgrowth: Mint has a tendency to spread rapidly through underground runners (rhizomes). To prevent overgrowth, regularly trim the edges of the plant and remove any runners that extend beyond the desired planting area.
12. Winter Care: In colder climates, mint may die back in the winter. Mulching around the base of the plant can help protect the roots from freezing temperatures.
By following these steps, you can enjoy a bountiful harvest of fresh and flavorful mint leaves for culinary uses, teas, and more. Just be mindful of its spreading tendencies and take steps to keep it in check if needed.
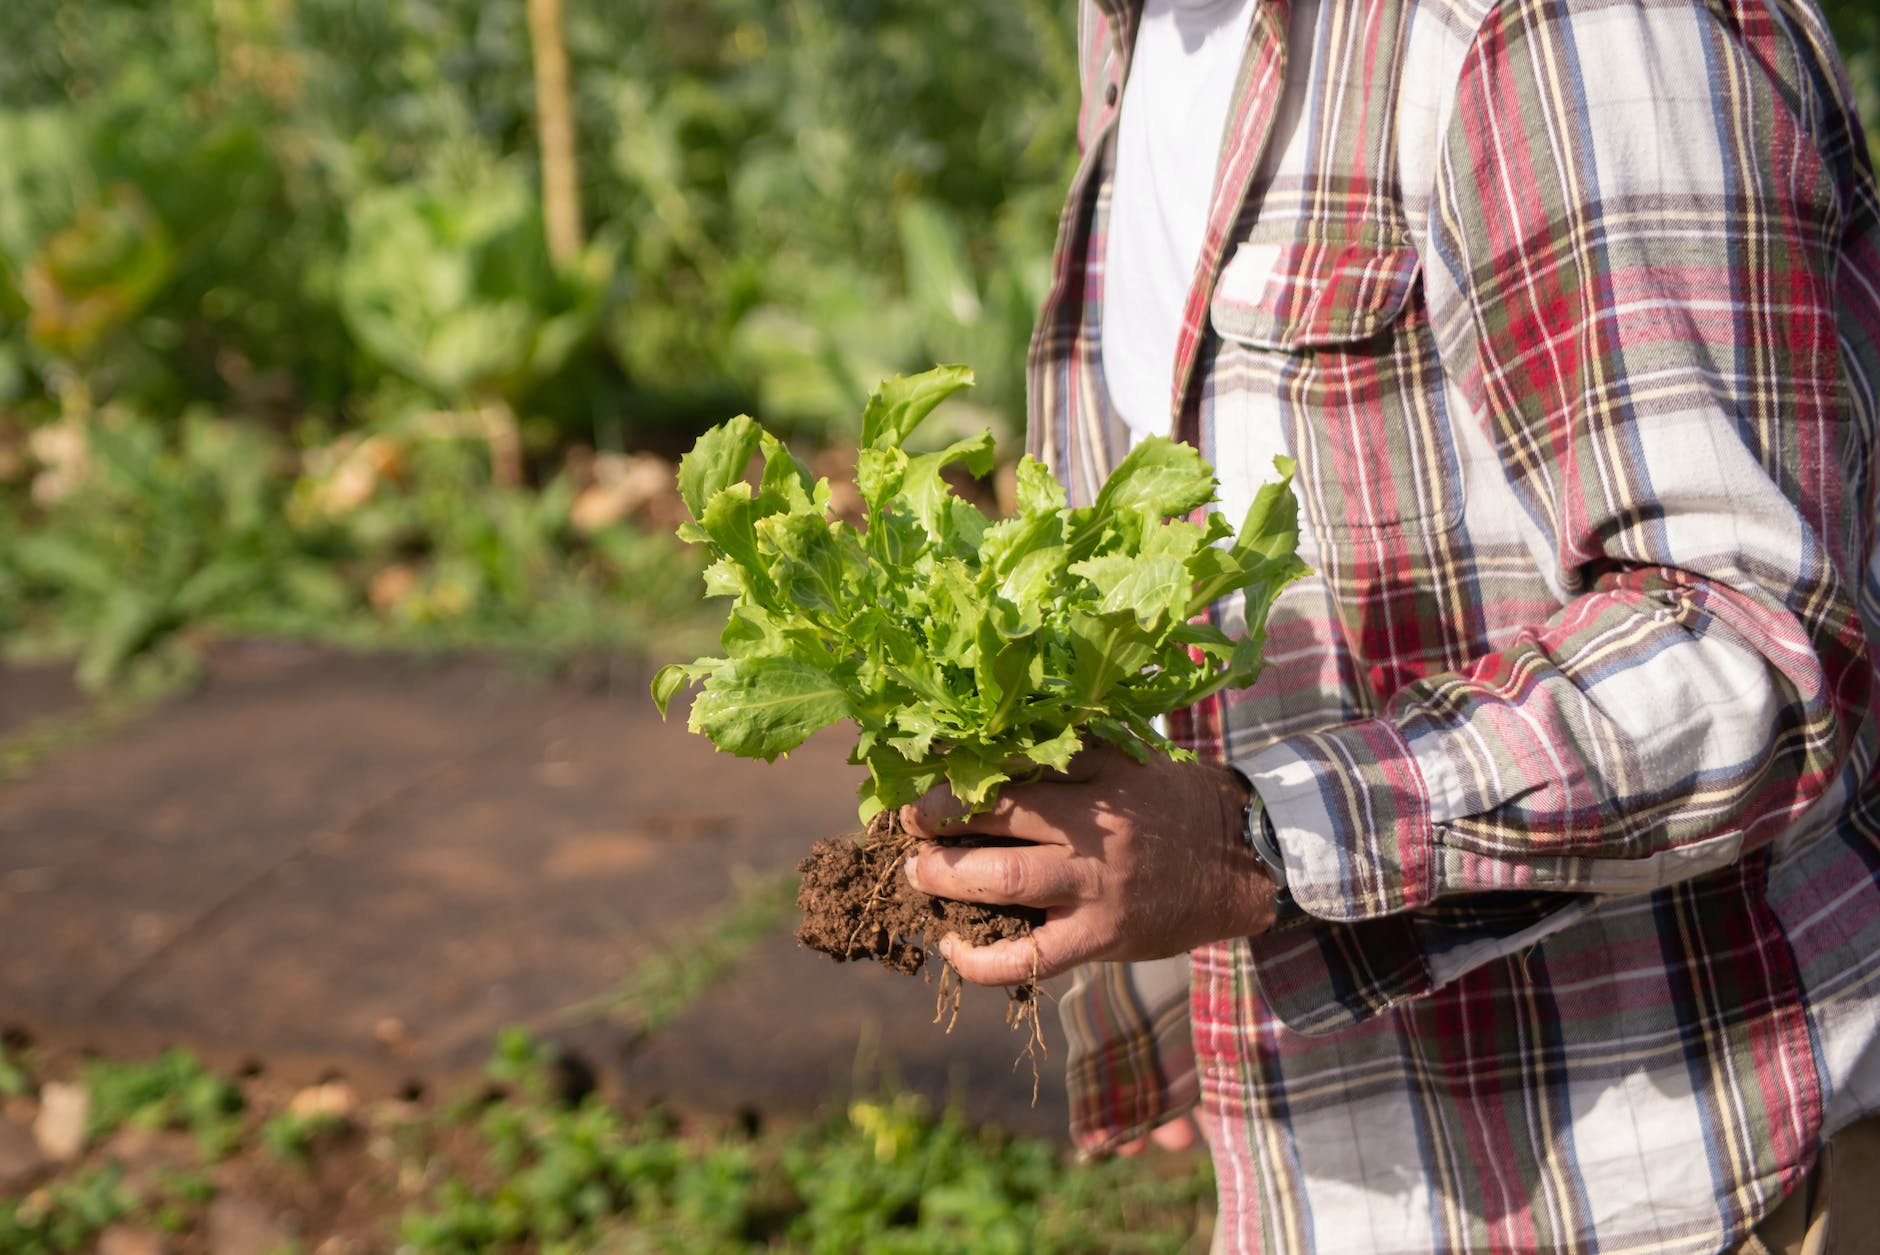
As summer gradually gives way to the cooler temperatures of autumn, there’s still plenty you can do in your Zone 5 garden to keep it vibrant and productive. While the growing season might be winding down, September offers a golden opportunity to sow new seeds and plant some cool-season crops that thrive in the crisp fall air. In this blog post, we’ll explore a variety of options for what you can plant in your Zone 5 garden to make the most of this transitional month.
1. Cool-Season Vegetables: As the weather cools down, many cool-season vegetables thrive in Zone 5 gardens:
Lettuce: Plant various lettuce varieties for crisp salads well into fall.
Spinach: Sow spinach seeds for a nutrient-packed addition to your garden beds.
Kale: This hardy green shines in cooler temperatures and even improves in flavor after a light frost.
Radishes: Quick-growing radishes can be harvested in just a few weeks.
Carrots: Select varieties with shorter maturity times to enjoy fresh carrots later in the season.
Beets: Both the roots and greens of beets can be enjoyed, making them a versatile choice.
2. Garlic Planting: September is garlic planting time, allowing the cloves to establish roots before winter for a bountiful harvest next summer.
3. Herbs for Spring: Planting perennial herbs now ensures they’ll establish their root systems over the winter and thrive next spring:
Chives
Thyme
Oregano
Sage
Lavender
Mint (Consider planting in a container to control its growth.)
4. Flower Bulbs for Spring Color: Plan for a colorful spring display by planting flower bulbs in September:
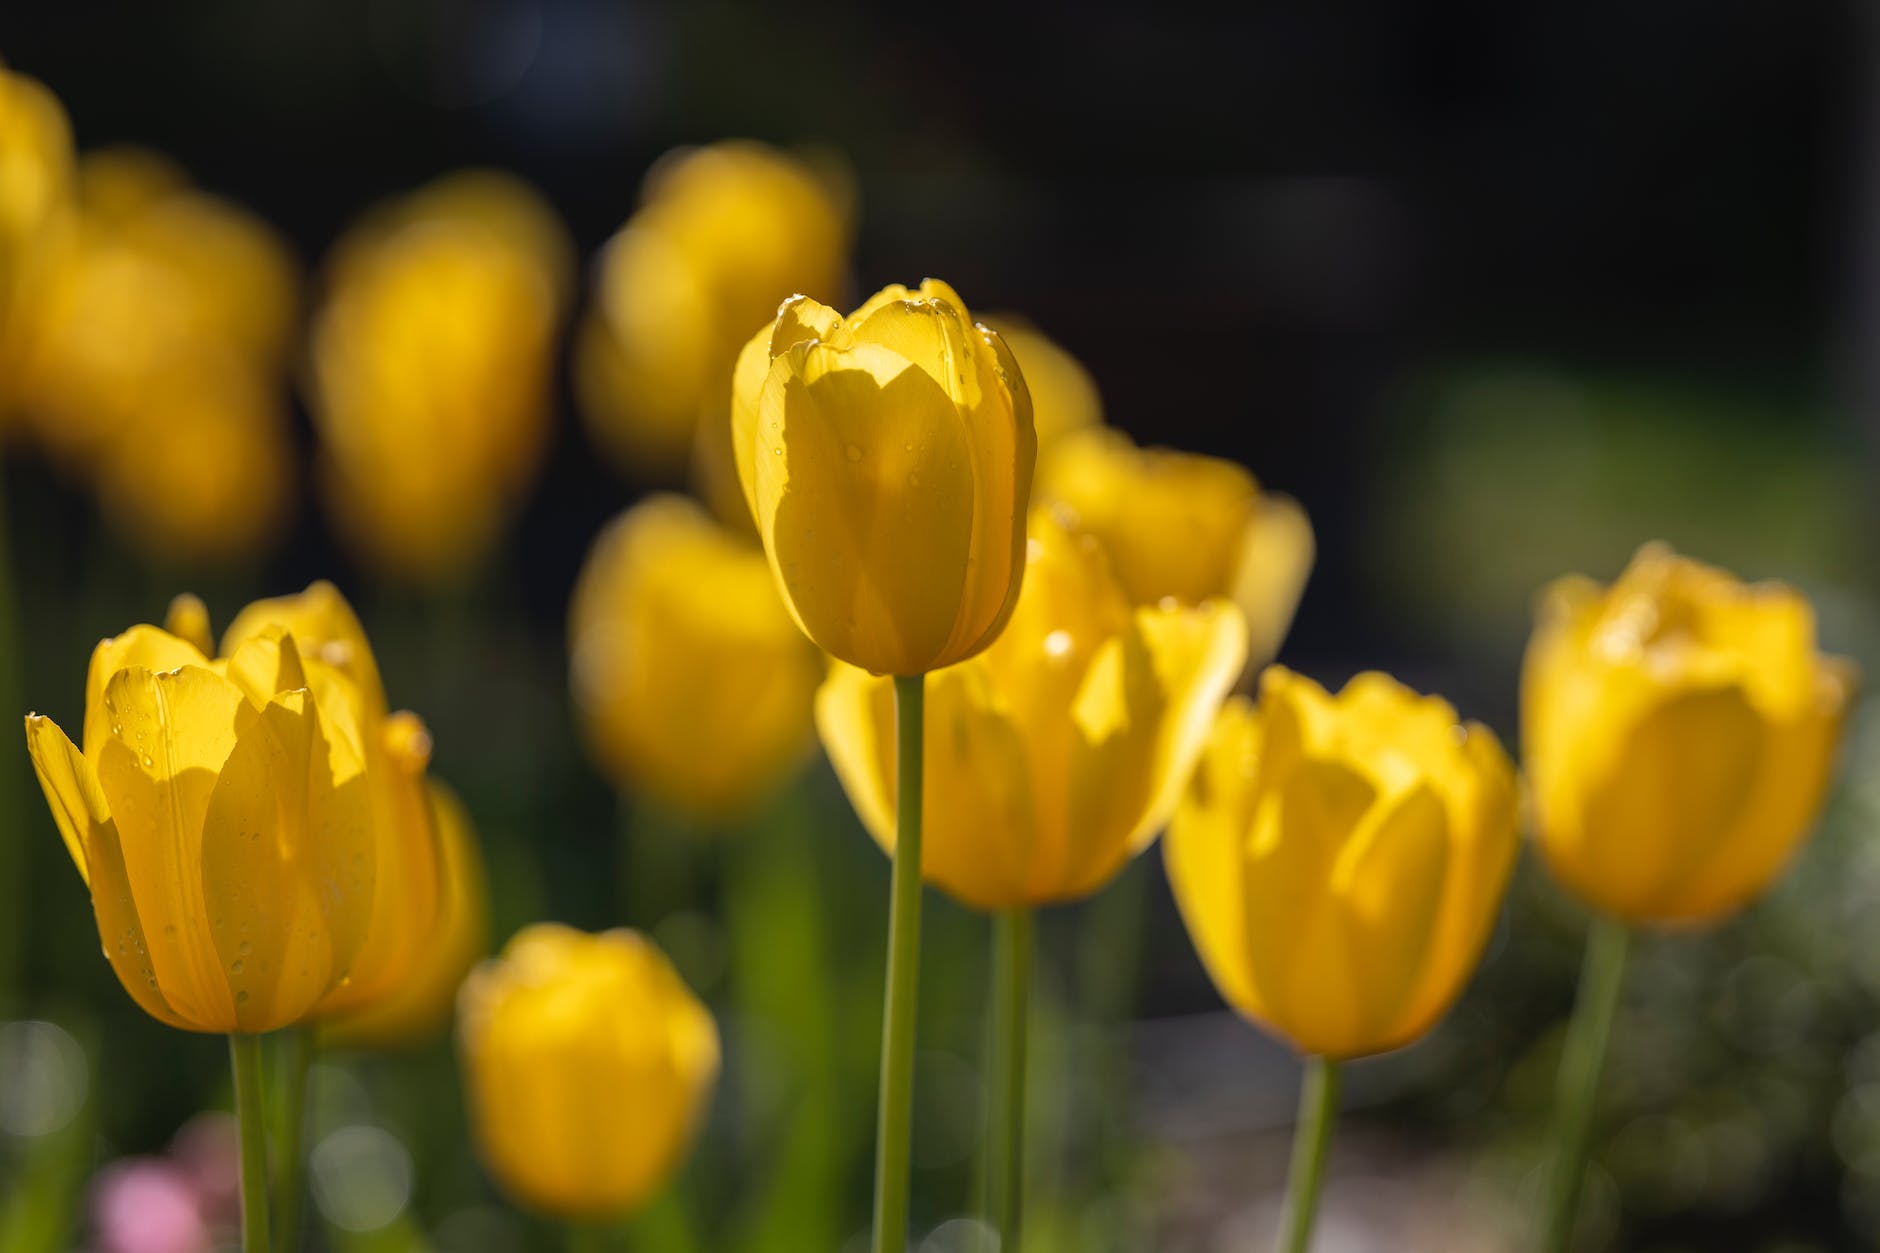
Tulips: These classic blooms add elegance to any garden.
Daffodils: Reliable and deer-resistant, daffodils are a spring garden favorite.
Crocuses: Plant these early bloomers for a burst of color in late winter or early spring.
5. Cover Crops for Soil Health: Consider planting cover crops like winter rye or clover to enrich your soil and prevent erosion during the winter months.
6. Fall-Blooming Plants: Add bursts of color to your garden with fall-blooming plants:
Mums: These vibrant flowers bring autumnal hues to your landscape.
Pansies: With their cheerful faces, pansies thrive in cooler weather.
7. Transplants for Fall Harvest: You can also transplant cold-hardy seedlings from nurseries to enjoy a late fall harvest:
Broccoli
Cabbage
Cauliflower
Kohlrabi
Remember to stay aware of your local frost dates, as they can vary within Zone 5. Consider using season extenders like row covers or cold frames to protect your plants from early frost. Additionally, ensure your new plantings receive consistent moisture to help them establish before winter sets in.
September in Zone 5 doesn’t signal the end of your gardening journey; rather, it’s a chance to embrace the beauty of fall and continue reaping the rewards of your efforts. Whether you’re enjoying the last harvests of summer or sowing the seeds for a colorful spring, your Zone 5 garden has plenty to offer throughout September. Take advantage of the cooler temperatures and prepare your garden for a vibrant transition into the next season.
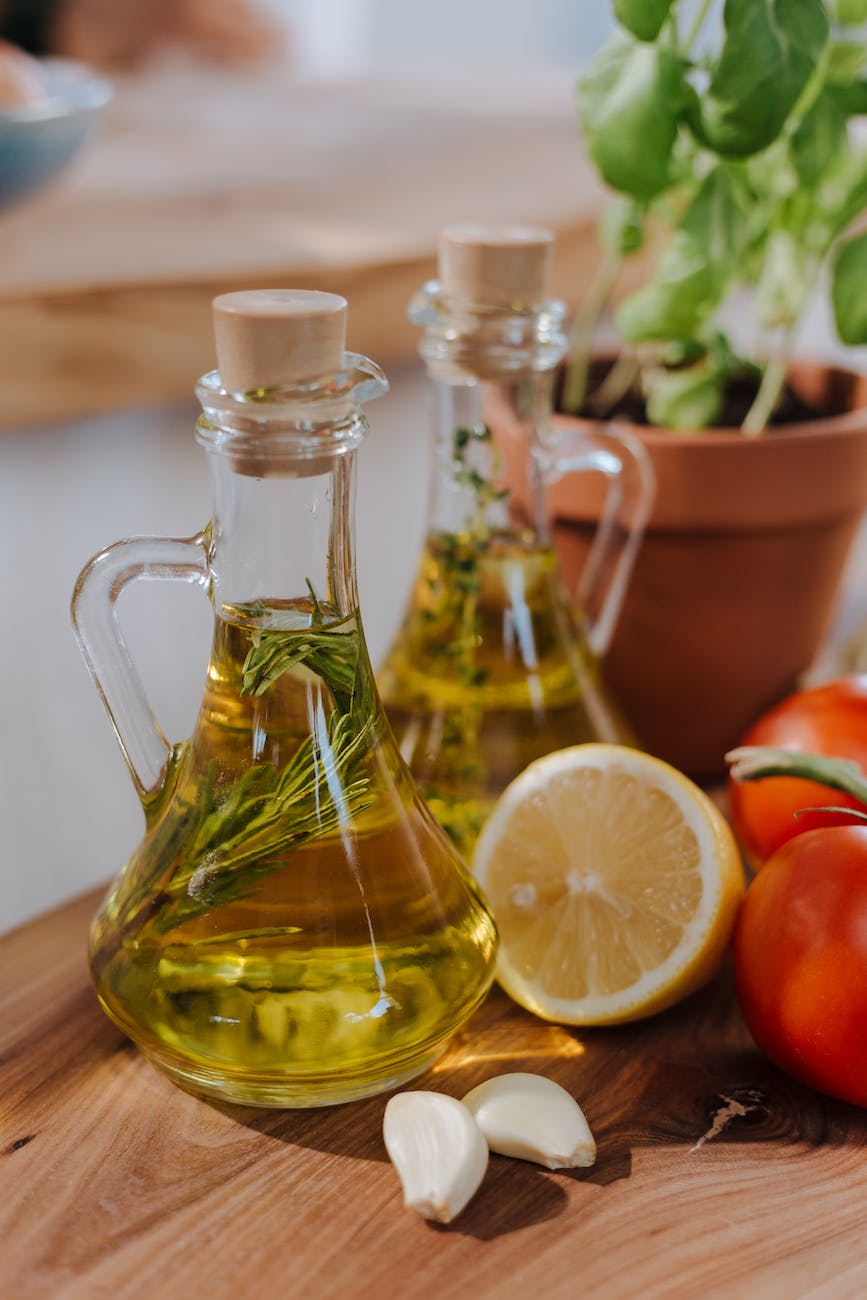
Imagine capturing the essence of fresh herbs in a bottle – that’s the magic of herb-infused oils. Whether you’re an avid cook or a culinary enthusiast, herb-infused oils are a fantastic way to infuse your dishes with vibrant flavors and aromatic delights. In this blog post, we’ll explore the art of making herb-infused oils at home, from selecting the perfect herbs to enjoying the incredible depth of flavor they bring to your kitchen creations.
1. The Essence of Herb-Infused Oils:
Herb-infused oils are created by steeping aromatic herbs in high-quality oil. The oil absorbs the flavors and fragrances of the herbs, resulting in a versatile and flavorful ingredient for your culinary adventures.
2. Choosing the Right Herbs:
The key to successful herb-infused oils lies in choosing the right herbs:
Freshness: Opt for fresh, high-quality herbs from your garden or a trusted source.
Compatibility: Experiment with a variety of herbs, keeping in mind complementary and contrasting flavors.
Favorites: Popular herbs for infusion include basil, rosemary, thyme, oregano, and sage.
3. Selecting the Base Oil:
Choosing the right oil is essential for a successful infusion. Common choices include:
Olive Oil: A classic choice, olive oil provides a rich, earthy base.
Sunflower Oil: With its neutral flavor, sunflower oil allows the herb’s characteristics to shine.
Grapeseed Oil: This light oil is ideal for delicate herbs that may be overpowered by stronger oils.
4. The Infusion Process:
Creating herb-infused oils is a simple process that requires patience:
Washing and Drying: Wash the herbs and gently pat them dry to remove excess moisture.
Bruising the Herbs: Lightly bruise the herbs using a mortar and pestle to release their natural oils and flavors.
Steeping: Place the herbs in a clean, dry glass jar and cover them with the oil of your choice. Seal the jar tightly and allow it to sit in a cool, dark place for about 1 to 2 weeks.
5. Straining and Storing:
After the steeping period, strain the oil to remove the herbs:
Fine Strainer: Use a fine mesh strainer, cheesecloth, or coffee filter to strain out any herb particles.
Storing: Transfer the strained oil into a sterilized glass bottle or jar and store it in a cool, dark place to preserve its flavor and quality.
6. Culinary Uses:
Your homemade herb-infused oils are now ready to elevate your culinary creations:
Salad Dressings: Drizzle over salads to infuse them with fresh herb flavors.
Marinades: Use as a base for marinades to add depth and complexity to meats and vegetables.
Dipping Oils: Combine with balsamic vinegar for a flavorful dipping oil for bread.
Sauteing and Roasting: Enhance the flavors of your sautéed and roasted dishes.
7. Storage and Shelf Life:
To prolong the shelf life of your herb-infused oil:
Refrigeration: Store in the refrigerator to prevent spoilage and maintain freshness.
Labeling: Always label your infused oils with the herb and date of creation.
Creating herb-infused oils is a culinary adventure that allows you to bottle the essence of nature’s bounty. With a bit of patience and experimentation, you can craft oils that turn everyday dishes into extraordinary culinary experiences. From the garden to your kitchen, let the aromatic charms of herb-infused oils inspire your cooking creativity and elevate your culinary journey.
There’s something truly satisfying about growing your own herbs and transforming them into culinary delights, soothing teas, or natural remedies. As you tend to your herb garden with care, the time will come when your herbs are ready to be harvested. In this blog post, we’ll delve into the art of harvesting herbs, exploring the best practices, tips, and techniques to ensure you enjoy the full flavor and potency of your homegrown treasures.
1. Timing is Everything:
Knowing when to harvest your herbs is crucial. The best time for harvesting varies based on the type of herb and the specific plant part you’re interested in:
Leaves: Most herbs are at their flavor peak just before they flower. Harvest leaves in the morning when the essential oils are the most concentrated.
Flowers: Harvest flowers when they’re fully open but haven’t yet begun to fade.
Seeds: Allow seeds to fully mature on the plant before harvesting. Seeds should be dry and easily separated from the plant.
2. The Right Tools:
Using the right tools ensures a clean and efficient harvest:
Pruning Shears: Sharp, clean pruning shears are essential for clean cuts that promote healthy regrowth.
Scissors: For delicate herbs and smaller stems, scissors are handy for precise cuts.
Baskets or Buckets: Use these to collect your harvested herbs, preventing bruising or wilting.
3. Harvesting Techniques:
Different herbs have different growth patterns, so adapt your harvesting techniques accordingly:
Bushy Herbs (e.g., basil, mint): Pinch off the tips of the branches to encourage bushier growth.
Leafy Herbs (e.g., parsley, cilantro): Harvest outer leaves first, leaving the inner ones to continue growing.
Stem Herbs (e.g., rosemary, thyme): Cut stems just above a set of leaves to promote new growth.
4. Gentle Handling:
Handle harvested herbs with care to prevent bruising or damage. Avoid crushing leaves until you’re ready to use them to preserve their essential oils.
5. Cleaning and Drying:
Once harvested, gently clean your herbs by rinsing them under cool water and patting them dry with a clean towel or paper towels. To preserve the flavor and potency, consider these drying methods:
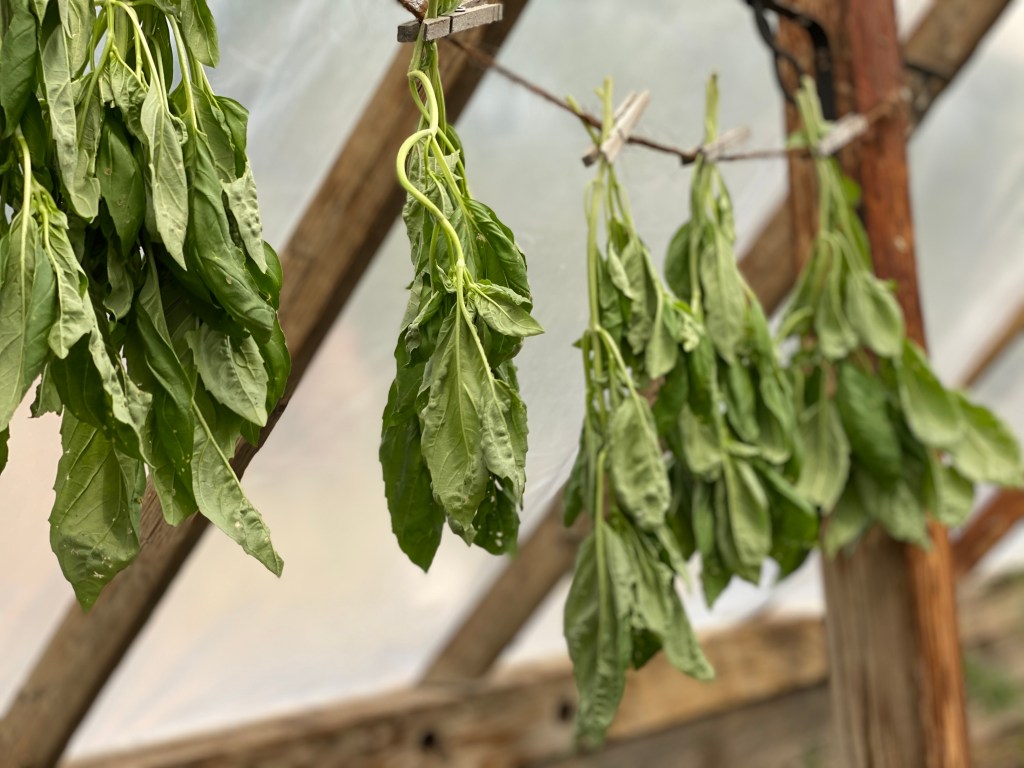
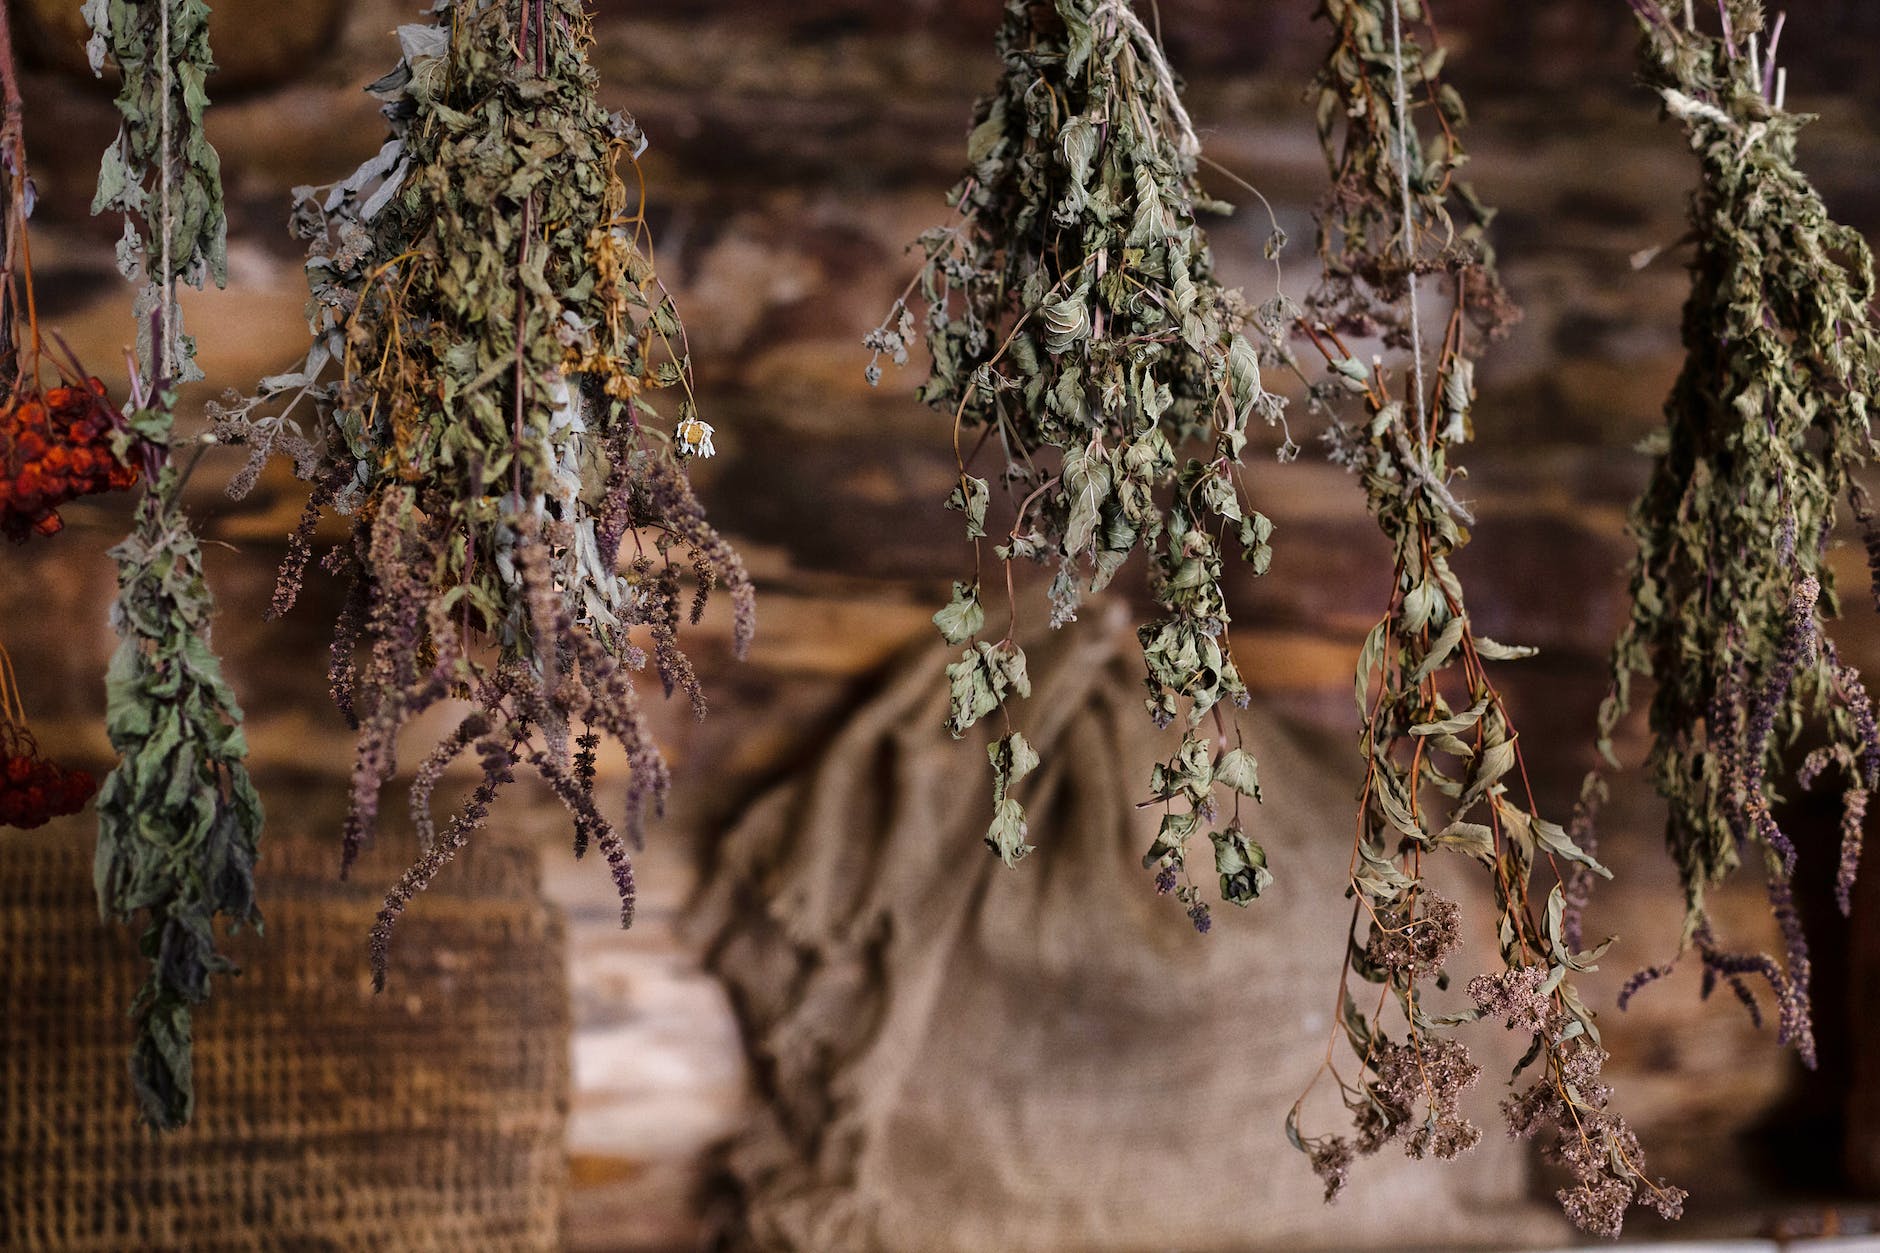
Air Drying: Tie small bundles of herbs together and hang them upside down in a cool, dry place out of direct sunlight.
Dehydrator: Use a food dehydrator to quickly dry herbs at a low temperature.
Oven Drying: Place herbs on a baking sheet in an oven set to the lowest possible temperature. Keep the oven door slightly ajar for airflow.
To dry herbs spread them out in a single layer in a cool, dry place away from direct sunlight. Once they’re completely dry, store them in an airtight container in a cool, dark location. Dried herbs can be used for teas, infused oils, and more. I use these mesh drying racks in a cool, dark room (we have a basement pantry that works great for this). Allow them to dry completely.
The other, much quicker way to dry herbs is with a dehydrator. It’s best to dry herbs on a very low temperature setting to retain its beneficial and medicinal compounds. We set our dehydrator to 110°F or below (or use the lowest setting available) for 12-24 hours.
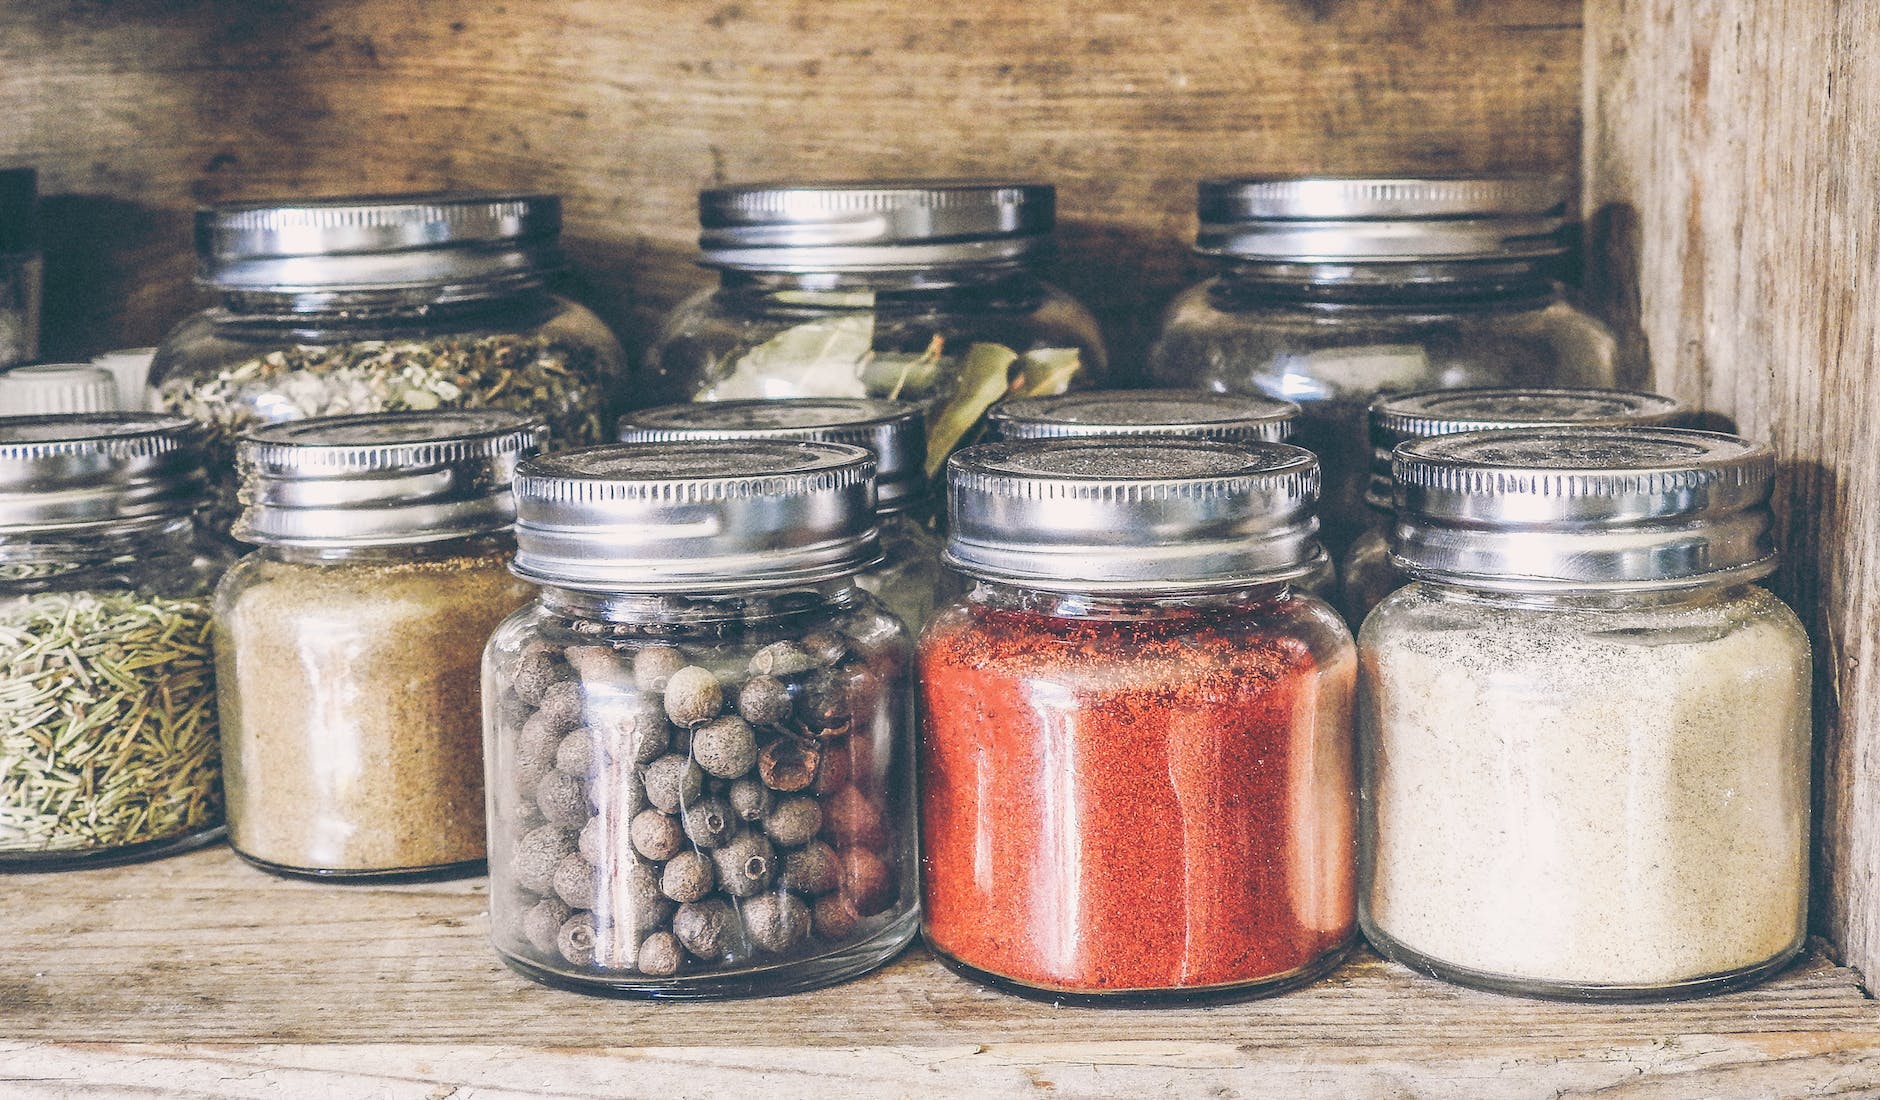
Store dried herbs in airtight containers away from light, heat, and moisture. Label containers with the herb’s name and date of harvest to maintain freshness and potency.
7. Enjoying the Fruits of Your Labor:
Your harvested herbs can be used in a variety of ways:
Culinary Creations: Add fresh or dried herbs to your favorite recipes for a burst of flavor.
Aromatic Delights: Create herb-infused oils, vinegars, or butters to elevate your dishes.
Soothing Teas: Brew dried herbs into comforting and aromatic herbal teas.
Natural Remedies: Craft your own herbal remedies and tinctures using homegrown herbs.
Harvesting herbs is a rewarding culmination of your gardening efforts. From understanding the right timing to employing proper techniques, the process enhances your connection with nature and your ability to enjoy the freshest flavors and benefits your garden has to offer. By following these guidelines, you’re well on your way to becoming a skilled herb harvester, ready to embrace the bounty of your herb garden with confidence and joy.
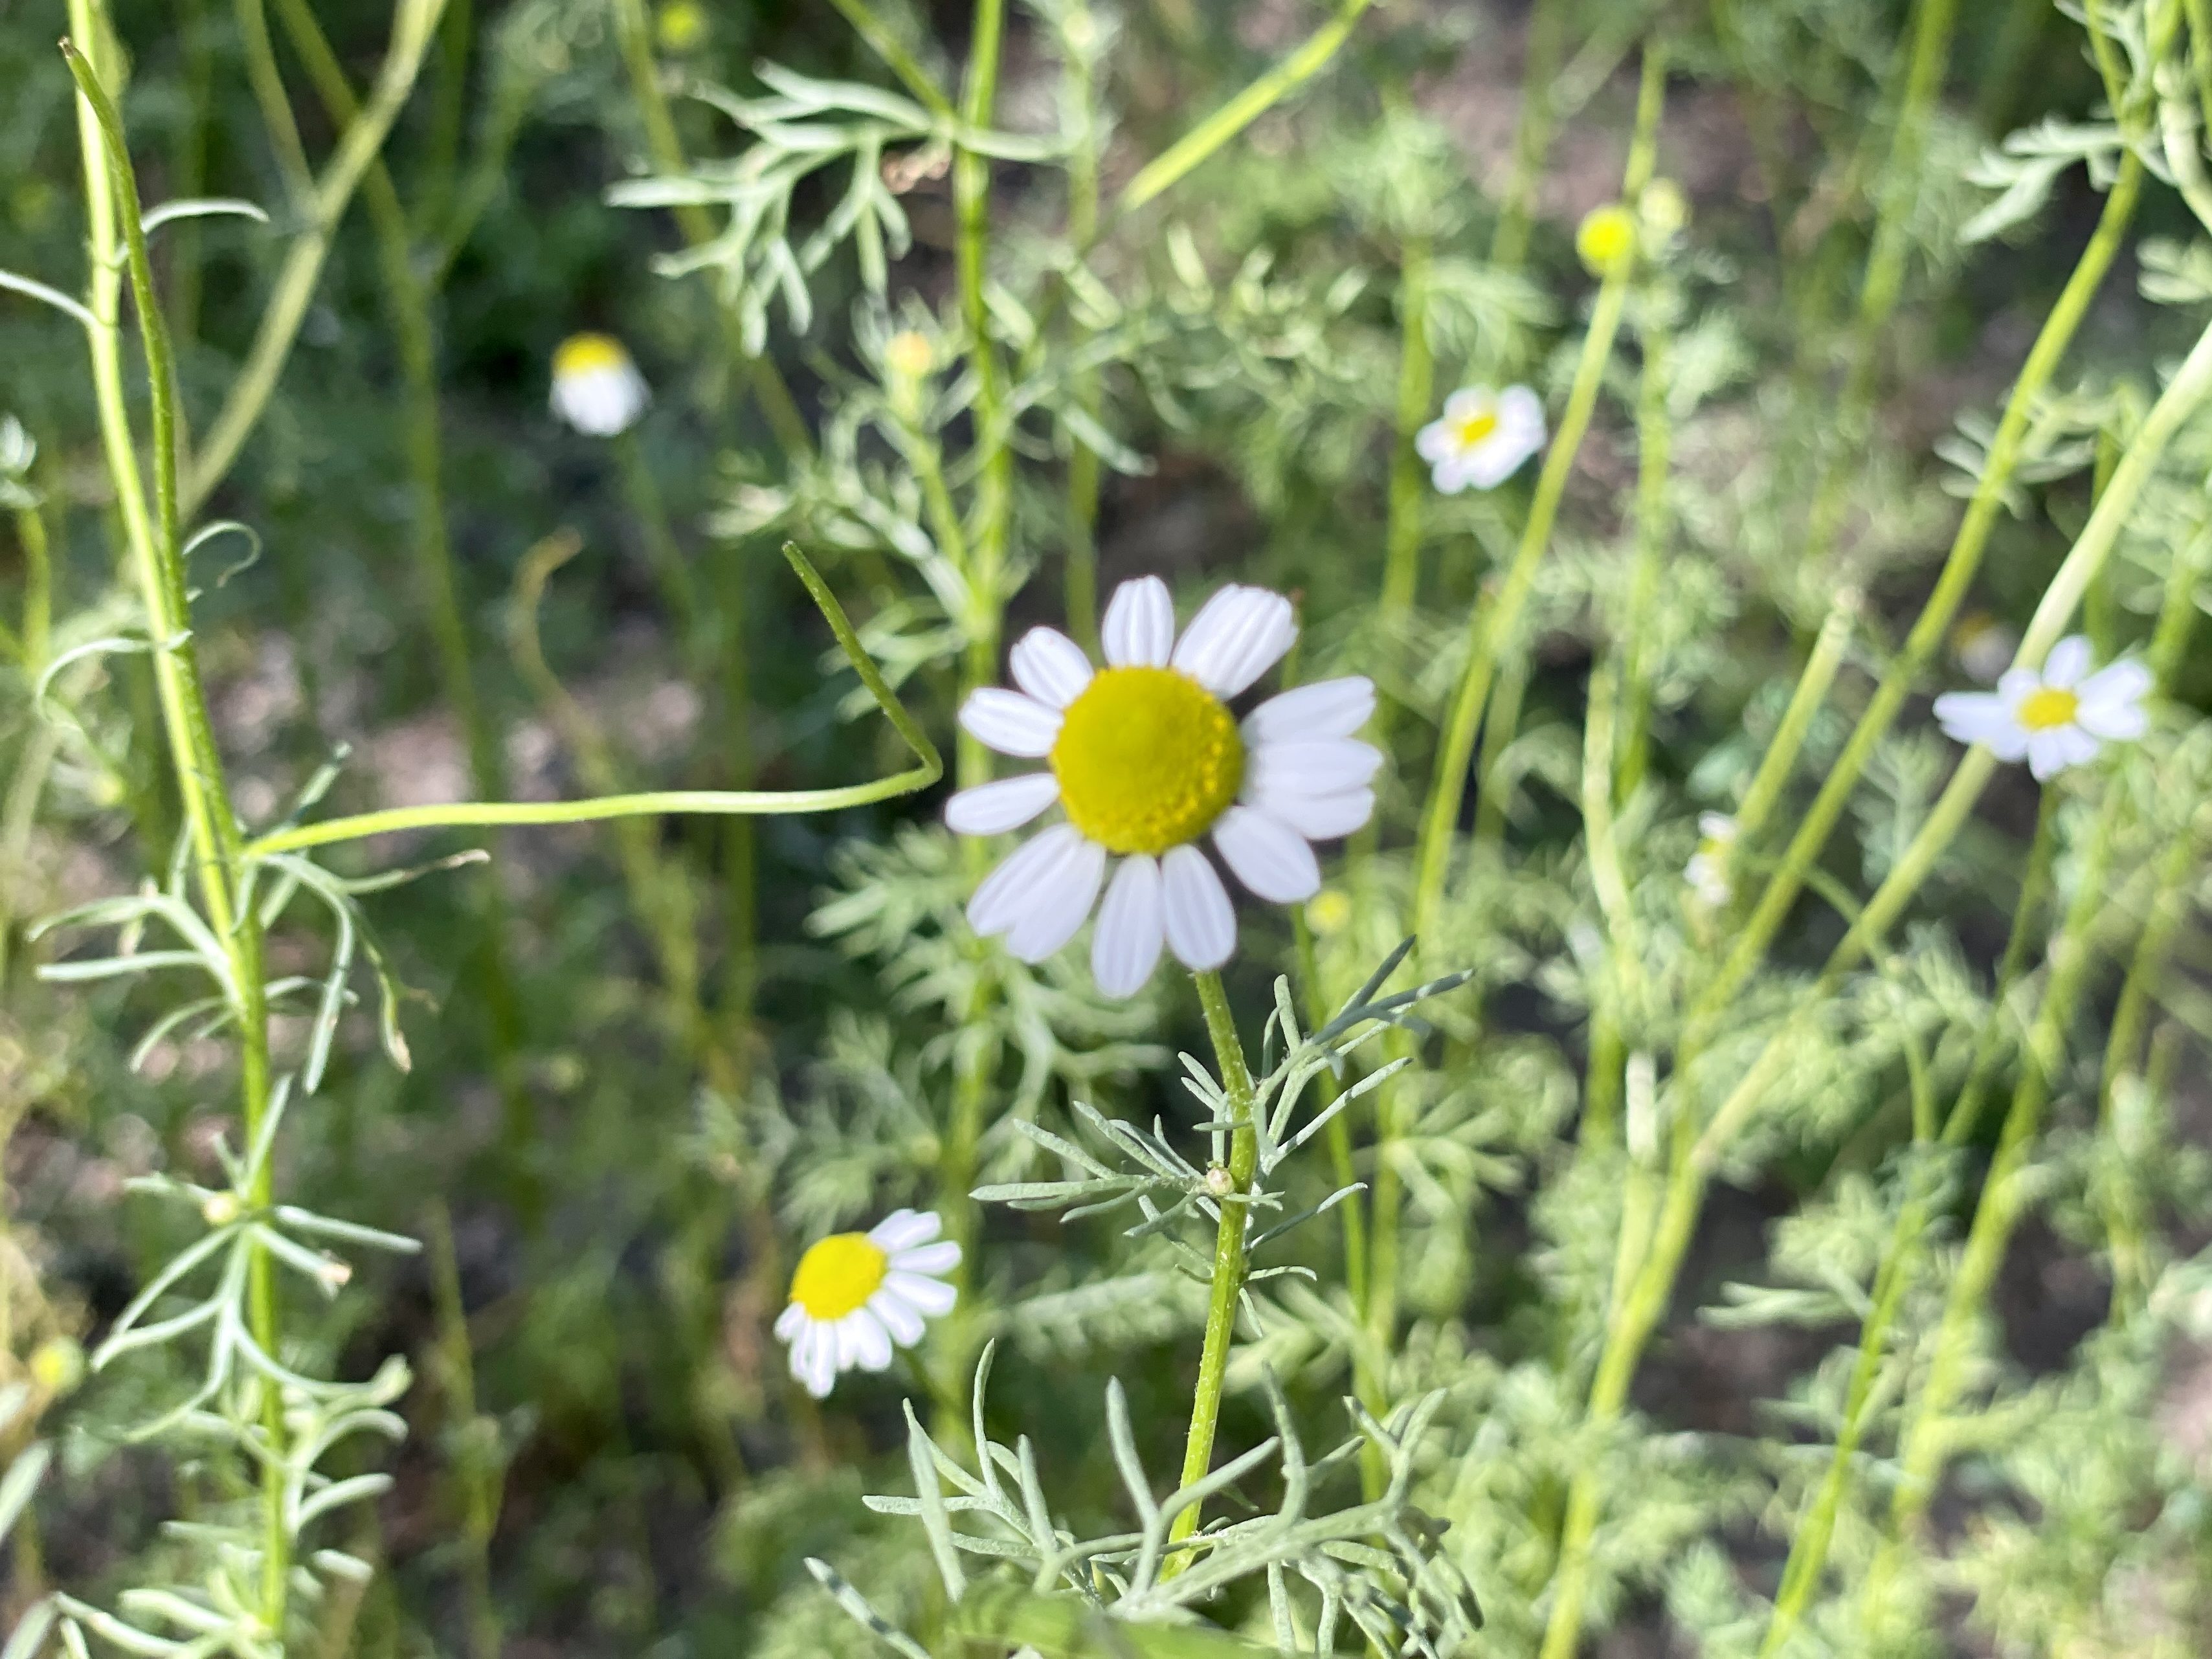
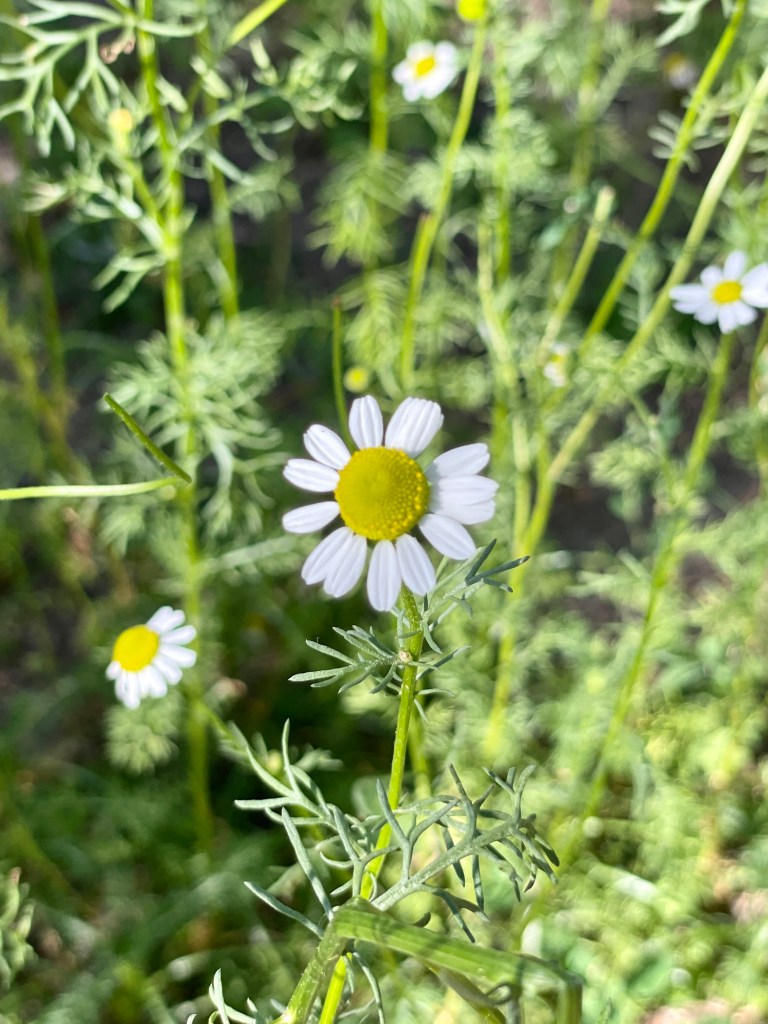
Chamomile, with its delicate flowers and soothing properties, is a beloved herb that has been cherished for its calming effects and versatility. Whether you’re an experienced gardener or a beginner with a green thumb, growing chamomile can be a rewarding and enriching experience. In this blog post, we’ll walk you through the steps of cultivating your own chamomile garden, from planting the seeds to enjoying a comforting cup of chamomile tea.
Chamomile is an herb with a long history of use for its various health and wellness benefits. Whether consumed as a tea, used topically, or enjoyed in other forms, chamomile offers a range of potential advantages. Here are some of the notable benefits of chamomile:
Calming and Relaxation: Chamomile is renowned for its calming properties. Drinking chamomile tea can help reduce stress and anxiety, promoting relaxation and aiding in sleep. Its mild sedative effects make it a popular choice for those seeking a natural remedy for insomnia.
Digestive Aid: Chamomile tea has been used for centuries to soothe digestive discomfort. It can help relax the muscles of the gastrointestinal tract, relieving indigestion, gas, and bloating. Chamomile may also have anti-inflammatory properties that contribute to improved digestion.
Anti-Inflammatory Properties: Both German chamomile and Roman chamomile contain compounds that have anti-inflammatory effects. These properties make chamomile useful for addressing various inflammatory conditions, from skin irritations to digestive issues.
Skin Health: Chamomile is gentle and soothing on the skin, making it a popular ingredient in skincare products. It can help alleviate skin irritations, reduce redness, and promote healing. Chamomile’s anti-inflammatory and antioxidant properties also contribute to its skin-nurturing effects.
Immune System Support: The antioxidants found in chamomile, such as flavonoids, may contribute to immune system support. Regular consumption of chamomile tea could potentially help protect the body from oxidative stress and bolster the immune response.
Menstrual Pain Relief: Chamomile tea may help alleviate menstrual cramps and discomfort. Its muscle-relaxing properties can ease uterine contractions, reducing pain during menstruation.
Respiratory Health: Inhaling steam infused with chamomile can provide relief from respiratory symptoms such as congestion, coughs, and sinusitis. The anti-inflammatory and antimicrobial properties of chamomile contribute to its respiratory benefits.
Antioxidant Protection: Chamomile is a source of antioxidants that help combat free radicals and oxidative stress in the body. Regular consumption of chamomile tea can contribute to overall cellular health.
Oral Health: Chamomile’s antimicrobial and anti-inflammatory properties make it beneficial for oral health. It can help soothe gum inflammation, reduce bacteria in the mouth, and freshen breath.
Hair Care: Chamomile extracts are often used in hair care products for their potential to lighten hair color naturally. Chamomile can also soothe an itchy scalp and add shine to hair.
Allergy Relief: Chamomile’s anti-inflammatory compounds, including chamazulene, may provide relief from allergy symptoms by reducing inflammation in the nasal passages and promoting respiratory comfort.
Stomach Ulcer Support: Some studies suggest that chamomile may help protect against the development of stomach ulcers and promote the healing of existing ulcers due to its anti-inflammatory and antioxidant properties.
It’s important to note that individual responses to chamomile may vary, and some people may experience allergies or adverse reactions. If you have allergies or are pregnant, it’s a good idea to consult a healthcare professional before incorporating chamomile into your routine. While chamomile is generally considered safe, it’s always wise to use herbal remedies in moderation and under appropriate guidance.
Growing your own chamomile
1. Choose the Right Variety
Chamomile comes in two main varieties: German chamomile (Matricaria chamomilla) and Roman chamomile (Chamaemelum nobile). German chamomile is known for its taller growth and feathery leaves, while Roman chamomile is a low-growing, spreading plant. Consider your space and preferences when choosing the variety that suits your garden best.
Chamomile thrives in full sun to partial shade. Choose a well-draining location in your garden that receives at least 6 hours of sunlight per day. If you’re growing chamomile indoors, place it near a sunny window.
3. Prepare the Soil
Chamomile prefers well-draining, slightly acidic soil. Amend the soil with compost to improve its texture and fertility. Avoid compacted soil, as chamomile’s delicate roots need room to spread.
4. Planting Seeds
Chamomile seeds are small and delicate, so sprinkle them lightly on the soil surface. Gently press the seeds into the soil without covering them completely, as they require light to germinate. Water the soil gently to keep it moist, but not soggy.
5. Germination and Growth
Chamomile seeds typically germinate within 7 to 14 days. Once the seedlings have grown a few inches tall, thin them out if needed to provide adequate spacing between plants. Keep the soil consistently moist, but avoid overwatering.
6. Care and Maintenance
Chamomile is relatively low-maintenance. Regularly harvest the flowers to encourage continuous blooming. Water the plants at the base to prevent water from sitting on the foliage, which can lead to disease.
7. Harvesting Chamomile
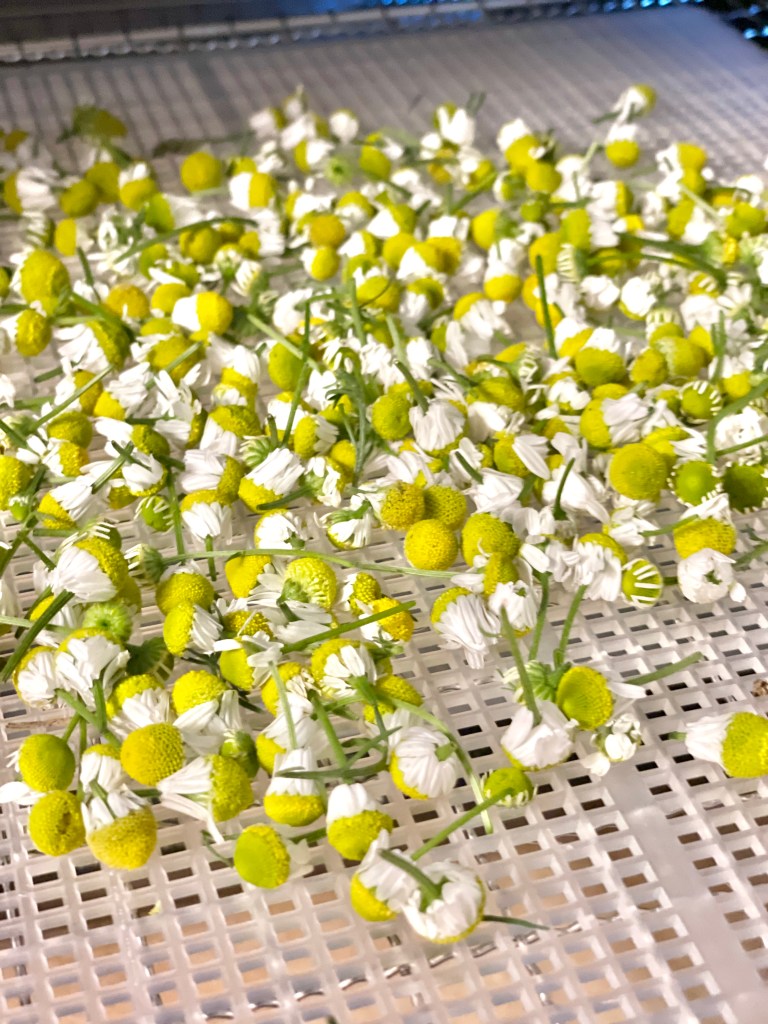
Harvest chamomile flowers in the morning when the dew has dried but before the sun is too strong. Gently pluck the flower heads and leave a portion of the stem attached. You can use the flowers fresh or dry them for later use.
8. Drying and Storing
To dry chamomile flowers, spread them out in a single layer in a cool, dry place away from direct sunlight. Once they’re completely dry, store them in an airtight container in a cool, dark location. Dried chamomile can be used for teas, infused oils, and more. I use these mesh drying racks in a cool, dark room (we have a basement pantry that works great for this). Allow them to dry completely.
The other, much quicker way to dry herbs is with a dehydrator. It’s best to dry chamomile on a very low temperature setting to retain its beneficial and medicinal compounds. We set our dehydrator to 110°F or below (or use the lowest setting available) for 12-24 hours.
Chamomile tea is renowned for its soothing and calming effects. To make chamomile tea, simply steep a tablespoon of dried chamomile flowers in hot water for about 5 minutes. Strain and enjoy the warm, comforting beverage.
Growing chamomile is a wonderful way to connect with nature and enjoy the many benefits this gentle herb has to offer. From its cheerful blooms to its aromatic fragrance, chamomile brings a sense of tranquility to any garden. Whether you’re cultivating it for its therapeutic properties or simply for the joy of nurturing a plant, chamomile is a valuable addition to any gardening journey.