

Imagine capturing the essence of fresh herbs in a bottle – that’s the magic of herb-infused oils. Whether you’re an avid cook or a culinary enthusiast, herb-infused oils are a fantastic way to infuse your dishes with vibrant flavors and aromatic delights. In this blog post, we’ll explore the art of making herb-infused oils at home, from selecting the perfect herbs to enjoying the incredible depth of flavor they bring to your kitchen creations.
1. The Essence of Herb-Infused Oils:
Herb-infused oils are created by steeping aromatic herbs in high-quality oil. The oil absorbs the flavors and fragrances of the herbs, resulting in a versatile and flavorful ingredient for your culinary adventures.
2. Choosing the Right Herbs:
The key to successful herb-infused oils lies in choosing the right herbs:
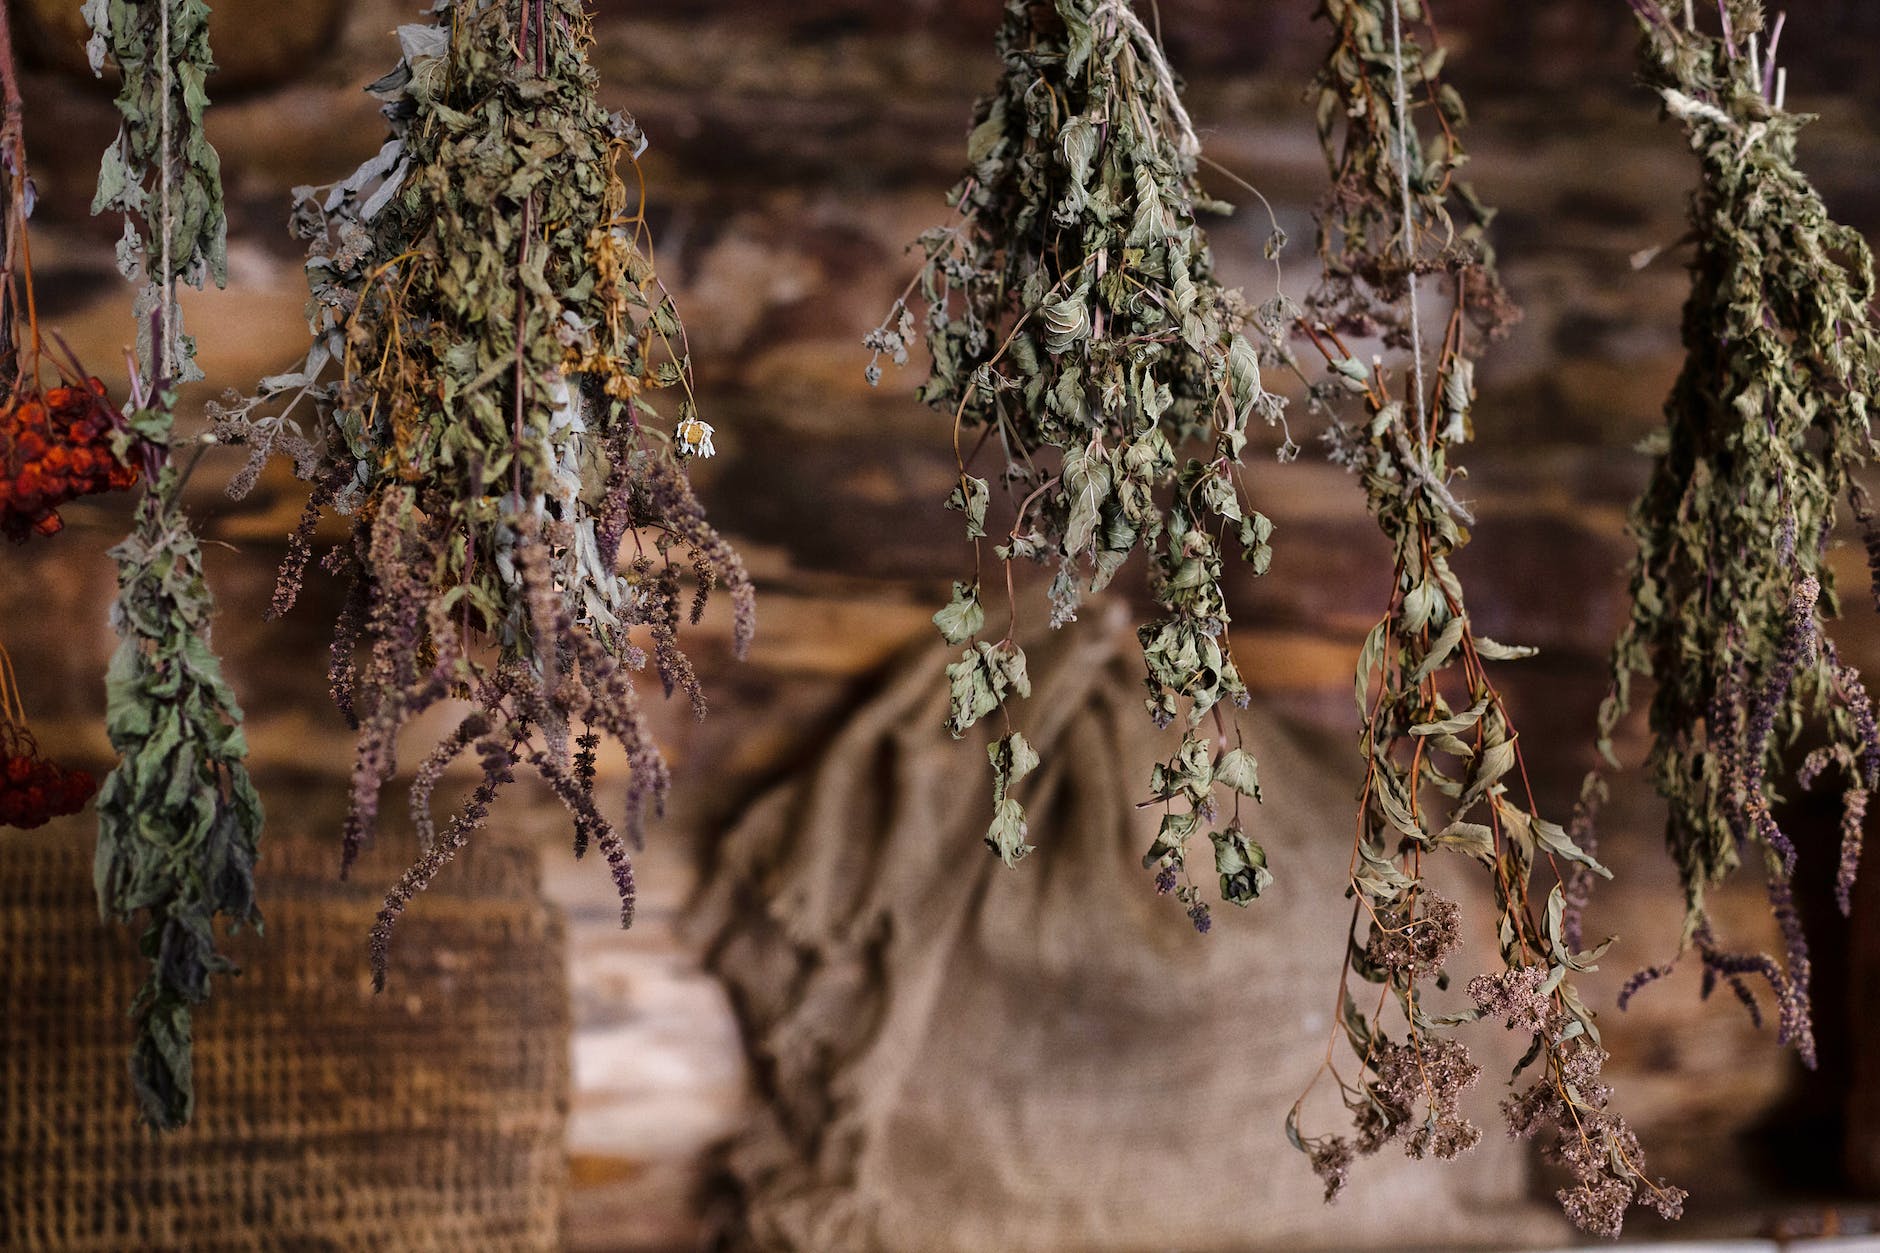
- Freshness: Opt for fresh, high-quality herbs from your garden or a trusted source.
- Compatibility: Experiment with a variety of herbs, keeping in mind complementary and contrasting flavors.
- Favorites: Popular herbs for infusion include basil, rosemary, thyme, oregano, and sage.
3. Selecting the Base Oil:
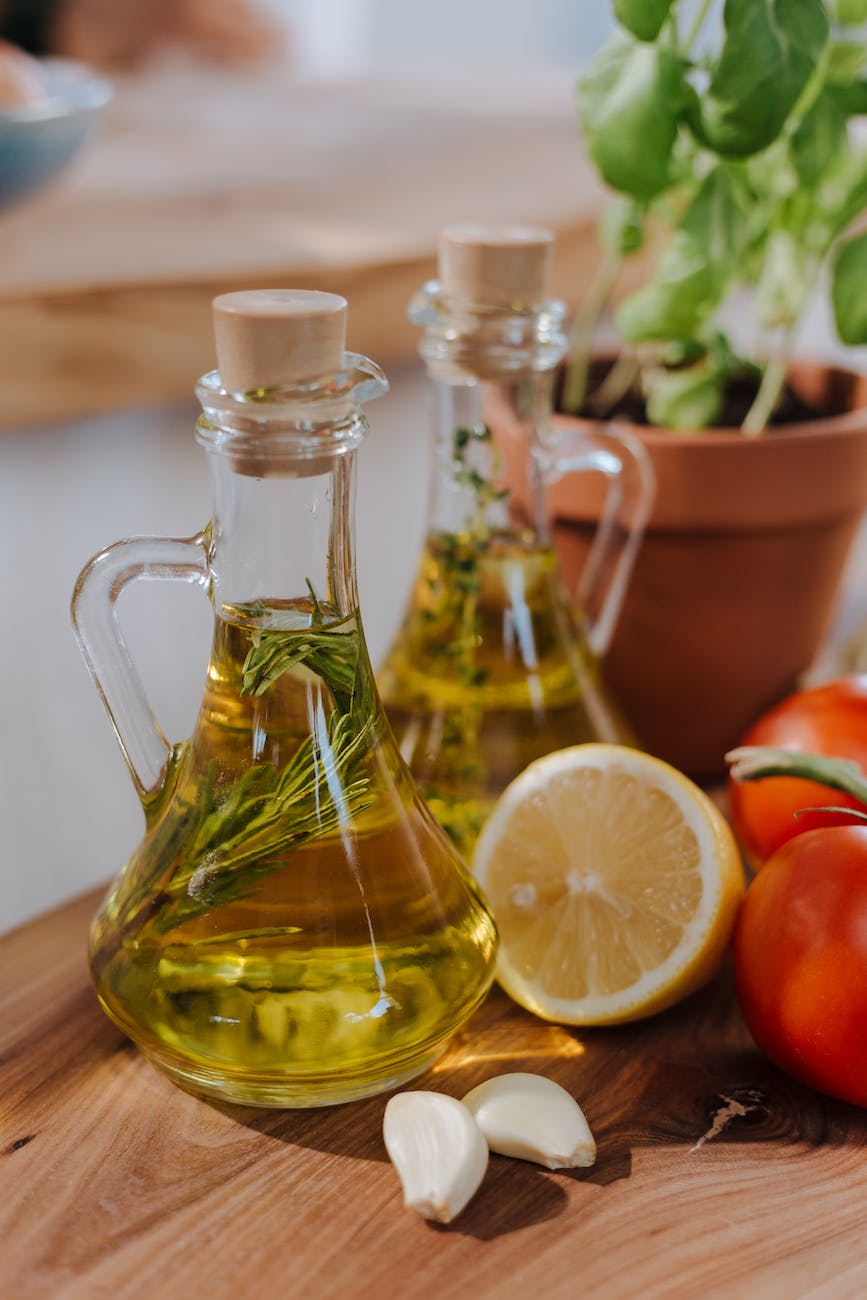
Choosing the right oil is essential for a successful infusion. Common choices include:
- Olive Oil: A classic choice, olive oil provides a rich, earthy base.
- Sunflower Oil: With its neutral flavor, sunflower oil allows the herb’s characteristics to shine.
- Grapeseed Oil: This light oil is ideal for delicate herbs that may be overpowered by stronger oils.
4. The Infusion Process:
Creating herb-infused oils is a simple process that requires patience:
- Washing and Drying: Wash the herbs and gently pat them dry to remove excess moisture.
- Bruising the Herbs: Lightly bruise the herbs using a mortar and pestle to release their natural oils and flavors.
- Steeping: Place the herbs in a clean, dry glass jar and cover them with the oil of your choice. Seal the jar tightly and allow it to sit in a cool, dark place for about 1 to 2 weeks.
5. Straining and Storing:
After the steeping period, strain the oil to remove the herbs:
- Fine Strainer: Use a fine mesh strainer, cheesecloth, or coffee filter to strain out any herb particles.
- Storing: Transfer the strained oil into a sterilized glass bottle or jar and store it in a cool, dark place to preserve its flavor and quality.
6. Culinary Uses:
Your homemade herb-infused oils are now ready to elevate your culinary creations:
- Salad Dressings: Drizzle over salads to infuse them with fresh herb flavors.
- Marinades: Use as a base for marinades to add depth and complexity to meats and vegetables.
- Dipping Oils: Combine with balsamic vinegar for a flavorful dipping oil for bread.
- Sauteing and Roasting: Enhance the flavors of your sautéed and roasted dishes.

7. Storage and Shelf Life:
To prolong the shelf life of your herb-infused oil:
- Refrigeration: Store in the refrigerator to prevent spoilage and maintain freshness.
- Labeling: Always label your infused oils with the herb and date of creation.
Creating herb-infused oils is a culinary adventure that allows you to bottle the essence of nature’s bounty. With a bit of patience and experimentation, you can craft oils that turn everyday dishes into extraordinary culinary experiences. From the garden to your kitchen, let the aromatic charms of herb-infused oils inspire your cooking creativity and elevate your culinary journey.
